With cPanel, you can run an antivirus scan in two distinct ways. In this short tutorial, I will demonstrate how to proceed with both solutions.
Running an antivirus scan is crucial to detect the presence of malware on your website and in your email boxes, causing you headaches.
If you’re looking for a method to run a WordPress virus scan, this tutorial is meant for you.
Table of Contents
How to scan for viruses with ClamAV
ClamAV is open-source antivirus software that performs a full scan of your website and your email account.
The first thing that needs to be done is to login to cPanel and click on the “Virus Scanner” icon.

On the screen that appears, you can choose between four different options.
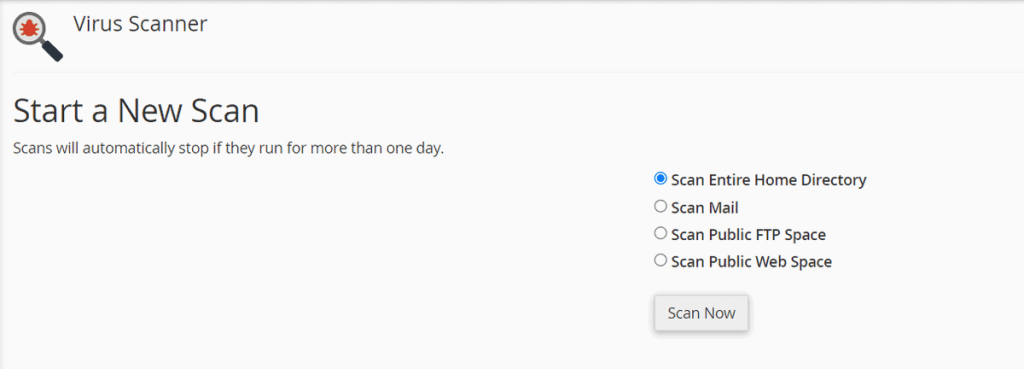
- Scan entire home directory: by selecting this option all the files on your webspace will be scanned.
- Scan mail: this option allows you to check the content of all your email accounts.
- Scan public FTP space: select this option if you want to scan all folders that users with FTP permissions have access to.
- Scan public web space: by checking this item, the software will check all the folders to which all visitors on your website have access.
To perform a full WordPress antivirus scan, we recommend selecting the first option.
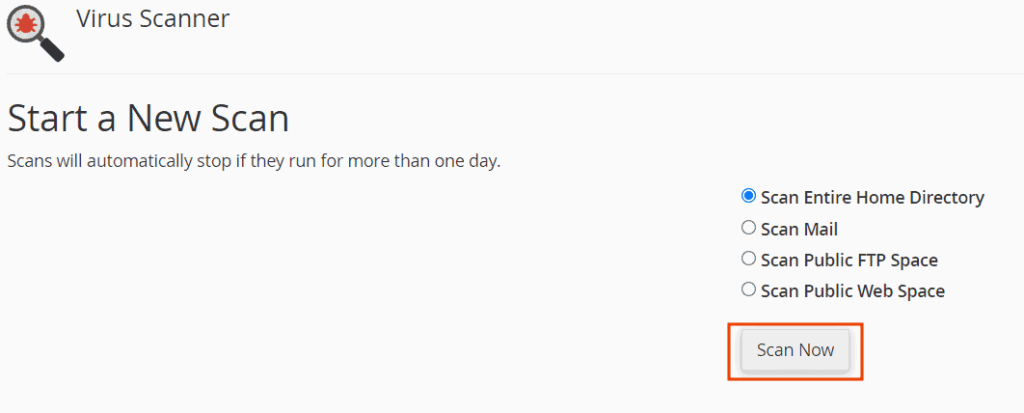
Once you have chosen the option, you will need to click on the “Scan Now” button.
A full antivirus scan will be performed, and then you will see the scan results.
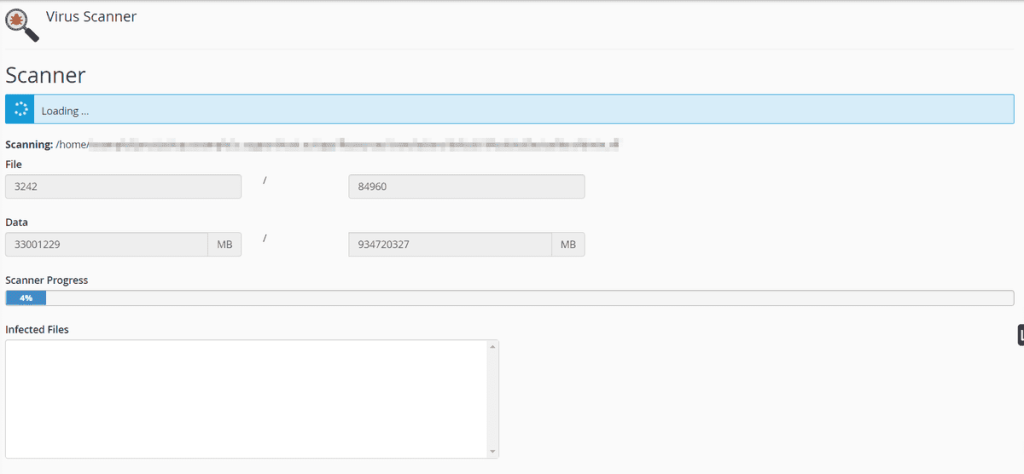
If no virus is found, you should see a message similar to this.

How to perform an antivirus scan with Imunify360
With cPanel, it is also possible to perform an antivirus scan with the Imunify360 program.
Imunify360 is an antivirus software that can analyze in real-time all PHP scripts behaviors, blocking the execution of any malicious code that could compromise your website.
To perform a full antivirus scan with Imunify360, you will need to login to cPanel and look for the icon “Imunify360” in the “Security” section.

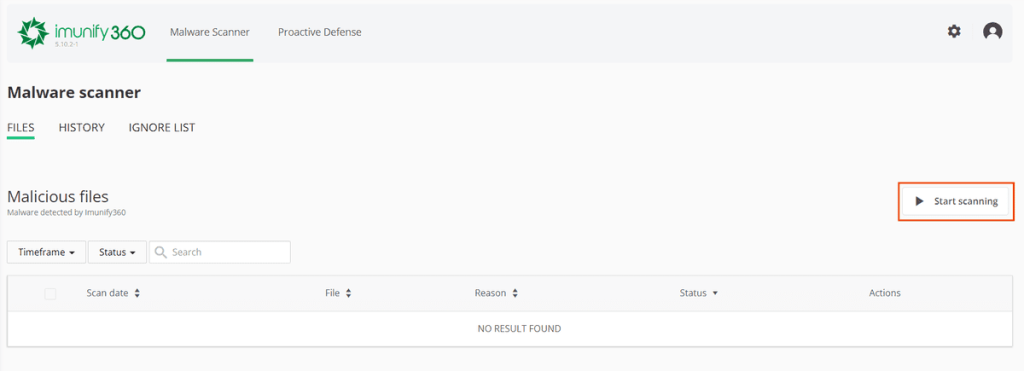
After launching the program, click on the button on the right “Start scanning“.
A warning message will appear, confirm the operation by clicking on the “Yes, start scan” button.
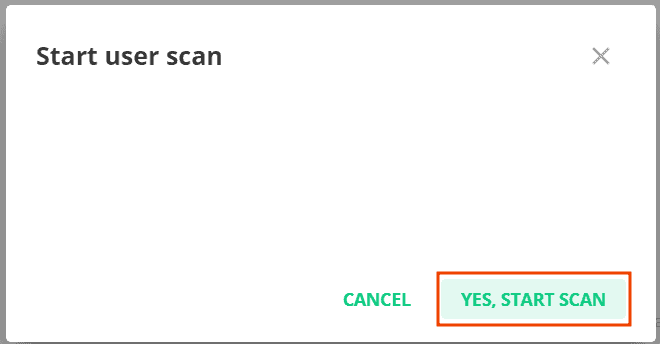
Now, all the files on your web space will be scanned, and if threats are found, you will be able to view and manage them simply within the program.
The duration of the scan may vary according to the number of items to be analyzed, therefore, the higher the number, the more time it will take the program to check all of them.
In the event that no virus is found, no malicious items will appear in the detection list, as shown below.
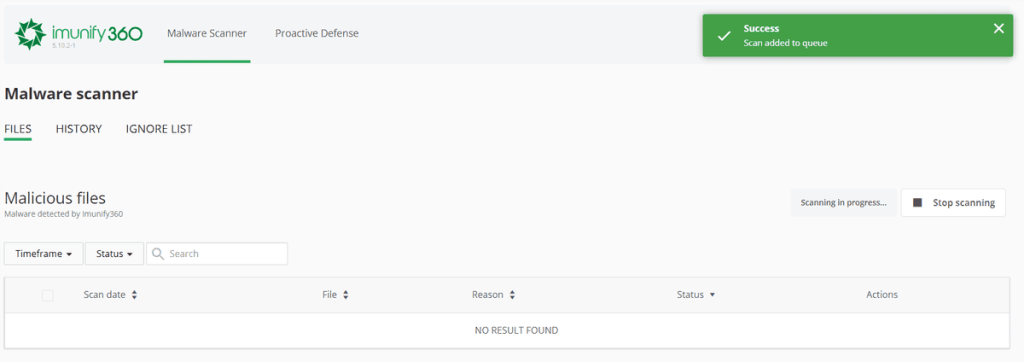
WordPress security is vital, and every day many WordPress websites are hacked. For this reason, in addition to running a WordPress antivirus scan regularly, we also recommend checking that Proactive Defense is enabled. You can do this by simply clicking on the “Proactive Defense” tab within the program and ticking “Kill Mode“.

This parameter will allow you to promptly block threats before they can spread within the system, compromising other files.

