
By activating two-factor authentication, your SupportHost client area account will be even more secure. In addition to having to use a strong password to protect your account, two-factor authentication adds an extra layer of security and makes your account even safer from unwanted access.
In this tutorial, we see how to activate two-factor authentication and what it is.
Table of Contents
What is two-factor authentication
Two-factor authentication is an access system that provides a two-level verification to access a website. In this case, activating authentication will protect access to the client area. Let’s see exactly how it works.
How two-factor authentication works
The first factor or level of this type of authentication is based on the request for standard access credentials, i.e. username (or email) and password.
The second factor, on the other hand, is an additional verification code that is randomly generated every time you need to log in. Mobile applications such as Google Authenticator can be used to generate this verification code (token).
Why use two-factor authentication
By activating this two-step verification your account will always be safe, even if your login details fall into the wrong hands.
In doing so, to access your SupportHost client area, it will also be required to enter a timed verification code that is generated at the moment of the login.
Enable two-factor authentication
Let’s see how to enable two-factor authentication on your account. First of all, access the client area with your credentials. If you have forgotten your password, you can perform a reset by following our tutorial on resetting client area password.
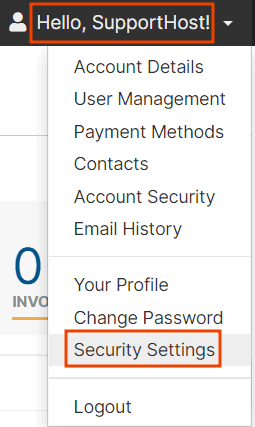
Then click on your name and then on Security Settings, as you see in the screenshot below.
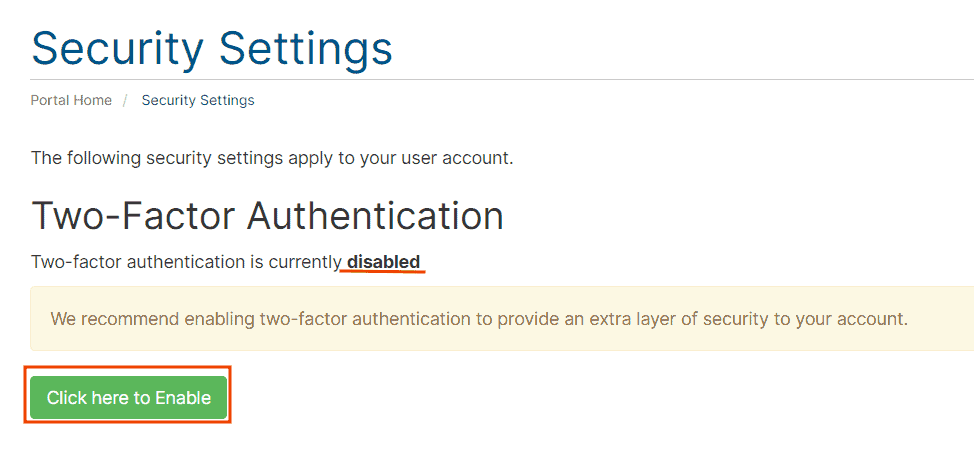
You will be redirected to a new page and can check your current security settings. If two-factor authentication is disabled, as you see in this example, you will need to click on the green Click here to Enable button to start the configuration procedure.
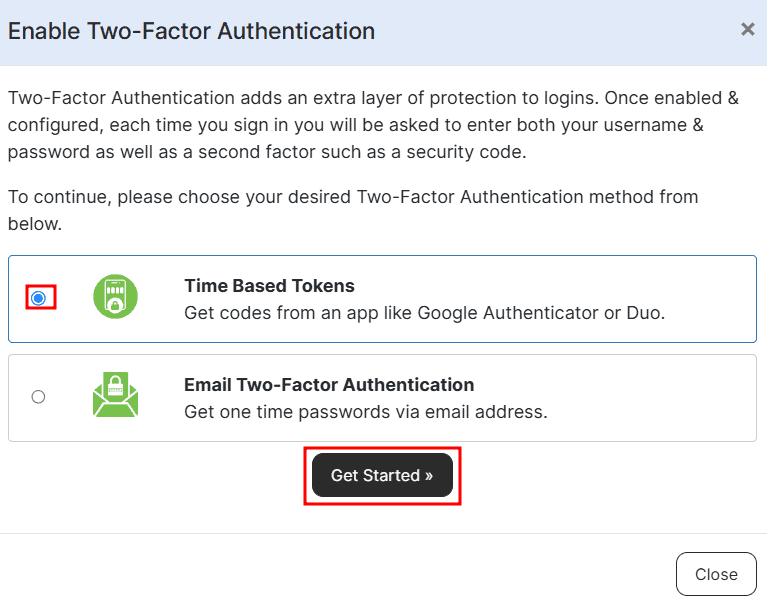
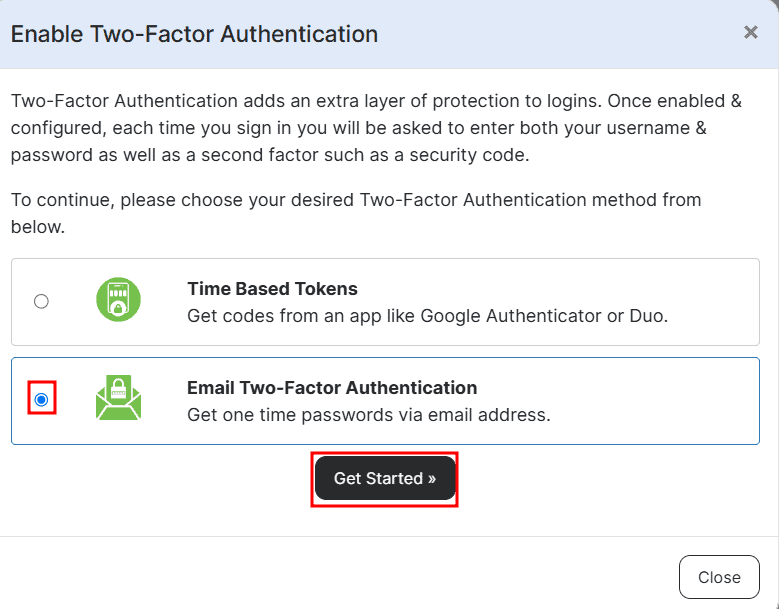
A new window will open, allowing you to choose your preferred authentication method:
- Time-based tokens: Select this method if you wish to use an app such as Google Authenticator or Duo.
- Two-factor authentication via email: Choose this option if you prefer to receive the OTP (One-Time Password) via email.
Now, let’s go through the process for both methods.
Enable two-factor authentication with Google Authenticator
If you’d like to use an app for authentication, start by selecting the “Time Based Tokens” option and clicking the “Get started” button.
You will then be shown a QR code which you will need to use to pair an authentication application such as Google Authenticator or Duo. You can associate the application by scanning the QR with your phone or by manually entering the code that is indicated to you.

If you haven’t already done so, the first thing to do is download Google Authenticator from the Play Store or the App Store.
Open Google Authenticator and tap on the “+” icon to start the configuration.

You can then choose between two options:
- Scan a QR code: you will then need to use your phone’s camera to scan the client area QR code.
- Enter configuration code: in this case, you will have to manually enter the code you see in the client area.
Then, you will see a six-digit code on the application. This code is timed, enter it in the field Enter, the authentication code in the client area, and then click Submit. This way, you will have completed the configuration.
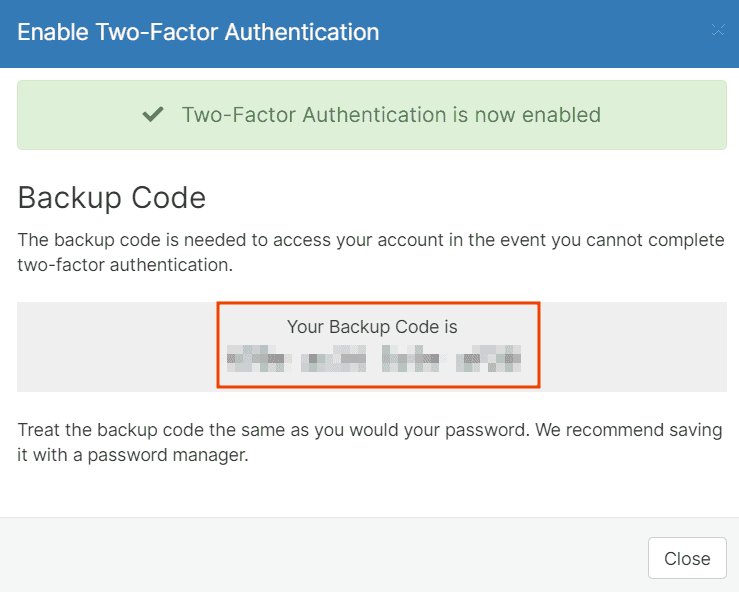
A notice like this will confirm that the procedure was successful. On this screen, you will also see a backup code that you will need to copy and store. In case you lose the device on which you have activated the authentication, you will need this code to access the account.
Enable two-factor authentication via email
To receive the One-Time Password (OTP) via email, select the “Email Two-Factor Authentication” option and click “Get Started.”
On the next screen, you’ll see a blank field where you need to enter the authorization code that was emailed to you. Once entered, click “Activate.”
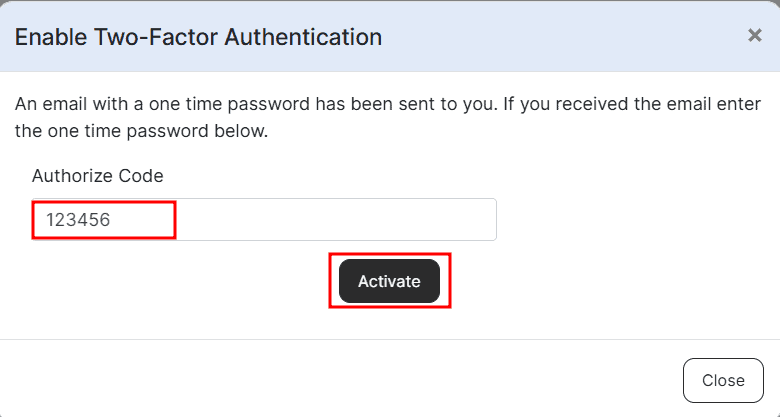
The code is sent to the email address you used to register and is valid for 30 minutes. After this period, it expires, and you’ll need to request a new one.
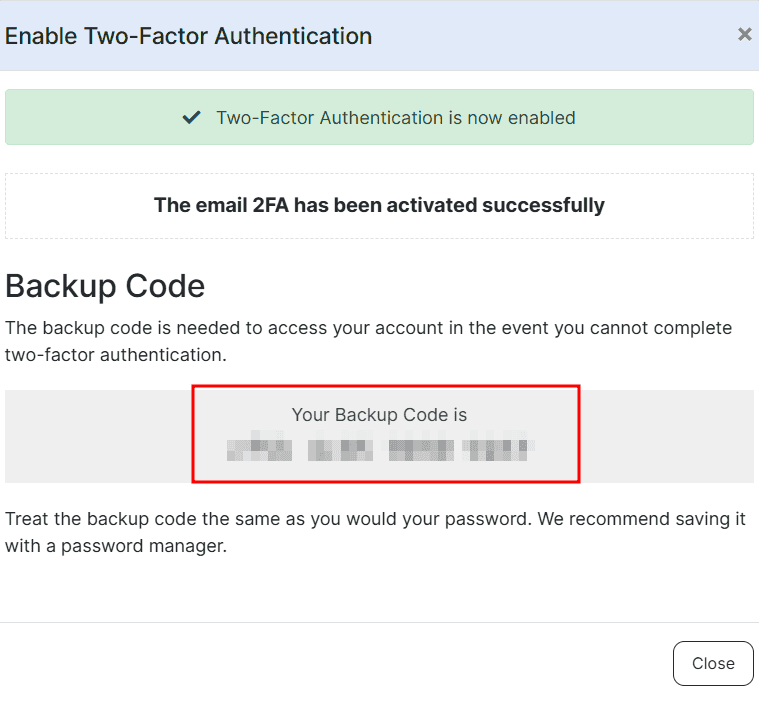
At this point, you’ll see a notice confirming that two-factor email authentication is active. On the same screen, you’ll also find a backup code that you should keep safe. This code will allow you to regain access in case you encounter any issues with two-factor authentication (for example, if you lose access to your email).
How to log in after activating authentication
After activating authentication, each time you log in to your account, you will first need to enter your login credentials, followed by the verification code, which you can either display in the app or receive via email.
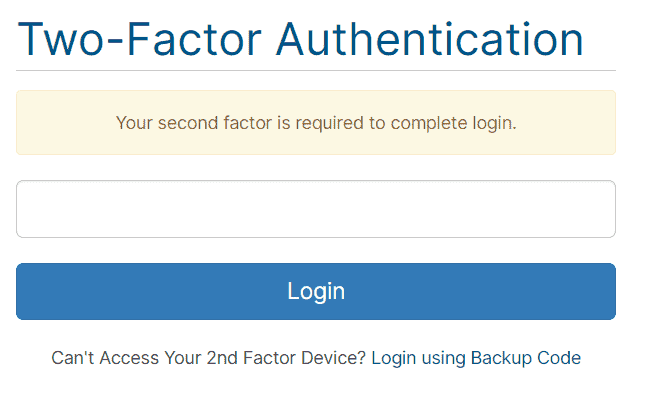
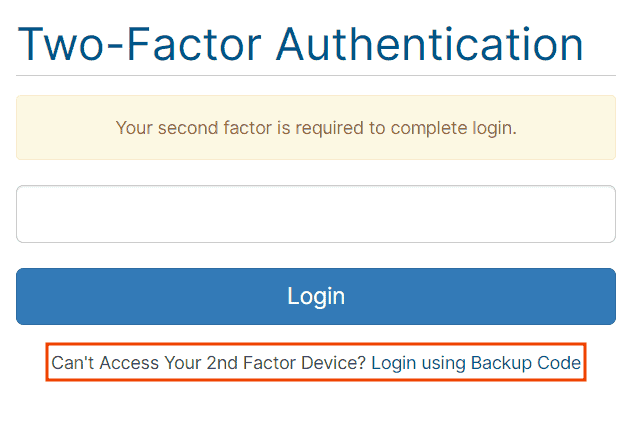
If you cannot use the device you set up, have misplaced it, or no longer have access to your email, click on Login using Backup Code.
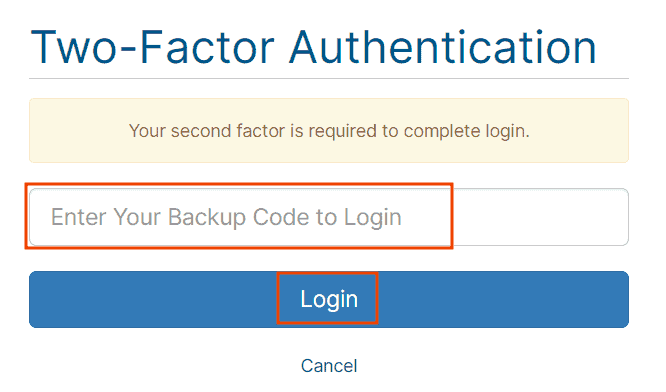
You will then need to enter the backup code and click on the Login button.
After logging in with the backup code, it will be reset because the backup code is valid only once. Memorize the new backup code that is provided to you.
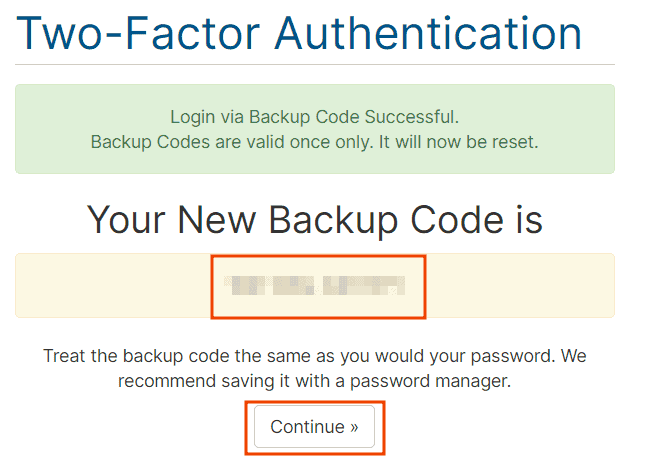
Click on the Continue button to proceed in the client area.
Disable two-factor authentication
To disable two-factor authentication, you need to access the client area, then click on your name in the bar at the top right and Security Settings.
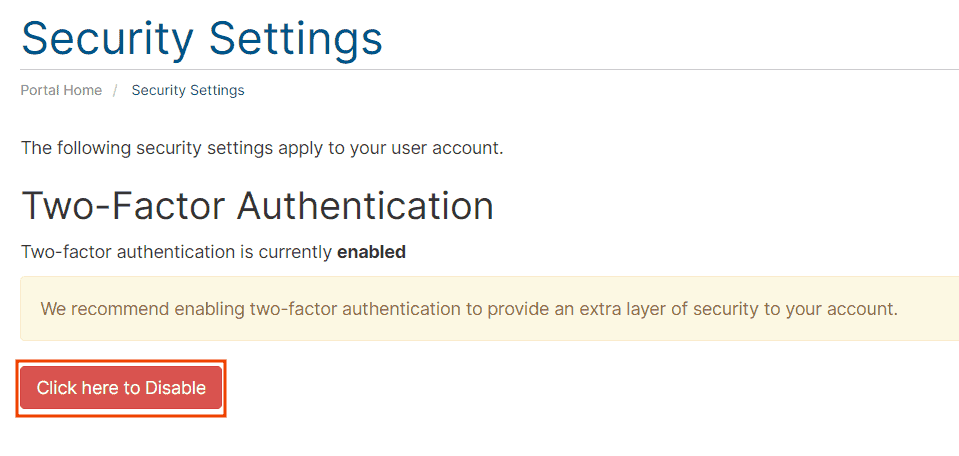
To deactivate the function, you will need to click on the “Click here to Disable” button as shown on this screen.
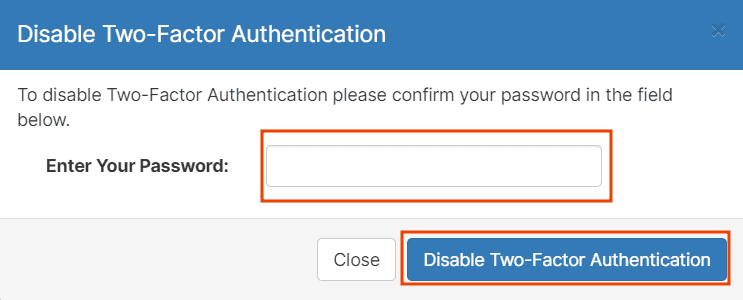
For the deactivation, it is necessary to enter your password and click on Deactivate Two-Factor Authentication.
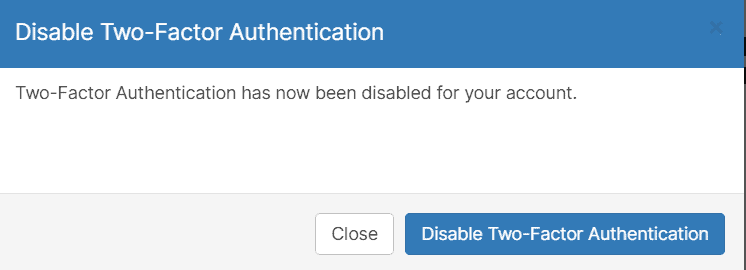
A message like this you see below will confirm that the deactivation was successful, after which you can click Close to return to the client area.
After deactivating the two-factor authentication from the client area, you can delete the account from Google Authenticator. To do this, click and hold the account, click the trash can icon at the top right and confirm the removal by clicking on Remove account.
Ready to build your WordPress site?
Try our service free for 14 days. No obligation, no credit card required.