
As we saw in the tutorial on how to manage a hosting package, when we edit the resources of a package, the change is applied to all accounts using that package.
In some cases, however, we may need to edit the resources of a single account. So let’s see how to modify a cPanel account from the reseller panel.
If, on the other hand, you want to see how to change the theme style and appearance of your clients’ cPanel, check out the tutorial on how to customize cPanel.
Table of Contents
Modify cPanel account
In this tutorial, we’ll see how to modify a cPanel account from WHM to change the resource limits for a specific account. For example, you might want to change the disk space or the number of emails.
To modify a cPanel account, the first thing you need to do is login to the reseller panel.
We have two methods to access the account editing screen: the Modify an Account tool from the Account Features section or the actions from List Accounts. Let’s see how to do it both ways.
Keep in mind that in both cases you will access the same edit screen from which you can change the thresholds of an account.
Account functions -> Modify an account
From the Account Functions section of the left sidebar, click on Modify an account.

We will see the list of accounts. To find the one we are interested in, we can use the search bar at the top.

Select the account and click on Modify.

Modify an account from “List Accounts”
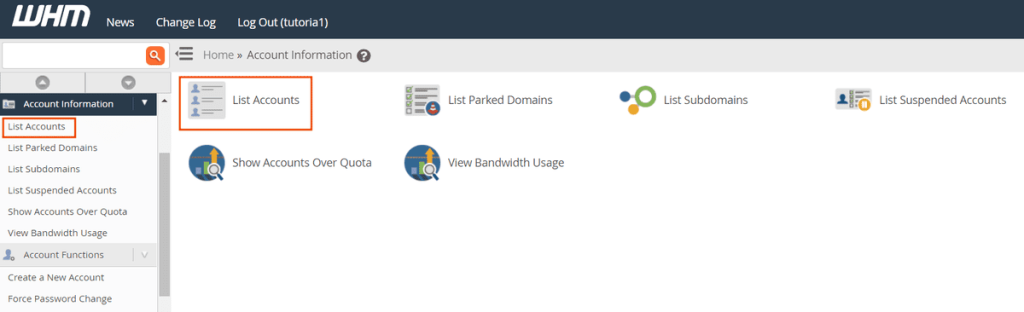
We can also access the account editing screen by clicking on List Accounts from the Account Information section of the WHM sidebar, like this:
We will then see the list of accounts. Locate the account you want to edit and click on the “+” to the left of the domain name.
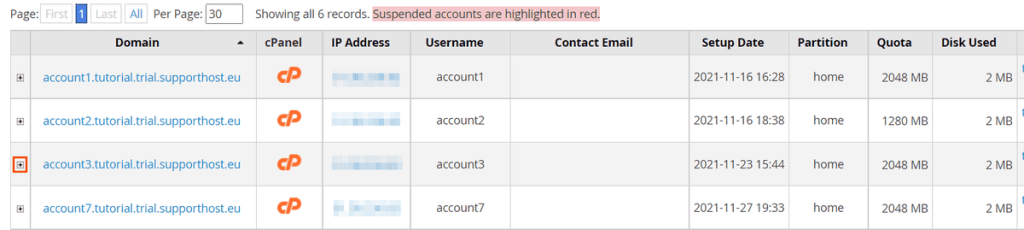
At the bottom we will be shown the available actions, including changing the email and account password. In this case, to modify the account, click on Modify Account.

Modify account data
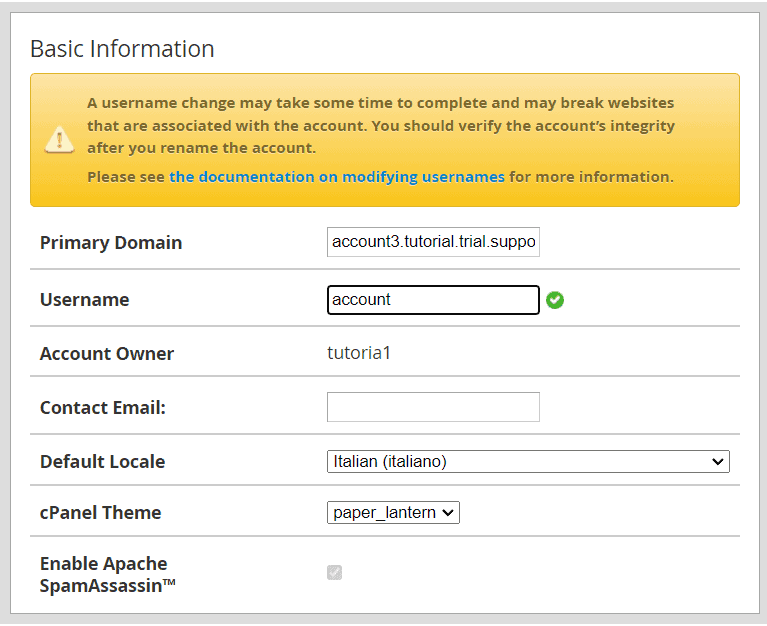
The “Modify an Account” tool, allows us to edit the Basic Information, which includes:
- the domain associated with the account
- the username
- the email
- the language settings
- the cPanel theme.
Keep in mind that you should not change the username unless it is strictly necessary. In fact, when you change the username, the changes should also be applied to the MySQL database. In addition, the system will also rename the account’s home folder.
If you try to change the username, the system will warn you, to verify that the account is working properly after the operation. It is advisable to create a backup of the account before the change.
Modify the resource limits
From the section Modify an account of WHM we can modify the resource limits for a single account.
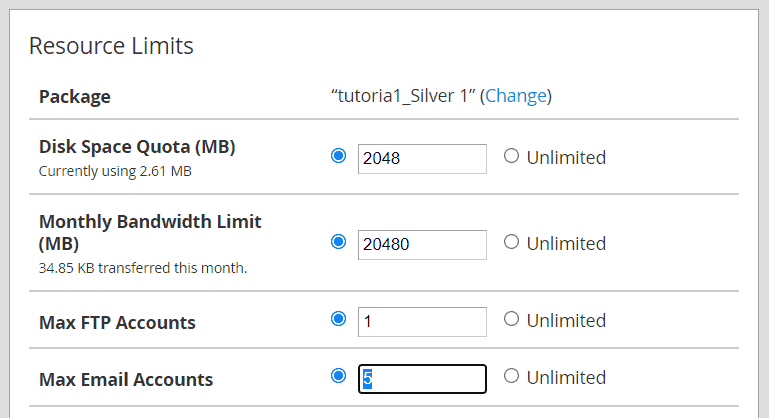
In order to do so, it is enough to modify one or more limits and then click on Save.
When we proceed to modify a limit, the system checks if there is an account with the same limits. According to the results, it gives us different options.
Case 1: the modification corresponds to an existing package
If the changes made to the account correspond to the limits of another existing package, the system allows us to upgrade/downgrade the account to this package.
In our case we changed the email limit and the system matched it to the “Gold 1” package.
By choosing the option highlighted in this screenshot, the package associated with the account will be changed (in our case from Silver 1 to Gold 1).

Case 2: there is no package with the same limits
If we have changed a threshold for the account, but there is no corresponding package, the system will warn us and allow us to choose between different options. The recommended option is to create a new package.
1. Create a new package with this name: this is the recommended option. In this way, the system creates a new package with the thresholds we have set. The name of the new package is set automatically and it will be: oldpackage_account. We can also choose to change the name of the package.
2. Update package “package_name” with these new values: use this option only if you want to update the package. Please note that the changes will be applied to all accounts using that package.
3. Set the account to have no packages.
4. Keep this account on package ‘package_name’: with this option the changes are applied, but the account remains associated with the old package. This option is not recommended because the system may overwrite the changes, reapplying the thresholds of the old package.
To proceed, choose the recommended option (Create a new package) and click Proceed. In this way the new package will be created and associated with that specific account only.
Ready to build your WordPress site?
Try our service free for 14 days. No obligation, no credit card required.