
In this tutorial, I will explain what Imunify 360 is and why we have chosen to use this tool.
You will learn how to make the most of this technology to optimize WordPress security, block all cyber threats, and detect possible malware attacks.
Table of Contents
What is Imunify 360
Imunify 360 is a security tool that identifies and blocks cyber threats before they can cause damage to a website.
This software can identify any hacker attacks thanks to its integrated firewall and temporarily or permanently blocks all unusual access attempts.
It is also possible to perform antivirus scans to detect the presence of any malware, stopping them before they can cause any harm.
All the features of Imunify 360
Imunify360 can protect against numerous types of intrusion attacks. Listed below are just some of its countless features.
- Block bots login attempts.
- It protects the website from malware and other types of computer viruses.
- Scans your website and protects it from all vulnerabilities.
- Blocks unauthorized access attempts to sensitive resources or locations.
- It integrates an advanced Captcha system to distinguish real users from bots.
- Perform automatic scans that do not affect the performance and functionality of your website.
How to use Imunify 360
The Imunify 360 interface is quite intuitive and simple to use, so you won’t have any trouble using this tool.
To access Imunify 360, you will need to login to cPanel and scroll down the page until you find the “Security” sections.
In this area, you will need to click on the “Imunify 360” item to access the tool management panel.

Start a scan with Imunify 360
To perform a complete virus scan on your website, just click on “Start Scanning” and wait for the program to analyze all the files on your website.

The time it takes to perform a scan may vary based on the number of files on your website. The more files there are, the longer it will take to perform a full virus scan.
Stop a scan
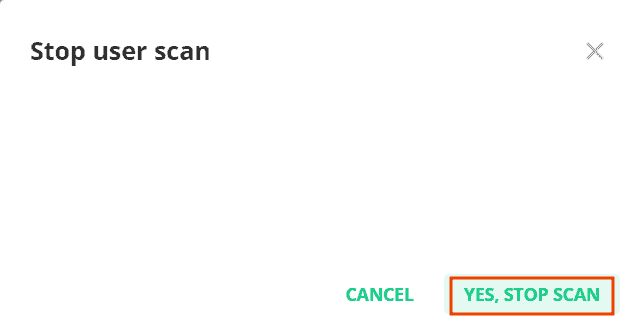
If you want to stop the Imunify 360 virus scan, you just need to click on the “Stop Scanning” button.

A confirmation message will appear, click on “Yes, stop scan” to block the virus scan.
Remove a false positive
Sometimes the antivirus program can mark some files as viruses, even if they are not.
In these cases, to indicate to the program that a file is valid, it must be added to the list of ignored files, so that it will no longer be detected as a virus in future scans.
From the list of malicious files, click on the gear icon and select “Add to ignore list” to prevent it from being removed on the next scan.

Manage files with Imunify 360
From the Imunify 360 “Files” tab, it is possible to perform a complete scan of the website, managing all aspects concerning virus detections.
The report table is divided as follows.
- Detected: indicates the date and time when the file was identified as infected.
- File: indicates the path where the file is located.
- Reason: This field provides some additional information about the detection. This entry can be divided into 5 parts, each of them providing useful details.
- In the first section, you can find SMW or CMW. The former refers to a malware server, while the latter refers to a malware client.
- In the second section, we can find INJ or SA. INJ stands for injection, i.e. the malware is injected into a normal file. SA stands for standalone, which is a completely malicious standalone file.
- The third section simply represents an identification number.
- The fourth section provides further guidance on the category and class of the malware.
- The fifth and last section indicates the version of the signature.
- State: This field indicates the current condition of the detected file.
- Infected, indicates a potentially dangerous file. If the file has not been cleaned, an icon will be shown.
- Cleaned up, the infected file has been cleaned and turned harmless.
- Content removed indicates that the file has been isolated, or partially / fully deleted.
- Inline, the file has been queued for cleaning.
- View files: by pressing the eye icon, the contents of the file will be displayed.
- File Cleanup: by clicking on the icon depicting a broom, you can start cleaning the file.
- Restore files: recover the file that was cleaned, bringing it to its original state.
Delete an infected file
If the Imunify 360 scan detects malware or a potentially dangerous file, it will mark it as “Infected“.
Press the broom icon to clean your system from the detected virus.

After pressing the button, a confirmation message will appear. Click on “Yes, clean up” to permanently delete the file from your account.
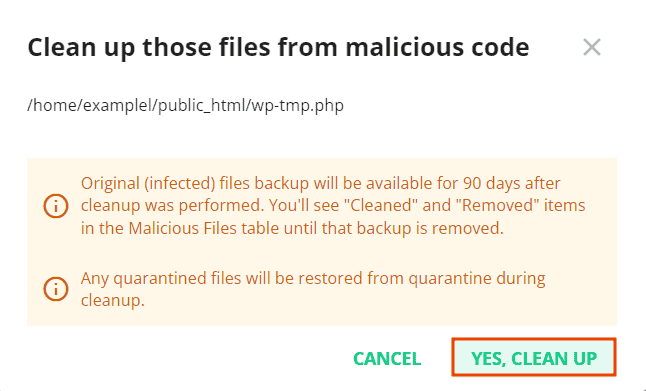
If Imunify 360 has detected multiple potentially dangerous files, you can remove them all by simply clicking on the “Clean up all” button.

Restore a deleted file
Sometimes the application may mark as harmful even files that do not represent a problem for the security of your website.
If you are going to restore a deleted file, open the “Files” tab and locate the file you want to restore.
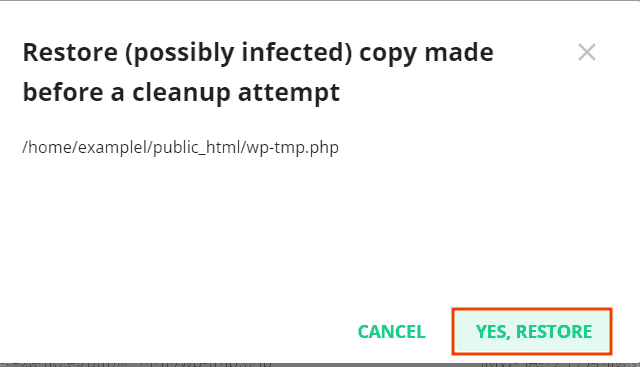
Then, in the “Actions” column, click on the restore icon.

A warning message will appear informing you of the risks of this action, asking you for further confirmation. Click on “Yes, restore” to restore the selected file.
Manage the history
In the “History” tab, you can view the history of all the actions you have taken. The table is structured as follows.
- Date: indicates the date and time when a certain action was performed.
- File path: the path where the file is located will be shown here.
- It causes– This column indicates how the file was detected.
- Manual, indicates an action performed manually by the user.
- User, reports a scan initiated manually by the user.
- In real-time, it means that the action was performed automatically by Imunify 360.
- Initial role: indicates the name of the user who acted.
- Event: shows the action that was performed on the file.
- Clean: The file has been cleaned and turned harmless.
- Cleanup Failed: A problem occurred while cleaning the file. Hover over the icon to get more information about it.
- Added to Ignore List: The file has been added to the Ignore List and will no longer be scanned in the future.
- Original restored: The contents of the file have been restored.
- Deleted from the Ignore List: The file has been removed from the Ignore List. Imunify360 will analyze it in future system scans.
- Deleted – The file has been removed from the server.
- Sent for analysis: the file has been sent to the imunify360 servers for a more in-depth analysis.
- Deletion Failed: A problem occurred while deleting the file. Hover over the icon to get more information about the error.
- Failed to add to Ignore List: A problem occurred while trying to add the file to the Ignore List. By hovering the mouse over the icon, you can get more information.
- Failed to delete from Ignore List: An error occurred while deleting the file from the Ignore List. You can get more information about the error by hovering over the icon.

Manage the list of exceptions
By selecting the “Ignored List” tab, you can view and manage all the files and paths that the program will not have to consider when performing an antivirus scan.
The table of the list of ignored files is structured as follows.
- Added: indicates the exact date and time when the file or path was added to the ignored files list.
- Path: indicates the path to the file or folder on the server.
- Actions: You can perform two actions from this page.
- Remove: by clicking on the trash can icon on the right of each element, the file or path will be deleted from the list of files ignored by the program.
- Add a new file or directory: by clicking on this button, it is possible to add a new file or a new path to the list.
Add files and folders to the exception list
Imunify 360 offers the opportunity to add paths and files to a list of exceptions.
All the elements found in this list will be automatically ignored by the program every time a system scan is performed.
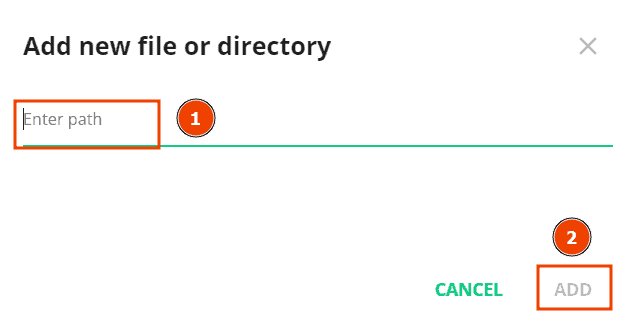
To add a new file or a new path to the Imunify 360 exceptions list, you will need to select the “Ignore List” tab and click on “Add new file or directory“

In the window that opens, you will have to enter the path of the file or folder you want to include in the list of exceptions and then click on the “Add” button.
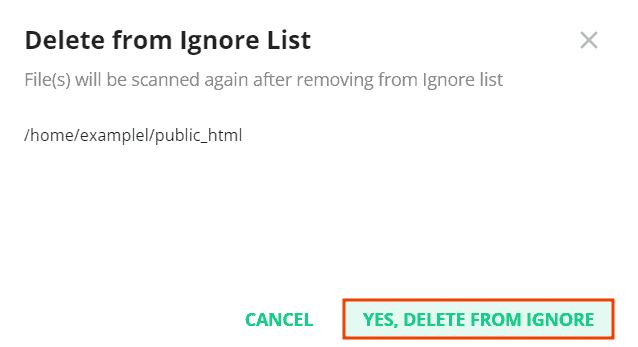
Remove a file or folder from the exception list
To remove a file or folder from the list of exceptions, simply click on the trash can icon to the right of each item in the list.

Again, a confirmation message will open. Click “Yes, delete from ignore” to delete a file or path from the list of ignored files.
Default settings for new detections
Imunify 360 allows all users to manage settings regarding all new detections.
Clicking on the gear icon will open the Imunify 360 settings. Here you can manage the new surveys in 2 different ways.
- Show on the dashboard only: by selecting this option, the files will only be shown in the program interface, but no cleaning action will be performed.
- Cleaning: by choosing this option, all harmful files detected by Imunify 360 will be automatically cleaned and turned harmless.
Once you have made your choice, you will need to click on “Save changes” to make the new changes effective.

Enable proactive defense
With Imunify 360, you can enable proactive defense, which will automatically identify and block all future malicious files that are created by the malware.
This option is very useful for preventing malware from spreading on your system.
To enable proactive defense, select the “Proactive defense” tab at the top.

You can choose between two different modes:
- Log only: will log all events exclusively, but will not perform any cleaning actions.
- Kill mode: prevents all potentially infected scripts from running.
We recommend you to select the “Kill Mode“, as it provides better protection. Once selected, a message will appear confirming its activation.

Change the language of Imunify 360
Changing the language in Imunify 360 is easy. To do this, all you have to do is click on the icon at the top right and select the desired language from the list of available languages.

Ready to build your WordPress site?
Try our service free for 14 days. No obligation, no credit card required.