
Configuring the email client allows you to access your emails safely from your favorite client.
This is a great advantage since it allows you to access to mailbox from any device, even simultaneously.
In this short tutorial, I’ll show you how to set up your email account quickly and easily, I will also explain you how to set up your contacts and calendar.
Table of Contents
How to configure the email client
To perform the email client configuration, first, you need to login to cPanel.
From the cPanel main page, you will need to select “Email Accounts“.

All your email accounts will be shown in this list of email account available. Find the one you want to configure and click on the “Connect Devices” button.

From this page, you can choose whether to perform the automatic configuration of the email client or the manual one.
Automatic email client configuration
To download the configuration file needed to use email accounts on an alternative client, you will need to click on the entry to the right of the client you wish to connect to your account.

For some clients, there will be no need to download any configuration file but simply enter email and password to connect the email account.
Manual email client configuration
If you want to configure your email cliente manually, you have to scroll down the page under “Mail Client Manual Settings”.

Here you will see all the necessary information that you have to enter into your email client. In particular, you will find both the data to connect through the protocol IMAP and those for the POP3 protocol.
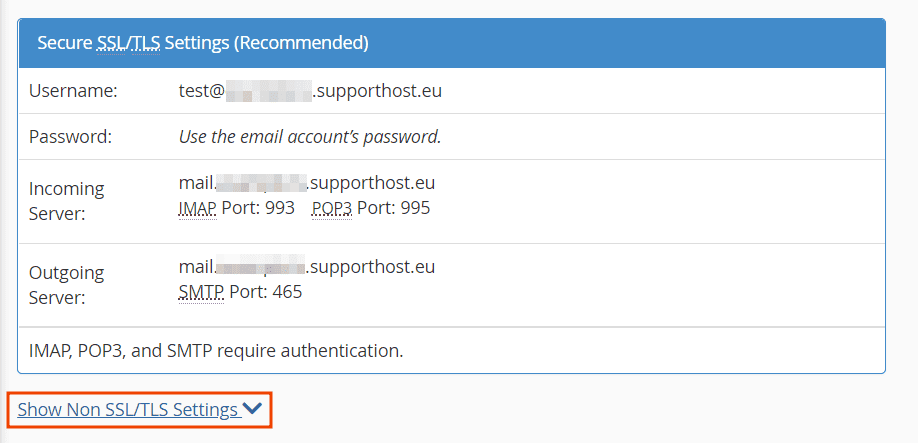
The data you should use are:
Incoming email server:
- mail.domain.com
- IMAP Port: 993
- POP3 Port: 995
Outgoing email server:
- mail.domain.com
- SMTP Port: 465.
Be careful when choosing the protocol to use. IMAP will only make a copy of your emails within your client. By choosing POP3 instead, your emails will be moved, which means that all emails on the server will be deleted.
Clicking on “Show Non-SSL / TLS Settings” will show some configuration parameters. We do not recommend using these parameters cause they do not provide an encrypted connection and are therefore less secure.
Email client setup on Windows 10
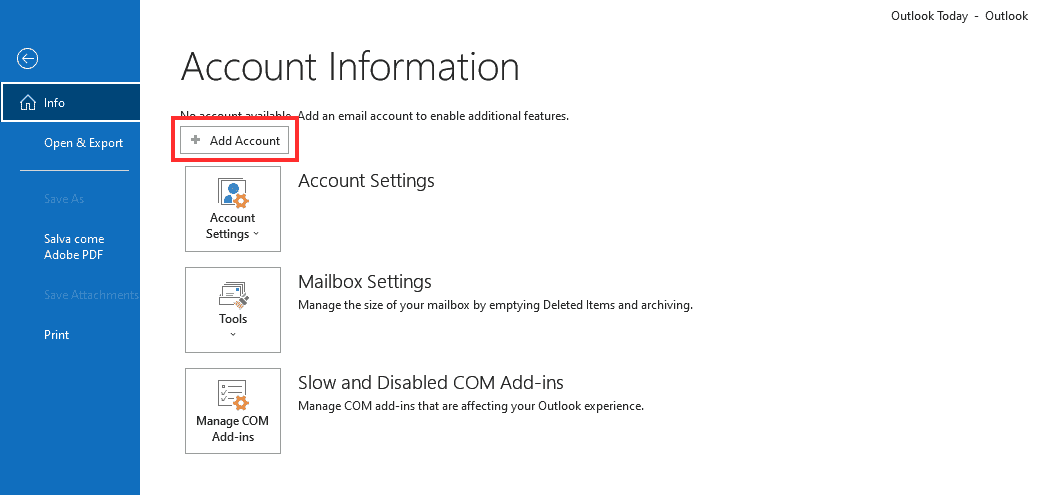
With Outlook, which every Windows operating system has installed by default, you can connect your email account easily. First, you will need to open the software, click on “File“, and select “Add account“.
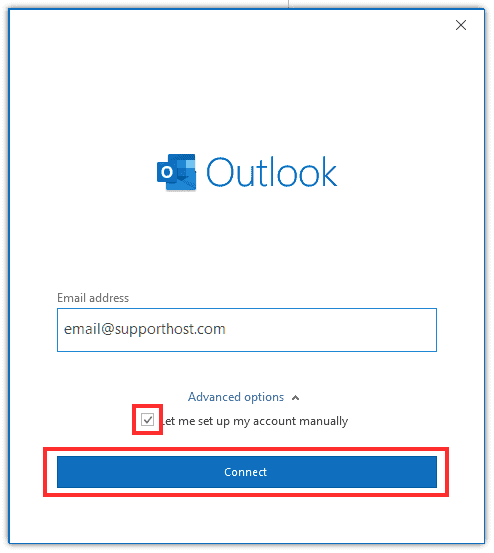
On the screen that will appear, you will have to enter your email address, check the box “let me set up my account manually” in the advanced options, and then you will have to click on the “Connect” button, as shown below.
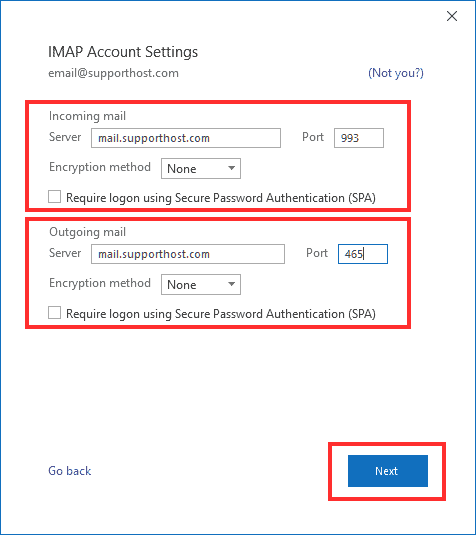
Here select “IMAP” and fill in all fields correctly following the instructions on cPanel. Once finished, click on “Next“.
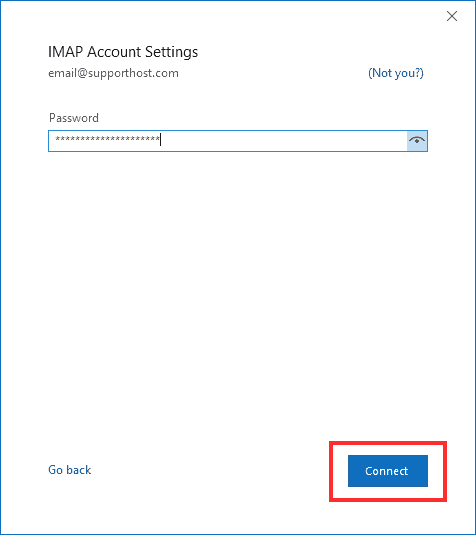
At this point, all you have to do is enter your password and click on the “Connect” button to finish the configuration procedure.
Configure the email client on Mac
With macOS, you can use the built-in Mail application as your email client.
Open the Mail app and, in the top bar, select the item “Preferences“.

In the window that opens, select the “Accounts” tab and click on the “+” symbol at the bottom left.

Select the item “Other Mail Account …” to start the manual configuration of your email account.

Now click on the “Continue” button.

Here you will need to enter your name, the address of your email box, and the password required to allow the app to access your email account created with cPanel.

Once you have filled in all the fields, click on “Sign In“.

Mac Mail will try to find the mail servers for you, but is not always able to do so. If it fails it may return an error, in which case you have to enter the mail servers manually.
Choose whether to use the IMAP or POP3 protocol and then enter the data for the incoming server and the outgoing server.
We recommend using the IMAP protocol because it will not delete your emails from the mail server, unlike the POP3 protocol. If you want to use your account from different devices you have to use IMAP since it performs a synchronization of emails between the client and the server.

Click on “Sign In” to log in to your mailbox for the first time. If the login credentials are correct, you will see the last screen from which you can choose the applications that can access the email account.
Click on “Done” to complete the configuration procedure of your email client.

Mozilla ThunderBird email client configuration
Mozilla ThunderBird is is an excellent software to manage multiple email accounts. To link your email account to this software, you will first need to open ThunderBird.
In the bar at the top right, click on the “menu” button and select the item “Account settings“.

Locate the item “Account Actions”, click on it, and select “Add mail account”.

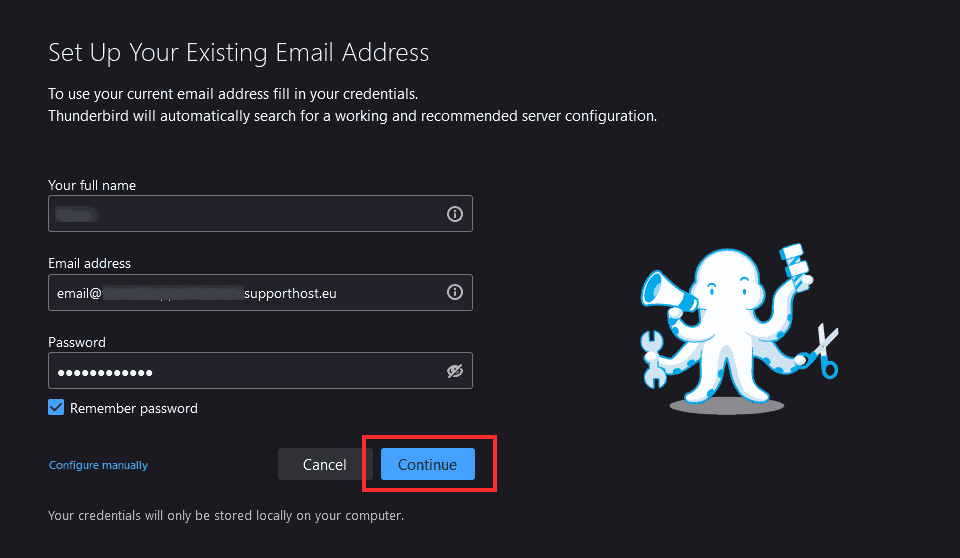
Here you will have to enter the name, email, and password fields and, if you want to start the automatic configuration procedure, you will have to click on the blue “Continue” button.
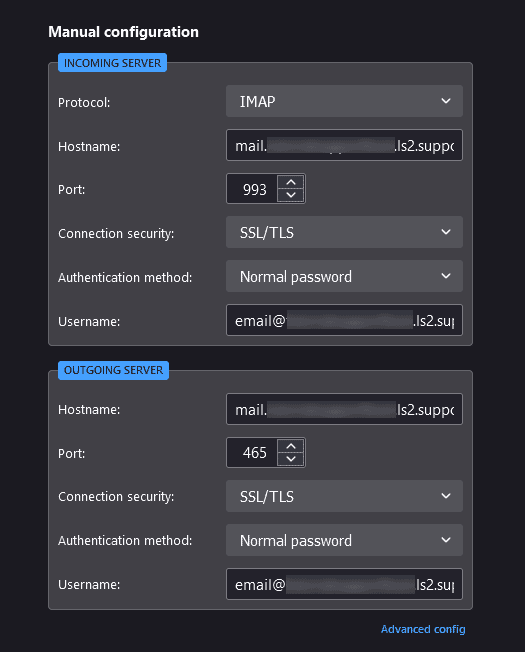
Otherwise, if you want to manually set the fields you will have to click on “Configure manually” and enter all the data as shown in the following screenshot.
Finally, you have to click on “Done” to finish the operation and add the account to Thunderbird.
Email client configuration on a smartphone
With cPanel, you can send an email containing all the instructions you need to connect your Android or iPhone device to your email account.
Go to the main page of cPanel and select “Email Accounts“.
All your available email accounts will appear on this list. Find the one you want to configure and click on the “Check email” button.

You should now see your webmail configuration page.
From here, you can manage all aspects regarding the email client configuration. You can choose between Android or iPhone by simply opening the drop-down menu as shown below.

In the empty field, enter the email address to which the email containing all the necessary configuration instructions will be delivered.
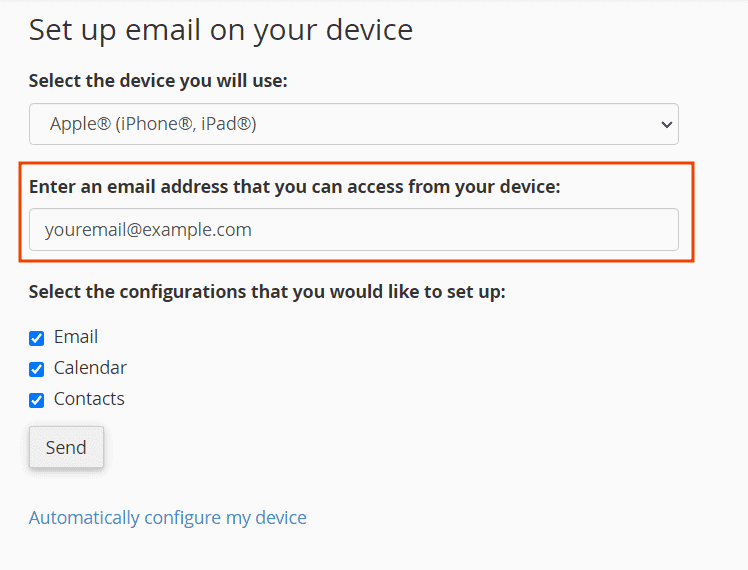
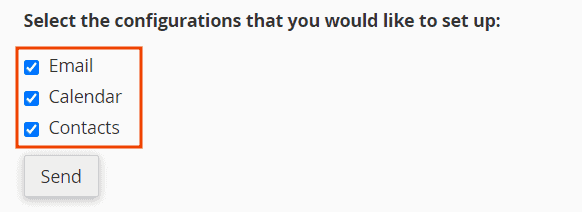
In addition to the configuration of the email, you can also receive a link to access the calendar and the address book containing all your contacts. Just check the boxes as shown below.
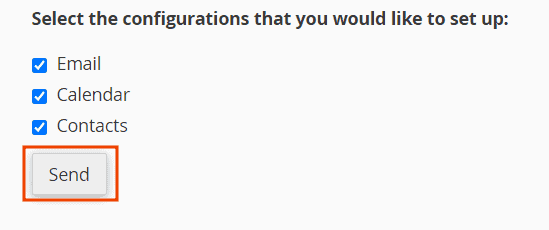
Once you have filled in all the fields, click on the “Send” button, and in a few moments, you will receive an email to the address you have previously chosen.
If the configuration has been sent successfully, a warning message will appear.

The data provided in the emails will be entered into your email management client on your mobile phone.
Configuring the email client on Android
Android is an operating system developed by Google, so you can use Gmail to connect your email account to your phone.
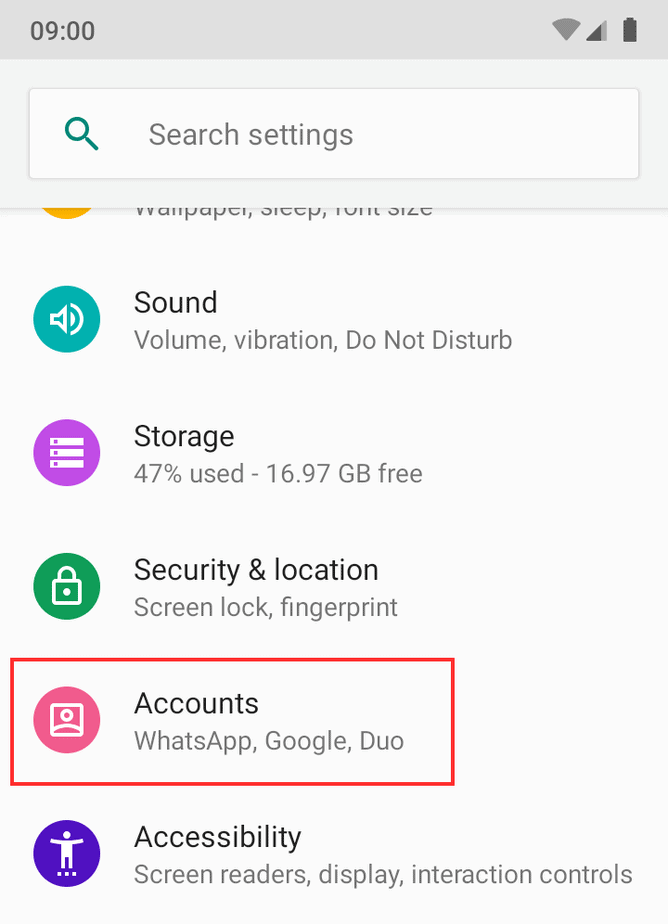
Open the Settings and search for the item “Accounts“.
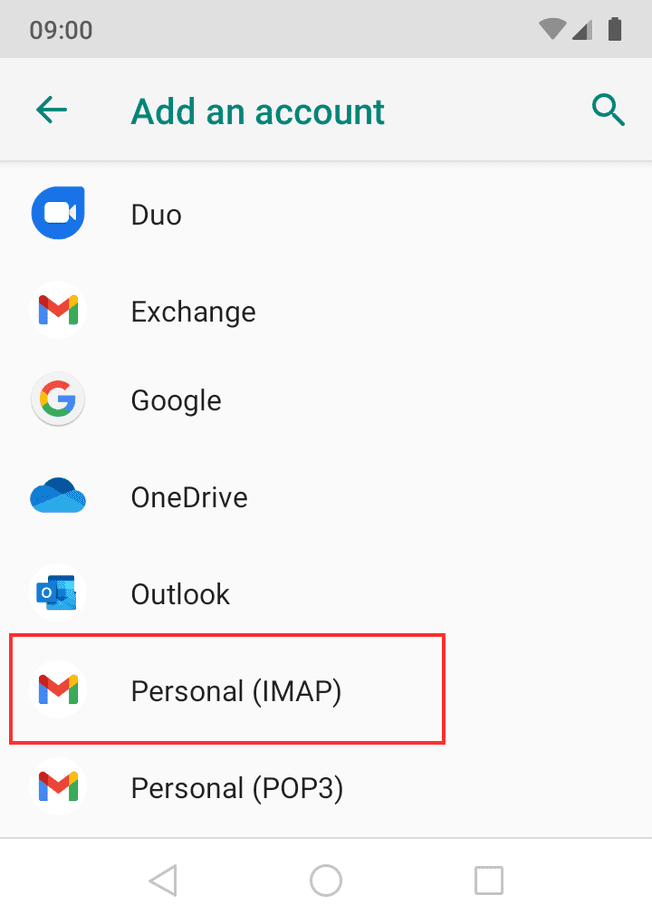
Scroll down and select “Add Account“.

All accounts that can be added will be displayed here. Look for the Gmail icon and select “Personal (IMAP)“.
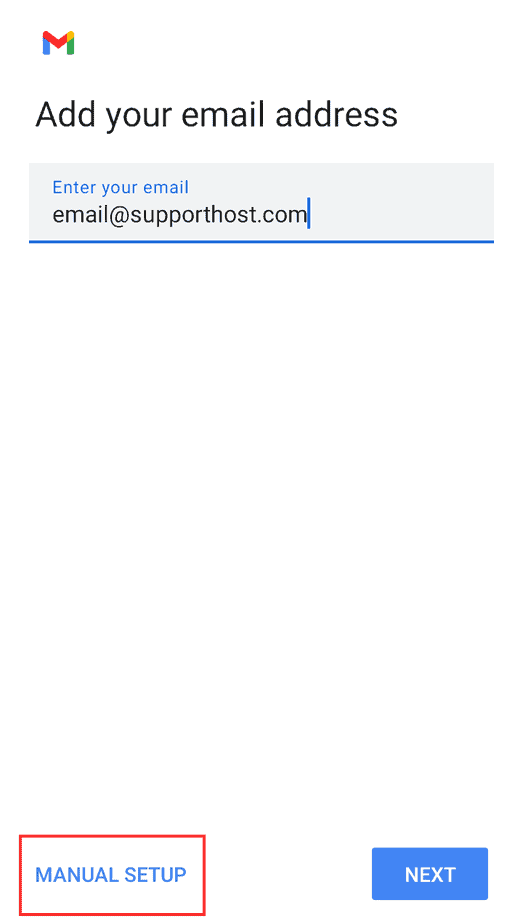
Now you will have to enter the email address of your email account and click, at the bottom, on “Manual Setup“.
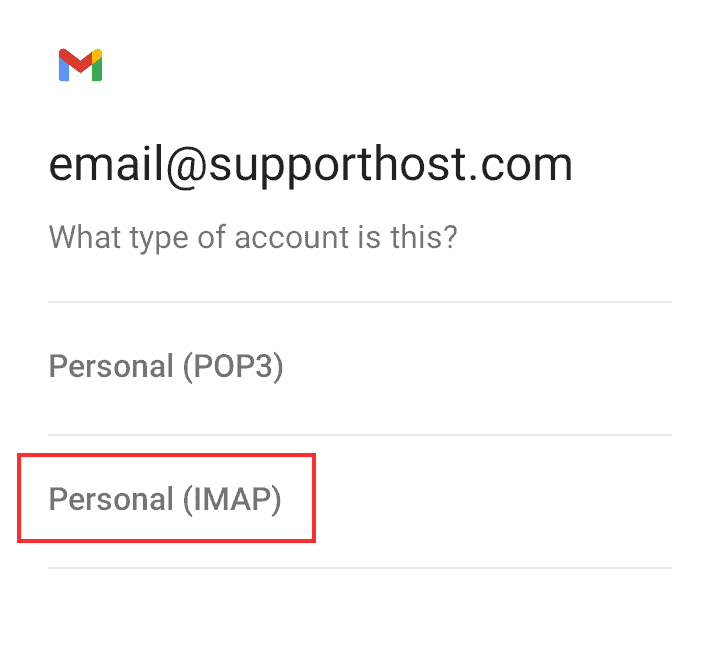
A menu will appear for selecting the email protocol to use, select “Personal (IMAP)” if you don’t know which one to choose.
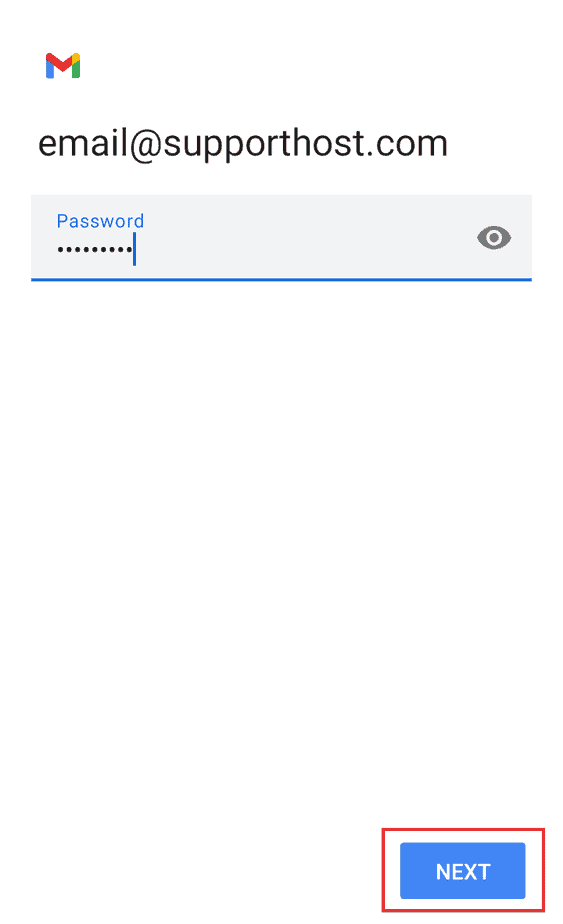
Now you will need to enter the password associated with the email account you are setting up.
Enter the necessary data in the “Incoming Server Settings” screen following the instructions on cPanel and click on “Next“.
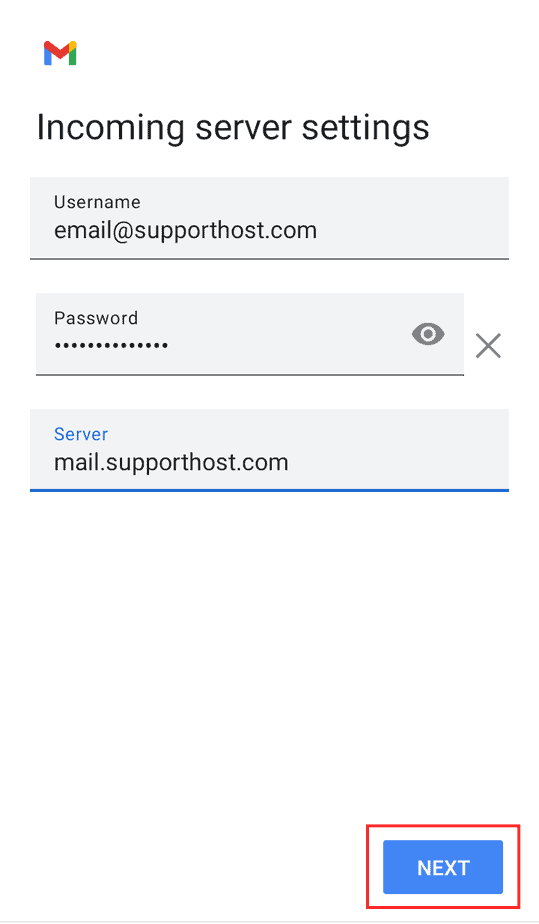
There will follow an attempt to connect to the account and, if the information is correct, another form will appear in which you will have to enter the data for the outgoing mail server settings.

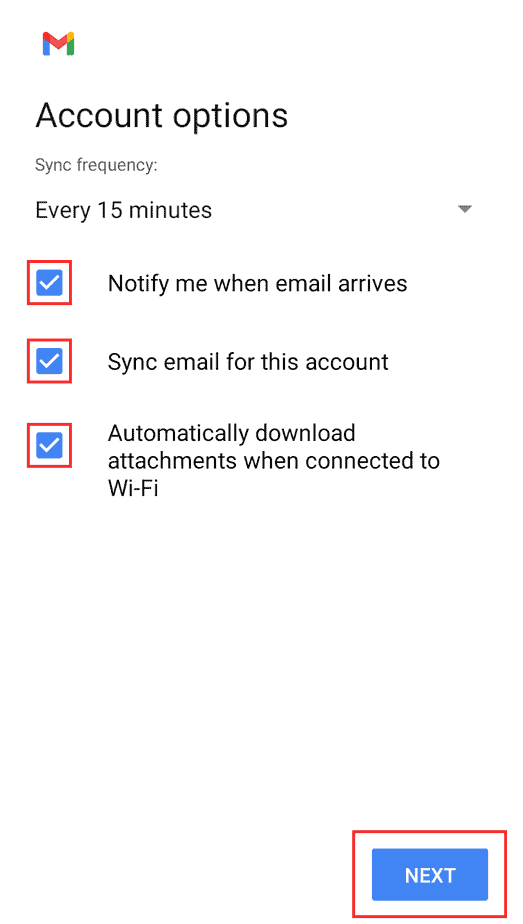
If all the information entered above is correct, you will see a screen where you can configure the account synchronization options.
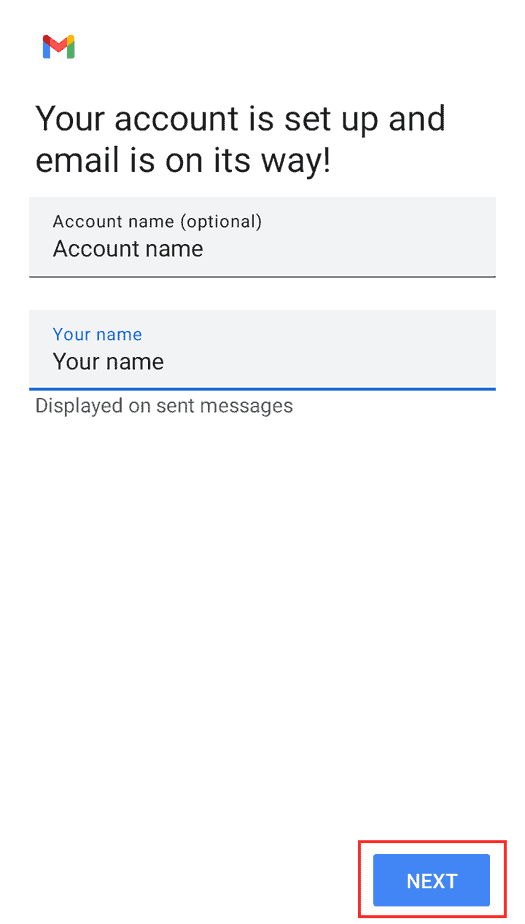
As the last step, you simply have to choose a name for your account and click on “Next” to complete the email client setup procedure.
Configure the email client on iPhone
Do you have iOS and want to connect your email account to your mobile? It’s easy as pie.
Every iPhone and iPad device is integrated with the Mail app, thanks to which you can easily configure your email account.
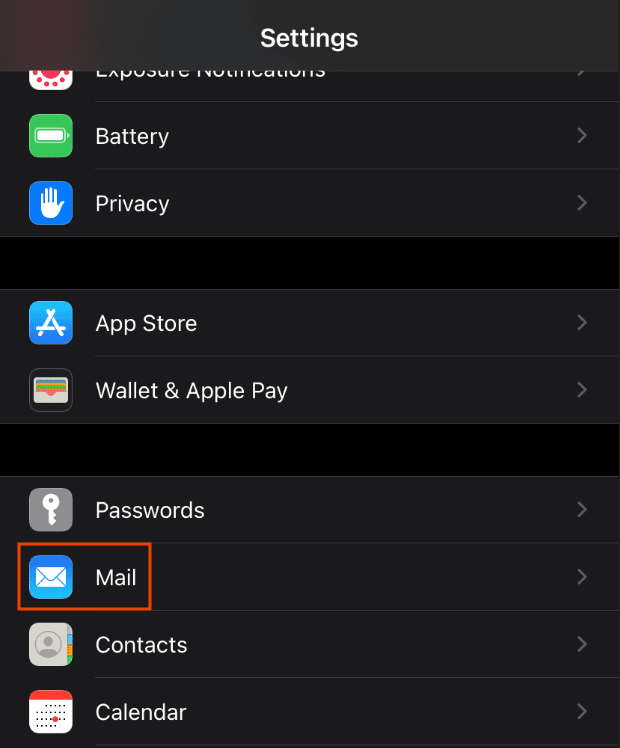
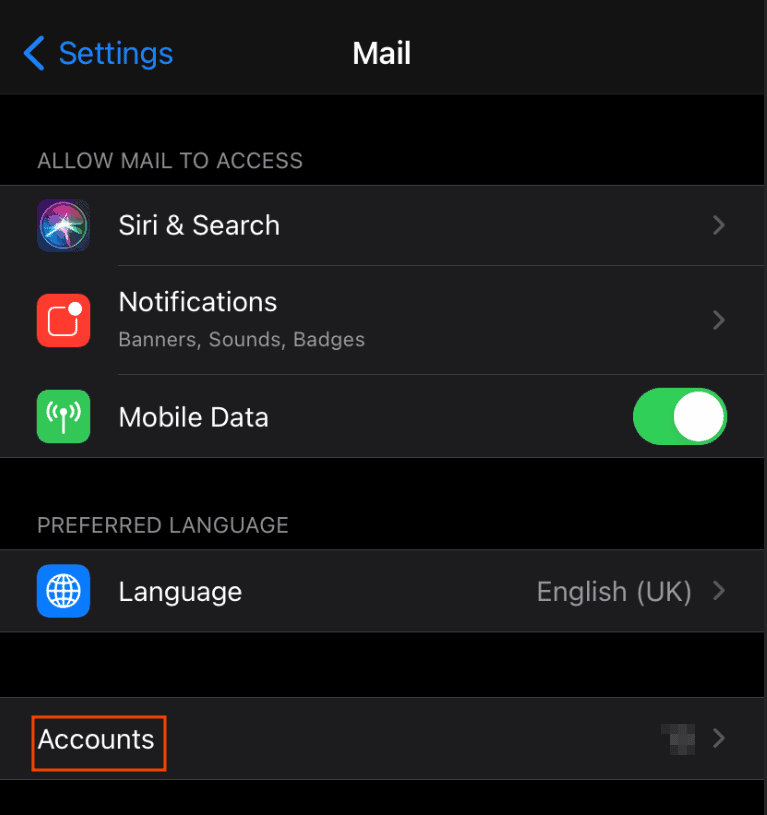
Open the settings of your device and scroll until you find the item “Mail“.
Now select “Accounts“.
All accounts on your device will be displayed here. Select “Add Account” to configure your email client.
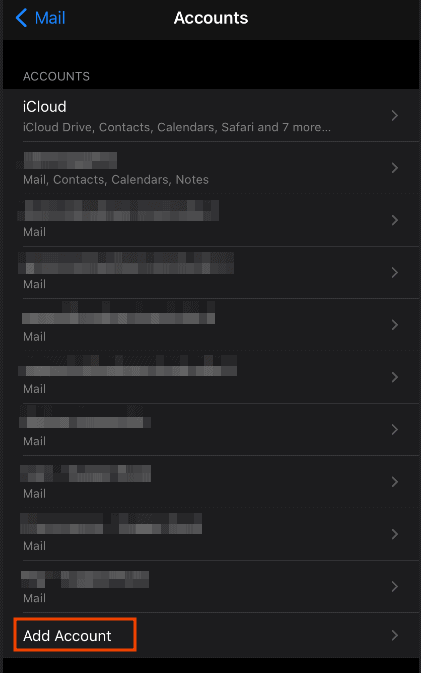
Among the various email managers present, select “Other” at the bottom.
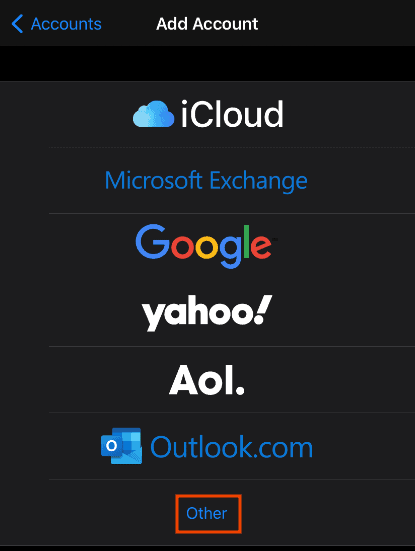
From the “Mail” section, click on “Add Mail Account“.
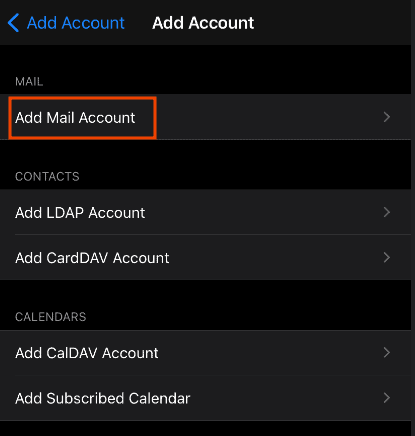
Here you will have to enter the login credentials of the account you want to configure.
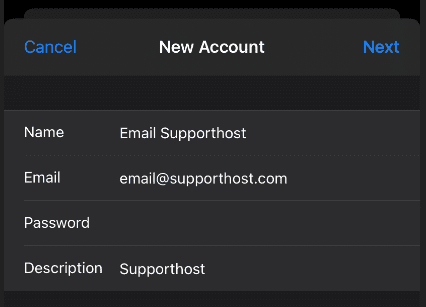
A screen will now appear for selecting the email protocol to use.
We recommend that you choose the “IMAP” protocol because it will not delete your emails from the server.

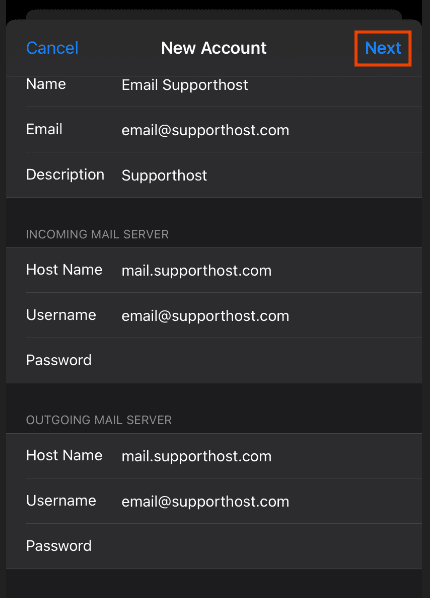
At this point, you will need to enter the configuration information for the incoming and outgoing emails.
Fill in all the fields following the instructions provided on cPanel and click on “Next“.
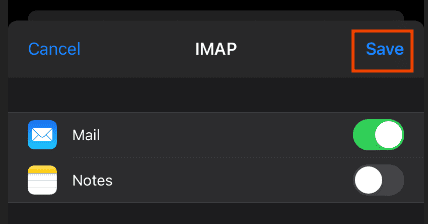
Select the applications you want to allow access to your email account and click on “Save” to finish configuring the email client on your iPhone.
Ready to build your WordPress site?
Try our service free for 14 days. No obligation, no credit card required.