
In this tutorial, we will see how to manage a hosting package from WHM. We will see step by step how to create, modify or delete hosting packages.
Creating hosting packages helps you speed up the creation of new cPanel accounts. By creating a package you can define the resource limits to be assigned to each account (space, traffic, email, and so on) and create all the hosting packages you want for your web hosting business.
Table of Contents
How to create a hosting package
Keep in mind that the indications and screenshots that I will show you in this tutorial are based on the English version. If you have the panel set up in another language, check out our tutorial to change the WHM language.
The first thing to do to manage a hosting package is to create our first package. To do this, log in to the reseller control panel, scroll the left side menu to “Packages” and click on Add a package.

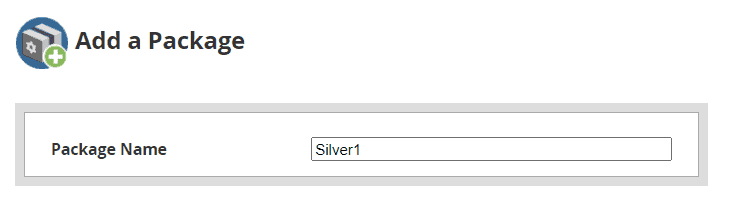
First, we have to choose the name of the hosting package we want to create and insert it in the field next to the Package name, in this example we will create a package called “Silver 1”.
At this point, we need to define the resources that will be included in the hosting package. Let’s see what resources we can set up.
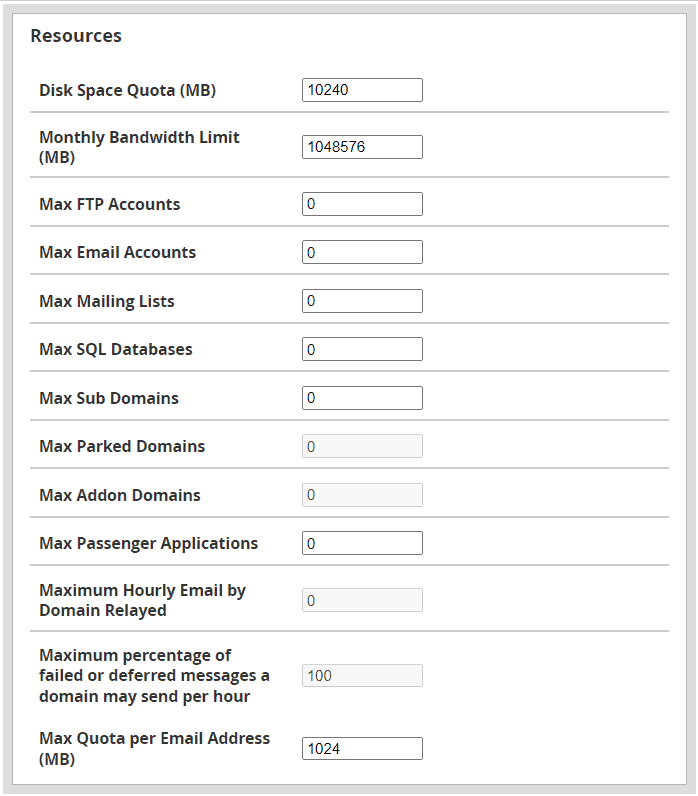
Disk space quota (MB): in this field, you will have to enter the disk space limit (in MB) for the package. For example, if you want to create a package with 2 GB of space, you will have to enter the size in MB, which is 2048.

Monthly Bandwidth Limit (MB): this option allows you to set the monthly bandwidth limit, also in this case, you must enter the value in MB. In our example, to allocate 20 GB of monthly traffic, we would enter 20480.

Max FTP accounts: enter the maximum number of FTP accounts that each cPanel account will be able to create, for example, 1. Please note that our plans reseller hosting have no limit on the number of FTP accounts you can create.

Max email accounts: set a threshold on the number of email accounts that each customer will be able to create. Again, consider that there are no limits on the email accounts you can create with our reseller accounts.

Max Quota per Email Address (MB): from this setting, you can set the space quota for each email address.

Max mailing lists: you can establish a mailing list threshold for each account.

Max SQL databases: you can set a maximum number of databases that each account can create.

Max Sub Domains: you can set a maximum threshold to the number of subdomains that each account can create.

Please note that the LVE resources (i.e. CPU, RAM, processes, and IO) destined for the accounts are fixed and cannot be changed directly by the reseller. If you need to increase the resources of an account, just open a ticket and forward your request to us. There is an extra fee for these changes.
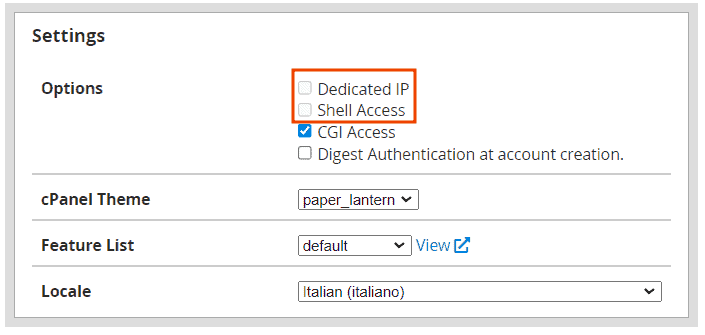
For each package, you can also set additional options from the Settings section.
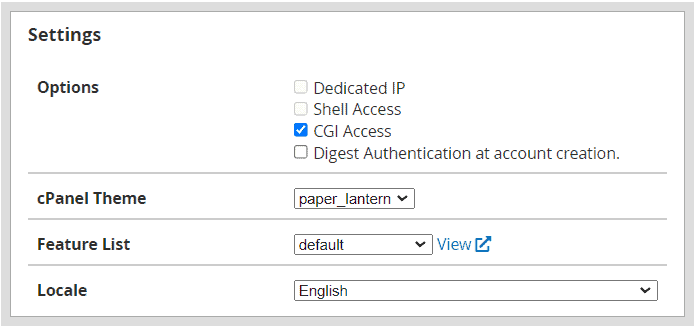
Dedicated IP: with a reseller hosting plan, you cannot directly associate a dedicated IP to an account. If you need to associate a dedicated IP, you will have to buy one and then open a ticket to ask us to associate it with a specific account.
Shell access: Check this box to allow users to access the server via the command line using a SSH connection.
CGI Access: This option allows you to allow accounts to run CGI scripts.
Digest authentication at account creation: This option is exclusively useful if the server does not have an SSL certificate. With our reseller plans, the SSL certificate Let’s Encrypt is included and is valid for all domains and subdomains of the account.
cPanel theme: You can choose the cPanel theme that users who use this package will see. The options are “paper_lanter” and “Jupiter”.
Feature list: you can choose which cPanel functions will be accessible to users using this package. You can usually leave the default option, but you may want to create a new feature list and associate it with the package, as we’ll see in the next section. Remember, you can also modify a hosting package after creating it, as we will see later in this tutorial.
Local settings: from the drop-down menu you can set the language for your users’ cPanel panels. Please note that users will be able to later change the language from their account settings.
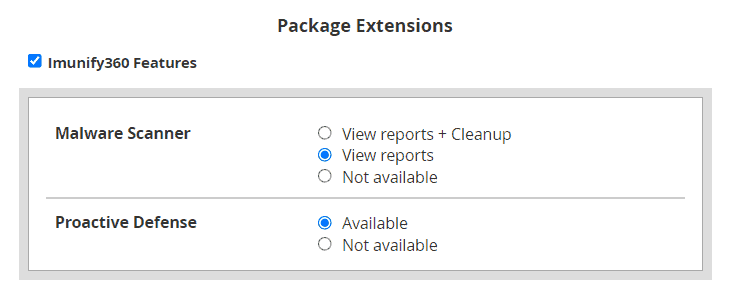
You can also add package extensions to the hosting package you are creating and choose which settings to use. In our case, the extension concerns the functions of Imunify360, and you can choose whether to activate the proactive defense and functions for malware scanning, by checking the options you see in the screenshot below.
After choosing the options and resources to associate with the new hosting package, we just have to click on the Add button at the bottom of the page to complete the package creation.

Manage a hosting package: how to create a feature list
In most cases, if you are creating a hosting package, you can enable all control panel functions. There are cases, however, in which you may want to enable only some cPanel functions, for example, those for managing only email accounts, and not show all the others.
To create a new function list, click on Feature Manager from the Packages section of WHM.

On the new screen, choose the name of the function list and click on Add a new feature list.

Then check the options that interest you, for example, those related to emails in case you are creating a package for the exclusive use of emails.

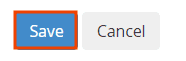
Scroll down and click Save.
After creating one or more feature lists, you can modify an existing hosting package and choose which feature list to associate them with.
After creating a feature list, you can edit it from the Packages -> Feature Manager section. Select the list to be edited from the list under Manage feature list and click Edit.

If you want to delete a feature list, choose the list you want to delete from the drop-down menu and click Delete as you see here.

A notice will confirm that the list has been deleted.

Now let’s see how to manage a hosting package by modifying the packages already created.
How to modify a hosting package
Note that when you change the resources of a hosting package (for example, by changing the available space quota), the changes are applied to all accounts that use that package.
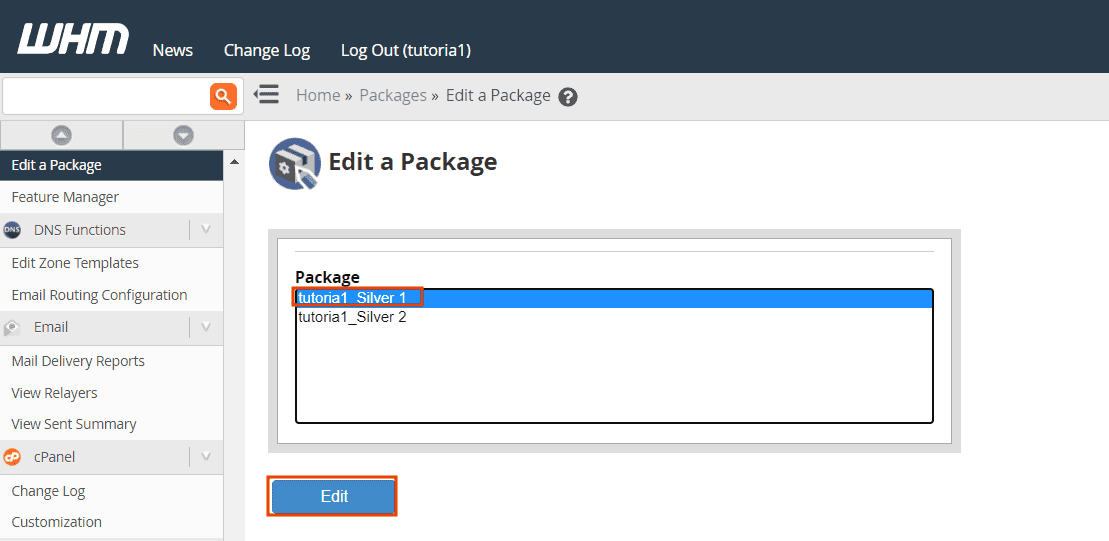
After creating a package, you may need to modify it. To do this, click on the Edit a package item in the Packages section.

You will then see the list of packages you have created. Select the one you want to change and click the Edit button.
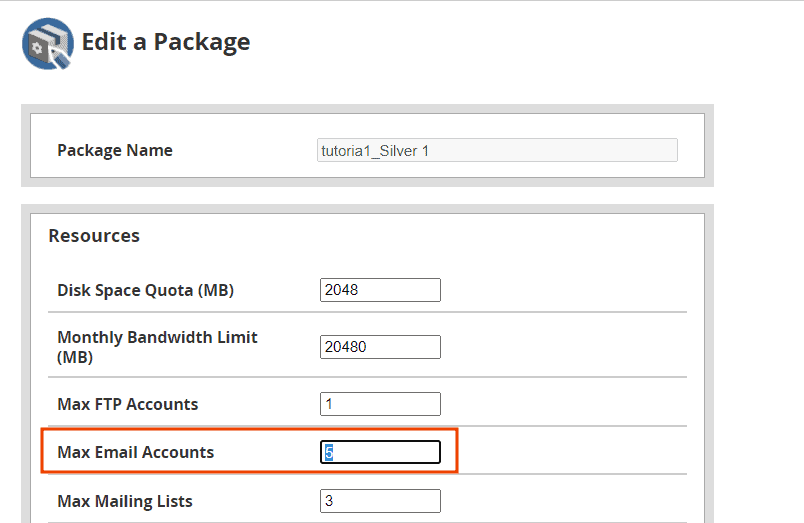
All the resources we saw in detail earlier (disk space, traffic, number of email accounts, and so on) can be changed.
In our example, we have created a Silver 1 package with up to 5 email accounts. To change it, just change the value next to the item “Max email accounts“.
Remember that to make the changes effective you will need to click on Save Changes at the bottom of the page.

If, on the other hand, you want to cancel the changes made, click on Reset.

Some exceptions
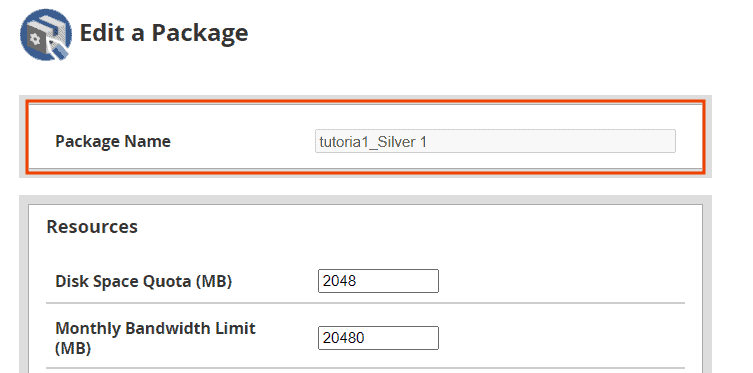
When editing a package you will notice that some settings cannot be changed. First, it is not possible to change the package name.
If you want to use a different name for the package you created, you will need to proceed as follows:
- create a new package with the new name you want to give it
- set the resources for that package
- assign a package to accounts.
Keep in mind that even if you can change the Max Quota per Email Address (MB) i.e. the space allocated to each email account, this change will not be applied to existing email accounts.
After the package is created, you will not be able to change some of the options in the Settings section. Specifically, you will not be able to assign/remove the Dedicated IP and Shell Access options.
Again, if you want to change these options, you will have to create a new package and then assign it to the accounts.
How to delete a hosting package
Before proceeding with deleting a hosting package, please note that you will not be able to restore deleted packages. If you delete a package by mistake, you will have to create a new package with the procedure we have seen in this tutorial.
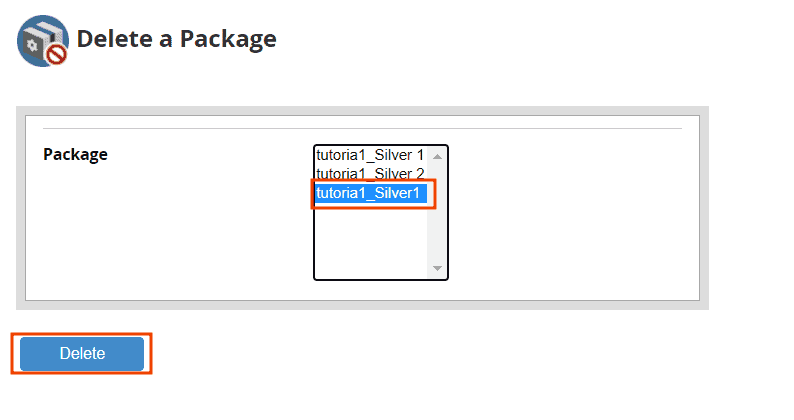
To delete a package, click on Delete a package from the Packages section of the WHM side menu.

We select the package from the list and click on the Delete button.
Case 1: The hosting package is already in use
If you are trying to delete a package that is associated with one or more cPanel accounts, the system will not allow you to cancel it, and you will see a warning like this.

If you want to delete a package that you have already associated with accounts, you will first need to select a different package for these accounts. To change the hosting package, you can follow our tutorial on upgrade/downgrade cPanel.
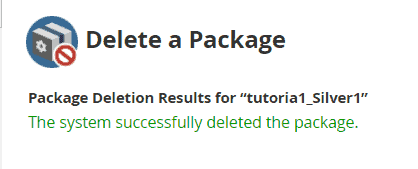
Case 2: The hosting package is not in use
If the hosting package you want to delete is not associated with any cPanel account, just click on Delete, the package will be deleted, and you will be shown a confirmation notice like the one below.
Ready to build your WordPress site?
Try our service free for 14 days. No obligation, no credit card required.