In this article, Migrate from Wix to WordPress, I will show you how to transfer your site from Wix to WordPress. If you’ve decided to switch from Wix to WordPress, you should know that transferring your site’s content can’t begone automatically.
However, there are ways to speed things up to make the site transfer as easy as possible. Let’s take a step-by-step approach at everything you need to do to migrate from Wix to WordPress.
Table of Contents
Transferring your site from Wix to WordPress: before you begin
If you’re trying to figure out which platform to choose to create your site you can check out our comparison Wix vs WordPress to get a clear idea of what you can get from the two platforms.
Before going to see how to transfer your site from Wix to WordPress, here’s a brief introduction. The appearance of your site after migration will not be identical because Wix uses its own templates, so you won’t find the exact same theme on WordPress. The same problem could occur in a Migration from Blogger to WordPress but fortunately WordPress has so many themes that it won’t be hard for you to find another one that will work for you.
Another difference between Wix and WordPress is hosting. With Wix you have a plan included, with space and bandwidth within certain limits depending on the plan you have chosen (free or paid). With WordPress you’ll need hosting.
The same goes for the domain, Wix allows you to use a free subdomain, while with WordPress you will have to register an internet domain. Depending on the provider you choose, the domain may be included in the plan or you may have to pay separately. With us, the domain is always included in the plan for all renewals.
Let’s get back to the topic and see how to transfer your site from Wix to WordPress. For simplicity’s sake, here you have the brief steps which we’ll follow for the migration:
- register a hosting and a domain
- install and configure WordPress
- import articles with the RSS feed
- import images
- import pages.
Choosing a hosting
The first thing you need to do to move your site from Wix to WordPress is choose a hosting and register a domain.
Depending on your needs you can choose a shared hosting and install WordPress in a few clicks with Softaculous or choose a WordPress hosting in which you will already have the CMS installed and ready to be used.
Our plans always include the domain, so you only need to order the domain when you register the plan and make sure that the name you choose is among the available domains.
Configure the WordPress site
After installing WordPress you can log into the bulletin board and start with the first configurations. The first things to do are: choose a theme, set permalinks, and change the general WordPress settings. Let’s take a look at these steps.
Choose a theme
After installing WordPress you can choose the theme you like. Wix and WordPress don’t share the same themes, but you’ll be able to find a similar one or one you like from the hundreds available (both free and paid ones).
You can choose the theme during installation and then change it at any time from the section WordPress themes.
Set permalinks
WordPress allows you to choose the structure of permalinks, which are the addresses of each post you publish on your site.
First you must be logged into the dashboard by logging into tuosito/wp-admin and entering your login information. From the left side menu click on Settings and then Permalink.
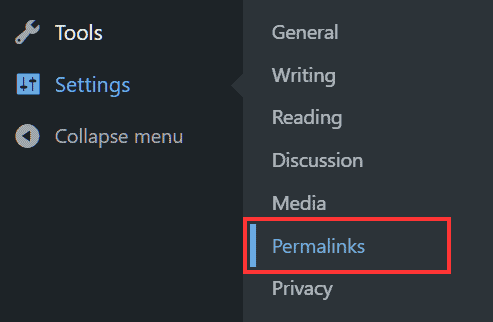
In the page that opens you can choose the structure that will have the links of your posts such as date and name, just the name of the article and so on.
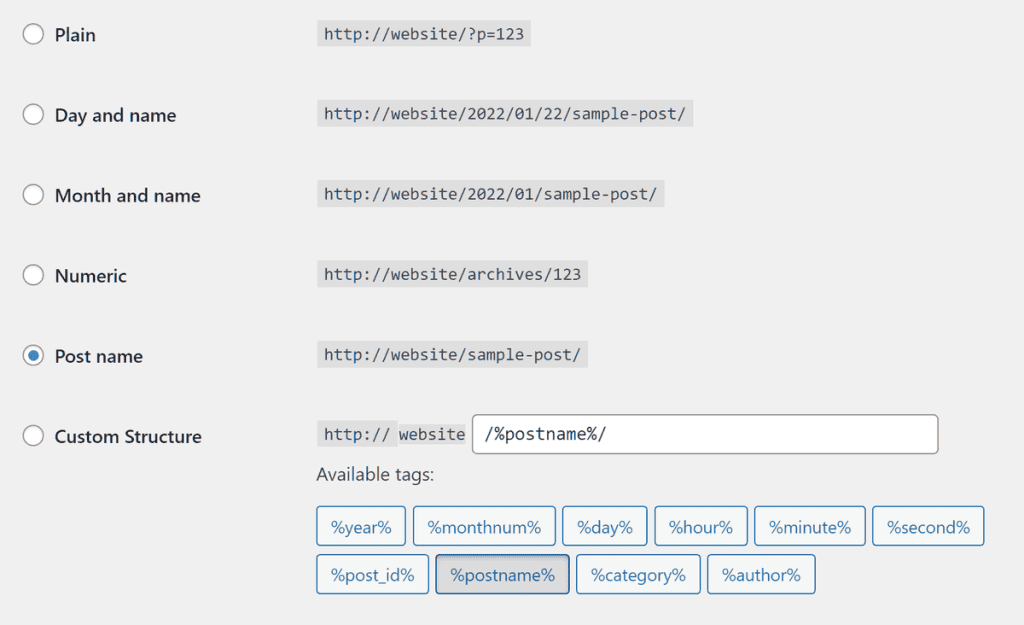
In this example we have chosen to enter only the name of the item (no date).
Set title and site tagline
From the WordPress dashboard, click on Settings → General.
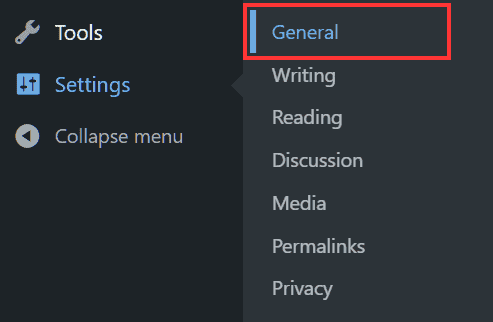
From here you can enter the title of the site and a brief description.

Once these initial settings are done we can start with the actual import to migrate from Wix to WordPress.
Transfer site from Wix to WordPress
In order to transfer the site from Wix to WordPress the first thing we need to do is to transfer the articles of our blog from one platform to another. To do this we will use the RSS feed that will allow us to import all the posts without having to copy them one by one manually.
Find RSS feed
You should usually be able to find the RSS feed by adding /feed or /feed.xml to the end of your site url.
In our case we couldn’t locate the feed and were shown the following 404 error.

To fix it, do the following: from the side panel of Wix click the Edit Site button as shown here:

Let’s select, then, the page to be modified, that is the home page in this way:

We then click on the My Blog button on the left as shown here:
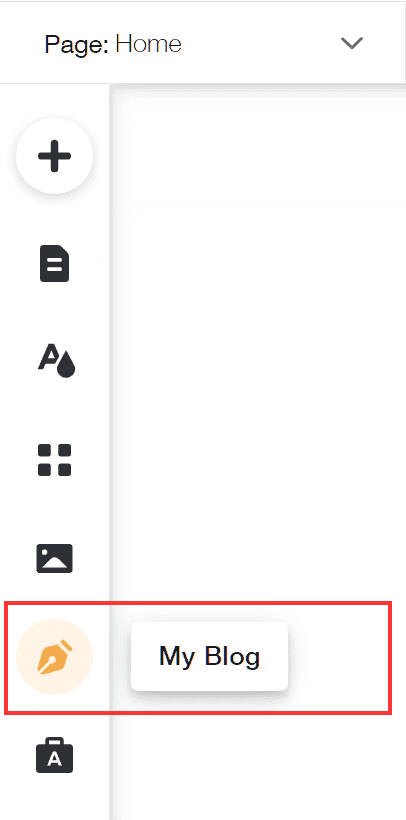
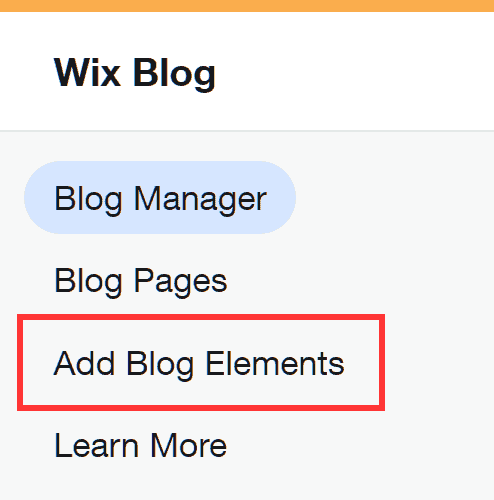
Now let’s click on Add Blog Elements, as you see below:
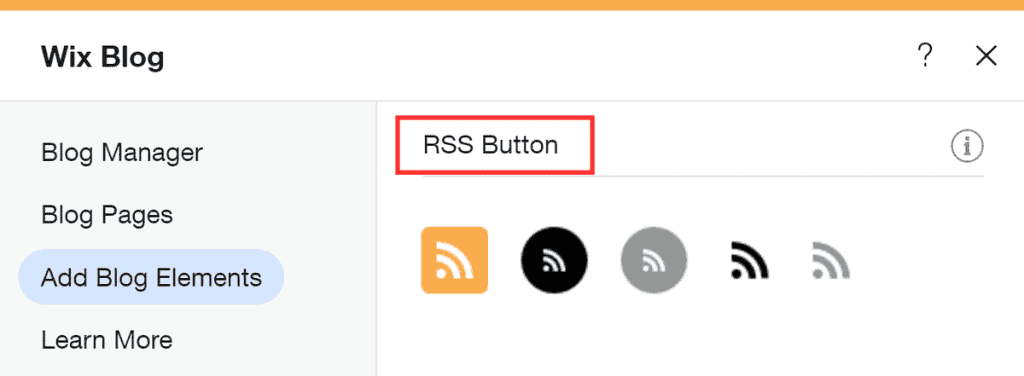
Among the different add-ons, we look for the item RSS button and insert the item in our home page.
After inserting the RSS button by clicking on it we can display the corresponding link (blog-feed.xml). Let’s right-click on it and select “Save link as…” as shown here:
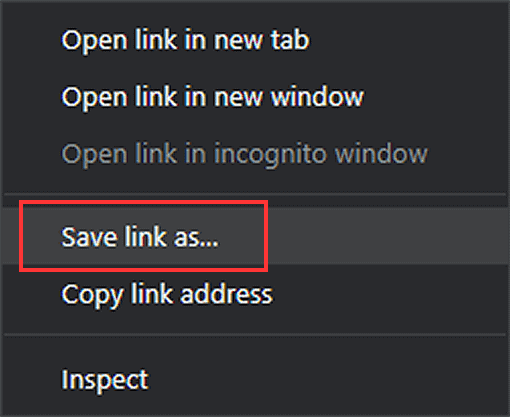
Let’s make sure the file we are saving keeps the .xml extension (some browsers may save it as .txt) and save it on our computer.
Import RSS files to WordPress
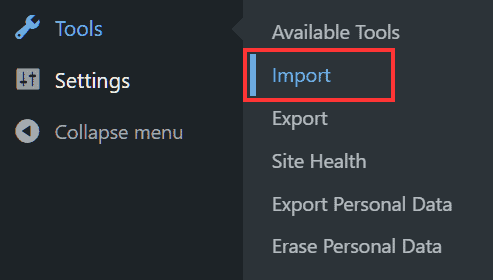
Let’s go back to the WordPress bulletin board and click on Tools → Import.
We then have a list of import tools in front of us, such as the WordPress import plugin that you can use if you want to transfer from WordPress.com to WordPress.org. In this case, however, we’re interested in RSS. So, let’s click on the Install Now button that appears below the name.
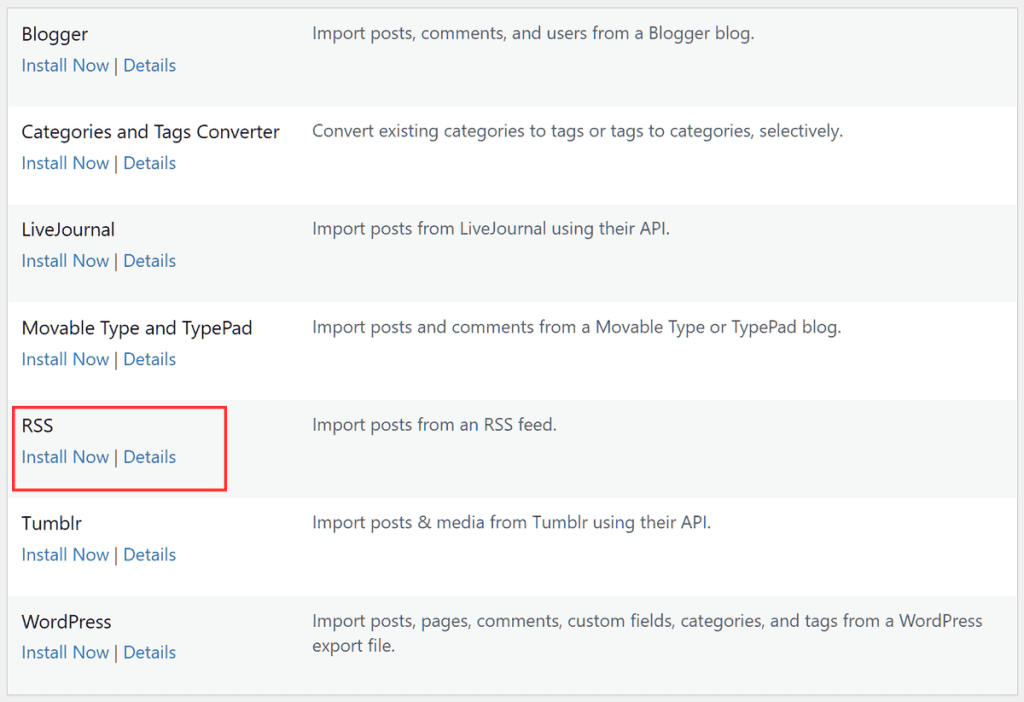
After the installation is done the button turns to Start Import, click on it and we will be directed to a new page.
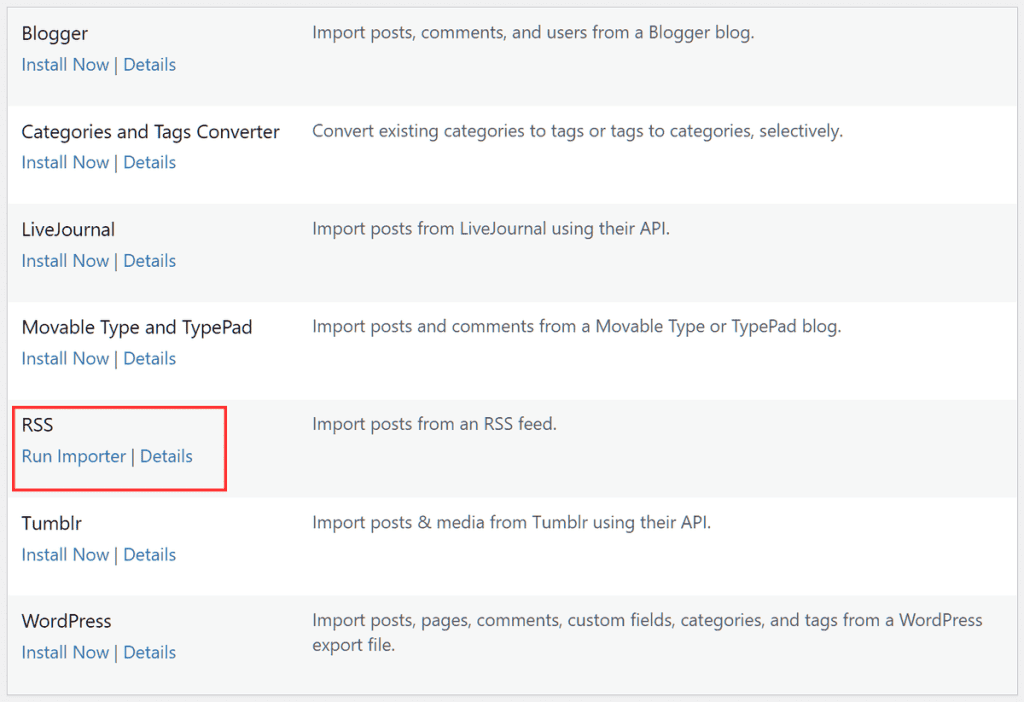
From here we can upload the file we saved earlier, to do so we just click on the Choose file button and select the file from our computer. After selecting it we click on Upload file and import to continue.

In our case after the import we received the following error:
Fatal error: Uncaught Error: Call to undefined function set_magic_quotes_runtime() in /home/equilib1/public_html/wp-content/plugins/rss-importer/rss-importer.php:72 Stack trace: #0 /home/equilib1/public_html/wp-content/plugins/rss-importer/rss-importer.php(178): RSS_Import->get_posts() #1 /home/equilib1/public_html/wp-content/plugins/rss-importer/rss-importer.php(204): RSS_Import->import() #2 /home/equilib1/public_html/wp-admin/admin.php(353): RSS_Import->dispatch() #3 {main} thrown in /home/equilib1/public_html/wp-content/plugins/rss-importer/rss-importer.php on line 72
The error is due to PHP version 7, so we had to set the PHP version to 5.6 and run the import again.
This time the import of the items was successful, as confirmed to us by this notice:
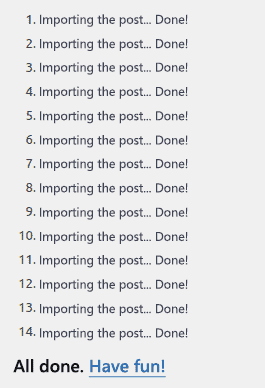
After completing the procedure we can reset the PHP version (in our case to 7.4).
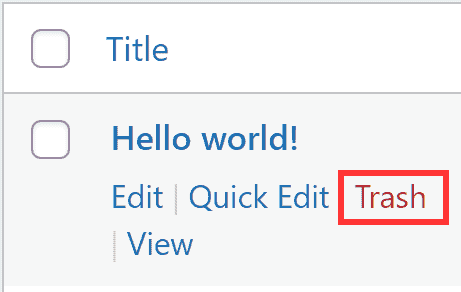
Now that we have imported our posts we will find them in the Posts section of WordPress, from here we can also delete the default article that is automatically created after WordPress installation. All we need to do is click on the Trash button that we see below the article titled “Hello world!”.
Following the steps outlined so far we’ve only imported the posts, but we haven’t yet transferred the images from Wix to WordPress, let’s see how to do it.
Import images from Wix to WordPress
After importing our posts we can check the URL of the images in them to see that they are still on Wix.
Also, if we check the media library on WordPress we won’t find any images, only the import file we uploaded.
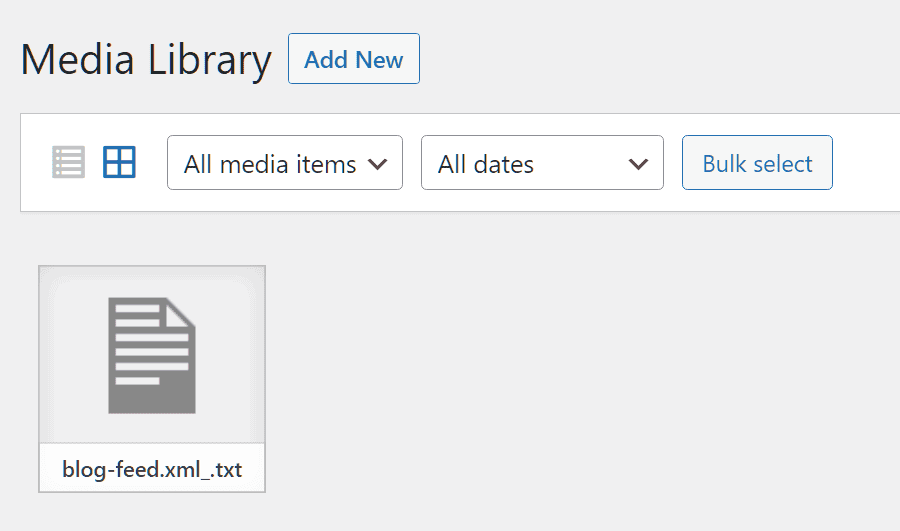
We don’t need this file and we can also delete it now that we have completed the procedure.
What we need to do now is to import the images, to do that we will use a plugin that automates the process. The plugin I used is Auto Upload Images by Ali Irani.
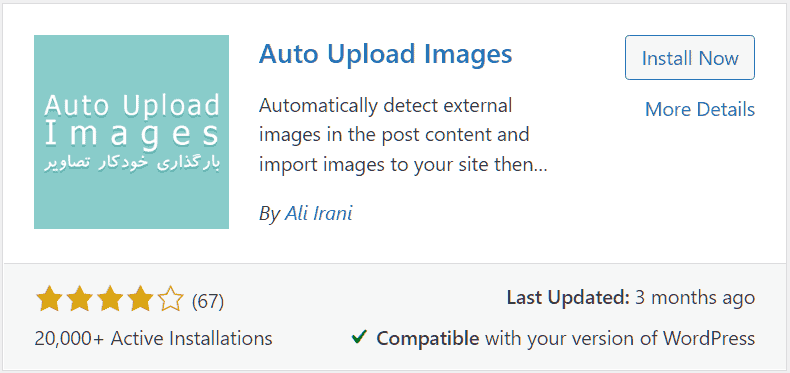
Even if the plugin has not been updated recently, since the last update was 2 years ago, in this case we can overlook it, use it and delete it as soon as the image import is completed.
We just need to install and activate the plugin, after that we can leave the default settings and continue without changing them. Let’s go to the WordPress post list from Articles → All Articles, select all of them and then from the Bulk Actions drop-down menu select Edit and click Apply.
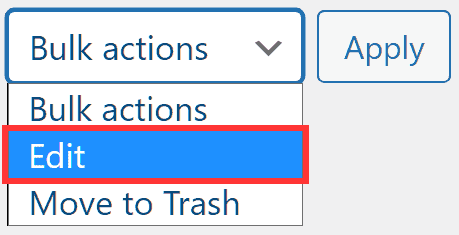
From here we click Update without changing any options.

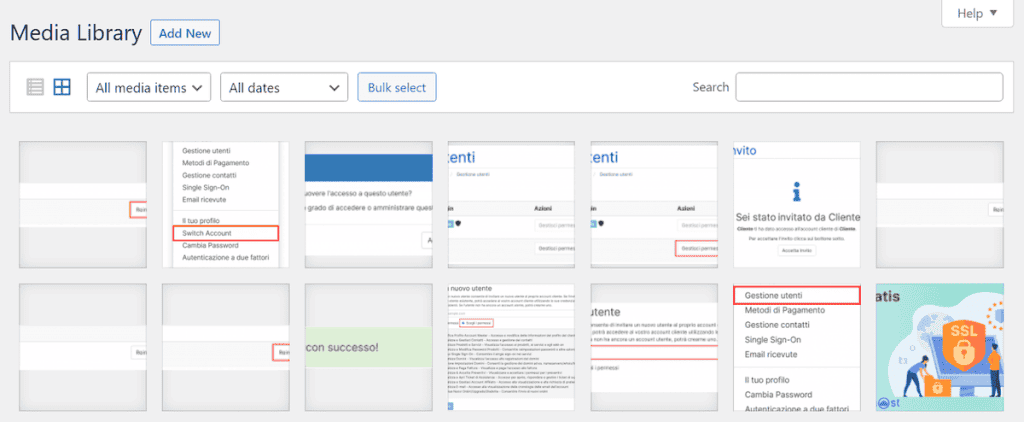
The import procedure takes a while depending on the amount and weight of the images the plugin needs to import. Eventually if we go to check in the WordPress media library we will see the images.
Import pages from Wix to WordPress
Using the RSS import to switch from Wix to WordPress we can only bulk transfer the articles, but not the pages. Therefore, we have no choice but to proceed manually.
Since there is no method to make this operation automatic we will have to open the pages one by one created on our Wix site, copy the content and paste it into a new page created on WordPress.
To create a page on WordPress we just click on Pages → Add Page as you see here:

Final operations: checking the result
After importing the pages it is good to check that everything is ok, check for formatting errors, broken links or media not found. Check the page preview and do the same with the site posts.
When you’ve verified that your site looks the way it should, you can bring it online so that users can visit it.
Transfer the domain
If you purchased a domain on Wix you can choose to transfer the domain to your new host. To do this just follow this Wix guide for the transfer and then change the nameservers of your domain.
This only applies to registered domains, if you were using a free Wix subdomain you cannot use the redirect 301 to redirect site visitors from your old Wix address to the new domain with the WordPress site.
Conclusion
In this article, Migrate from Wix to WordPress, we’ve seen how to go about transferring your site from Wix to WordPress. If you followed all the steps, you should have managed to complete your site migration and save a lot of time in the transfer.
Were you able to switch from Wix to WordPress or did you encounter any difficulties? Let me know in the comments below.


Leave a Reply