In this article, let’s take a look at Softaculous: what it is and how to use it. We’ll see how it can simplify your life, by allowing you to install CMS and other applications for creating and managing your website.
Let’s see how you can use Softaculous and what functions it offers besides installing WordPress and other CMSs.
Table of Contents
Softaculous: what is it and what is its use?
Softaculous is an automatic installer compatible with multiple hosting control panels such as cPanel, Plesk and DirectAdmin. The application can also work with custom hosting panels, for which Softaculous Enterprise was specially designed.
The purpose of Softaculous is to simplify the installation and configuration of hundreds of scripts. With Softaculous, the installation of major CMSs such as WordPress, Joomla, PrestaShop or Drupal, can be done with just a few clicks.
In addition to installing scripts, you can also manage installations with Softaculous. Indeed, it is possible to update installations to the latest available version and create a copy of an installation. Softaculous also allows you to create a staging of the site so that you can perform tests on a test environment before making the changes effective on the live site.
Softaculous makes the installation process simple because it guides you through the process step by step with an easy-to-use graphical interface. The installation is almost immediate and takes place in a matter of a few steps unlike, a manual installation which is complicated and time-consuming. In addition, during the installation, you can also activate the WordPress Multisite feature that allows you to manage multiple sites from a single administration panel and with a single installation of WordPress.
Let’s take WordPress as an example, if we wanted to install WordPress as well as other CMSs, manually what should we do?
The steps are as follows:
- upload the necessary files to use the CMS, via file manager or FTP
- create a database and configure the files
- launch the installation
To complete the process, a manual installation requires intermediate skills, while with an automatic installer you won’t have any difficulties and the procedure is within everyone’s reach. With Softaculous, in fact, all these operations are combined and simplified, and the installation and configuration process is done in just a few clicks.
Softaculous Free vs Premium
Softaculous is available in a Free version with a free license and a Premium version with paid plans on a monthly or yearly basis.
The Free version provides a single license per server and includes 59 scripts, which you can check out in this list. The Premium version contains more than 400 scripts, there’s also a free month trial for the Premium version. In our hosting plans, you will find the Premium version and you will be able to install all the scripts present.
Softaculous applications
Through Softaculous you can install the most used CMS such as WordPress, Joomla or Drupal along with a whole series of applications designed for forums, blogs, social networks, and much more.
Let’s see some of these scripts.
WordPress
WordPress is one of the most widely used CMS for creating websites and blogs, it is a free and open-source project supported by a community always working towards updating and further development. Easy to use, customizable thanks to the themes available and suitable for any kind of site with plugins.
Drupal
Drupal is a platform for developing dynamic websites based on the PHP language. Just like WordPress, this CMS is free and Open Source (available under GNU/GPL license).
phpBB
It is one of the most used systems to manage a forum, Open Source and equipped with a management panel that allows you to manage and insert new functions through a graphical interface, even without knowing to code.
WHMCS
One of the most popular platforms used by web hosts and hosting resellers, it allows you to manage and automate billing, support tickets and so on.
PrestaShop
Open Source CMS designed for ecommerce sites, can be customized with the choice of themes available and you can add new features through modules. With Softaculous you can install PrestaShop in a few clicks and start creating your online shop right away.
How to use Softaculous
In our WordPress hosting plans, shared hosting, dedicated server and vps cloud hosting Softaculous is included for free. Through this application, you can easily install and configure over 400 different applications.
The very first step to use Softaculous is to log in to cPanel, after that, scroll down to the Software section and you’ll find the Softaculous Apps Installer as shown in this screenshot:

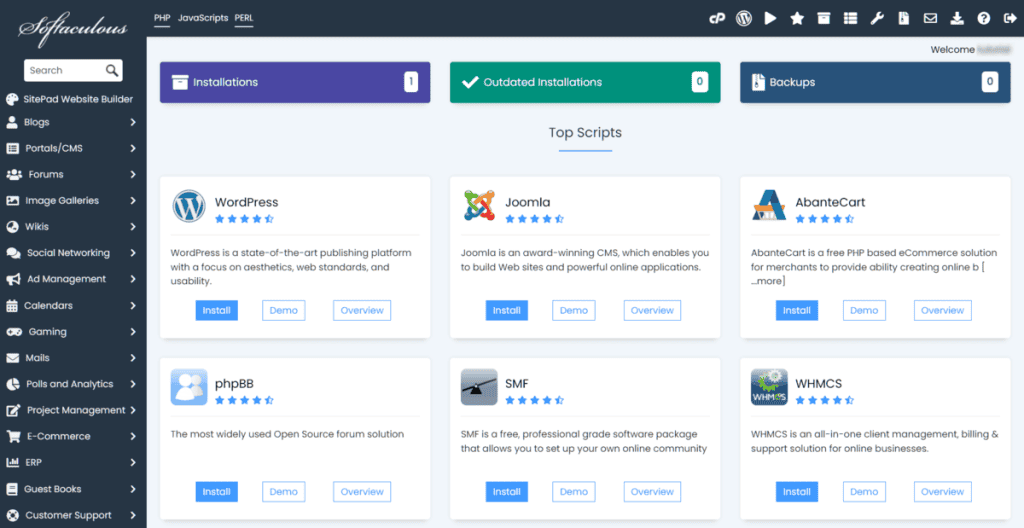
Clicking on it will take us to the main page of Softaculous:

From here we can see a series of scripts among the most used, including WordPress, and on the left a side menu with the scripts grouped by categories. Let’s see what you can do.
At the top we can see a bar with a series of buttons, let’s see what they are for:

1 – Go to the Control Panel: by clicking there we return to our cPanel
2 – WordPress Manager: allows you to search for any WordPress installations already present or to install WordPress
3 – Scripts in Demo version: allows us to try one of the scripts (eg WordPress or Drupal) by showing the result that we will have to install the script
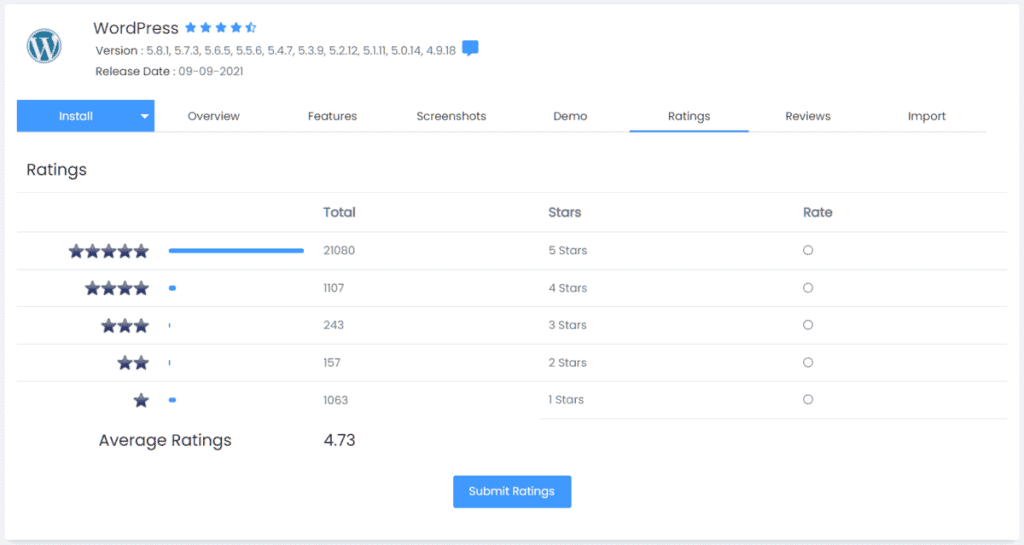
4 – Script Ratings: allows you to open a list of scripts and by clicking on each you can see the ratings of users (1 to 5 stars)

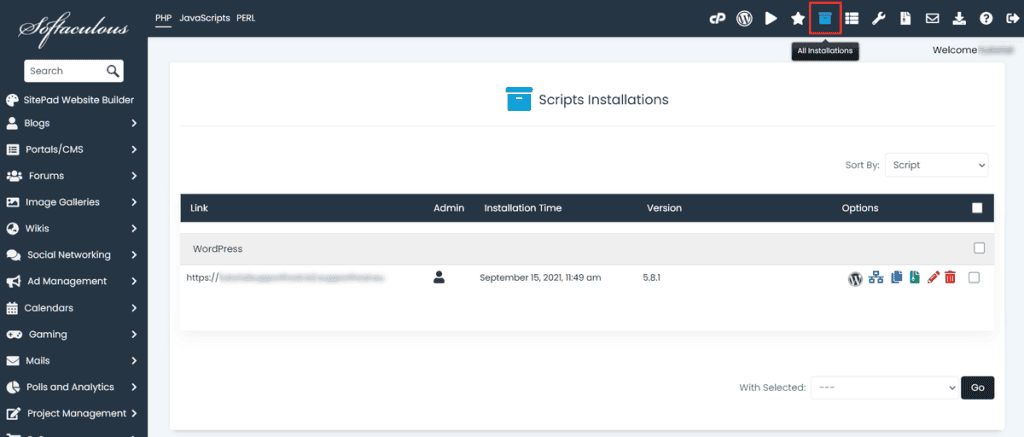
5 – All installations: from here you can see all the scripts installed along with other information such as the installation date and version. From this window, you can also create a copy of the installation or create a staging.

6 – Task List: this allows you to follow the tasks in progress, such as the installation of a script (if there is no task in progress it will show a message “There are no tasks at the moment”)
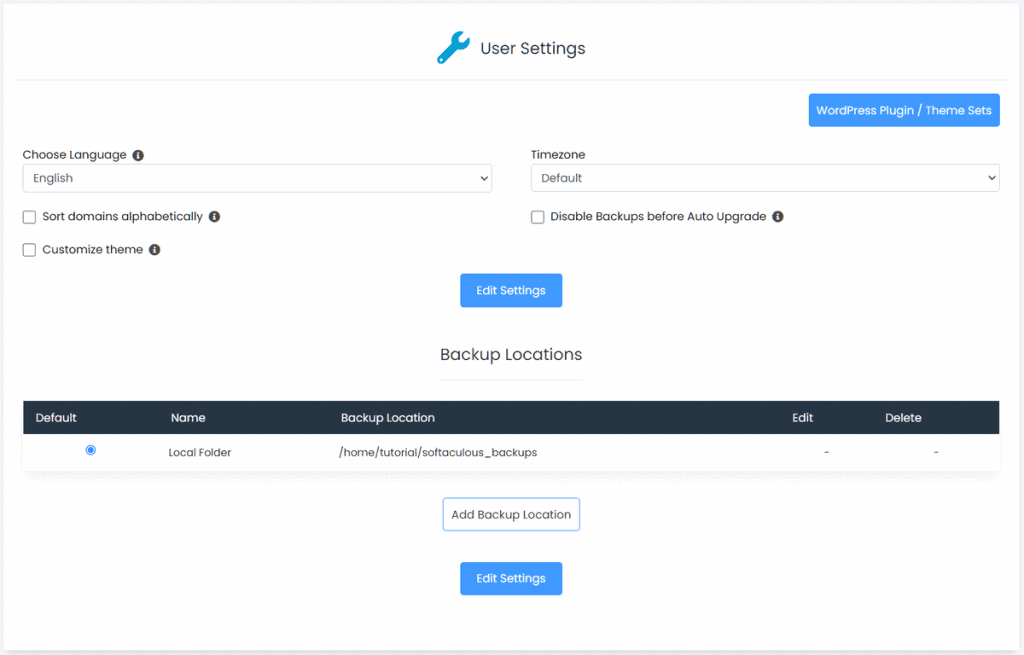
7 – Edit Settings: from here you can select the language and the time zone. You can choose to use a custom theme for the application and it allows you to check the location where backups are saved or add a new one. In case you want to change some parameters you have to confirm it by clicking on the Edit Settings button.

8 – Backup and Restore: here the backups of the installed applications are shown and you can restore previous backups if necessary.
9 – Email Settings: this allows you to choose which emails you want to receive, for example, whether to be notified when a new application is installed or when an existing installation is modified.
10 – Import Installations: this allows you to import into Softaculous any installations completed with other automatic installers, or installations are done manually.
IMAGE
11 – Help and Support – provides access to frequently asked questions about the application.
12 – Logout: this closes the session, returning to the cPanel login page.
Conclusion
In this article Softaculous: what it is and how to use it, we have seen that using Softaculous is truly simple and that from a simple interface we can install CMS and other applications saving a lot of time that can be immediately dedicated to growing our project on the web.
Have you already heard of Softaculous, have you already used it to install a CMS or to create a staging of your site? Let me know in the comments below.


Leave a Reply