
Want to update your WordPress site without frustrating visitors or losing customers? WordPress maintenance mode lets you hide your site temporarily so users see a friendly notice instead of a broken page. This guide shows you how to set it up easily.
Table of Contents
What is WordPress Maintenance Mode?
WordPress maintenance mode is a temporary state for your WordPress website that lets visitors know the site is undergoing updates or changes. Instead of seeing a broken or incomplete version of your site, users see a placeholder page, usually with a friendly message like, “We’re making improvements. Check back soon!”
This feature is handy when you’re doing tasks like:
- Updating WordPress core.
- Making significant design changes.
- Debugging issues.
- Server upgrades or migration.
- Database maintenance.
If you think your site will spend a lot of time in WordPress maintenance mode, consider using a staging site. A staging site is a full-fledged environment where you can make changes without affecting the live website. Then you can push those changes to the live site all at once.
Maintenance Mode vs. Coming Soon Page
A “coming soon” page is used for new websites that aren’t live yet. The goal is to build anticipation and collect leads before the official launch. It’s typically the only page that exists at the time.
On the other hand, WordPress maintenance mode is for existing websites temporarily taken offline for updates or fixes. There are lots of existing pages, but they need to be hidden from visitors.
WordPress’ Default Maintenance Mode
WordPress has a built-in maintenance mode that activates automatically when you update core files, themes, or plugins. During this process, a .maintenance file is temporarily created in your website’s root directory.
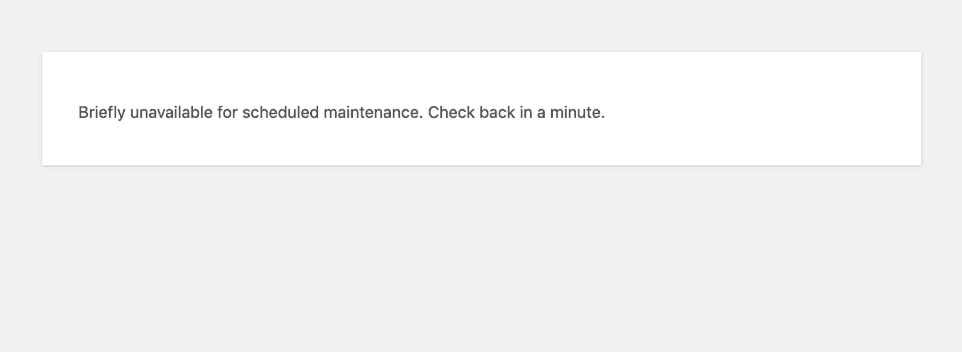
Visitors see a very simple page with a short message: “Briefly unavailable for scheduled maintenance. Check back in a minute.”
However, this default mode is basic and doesn’t allow customization. It also only lasts while updates are in progress. If an update fails, your site could get stuck in maintenance mode, which requires a manual fix.
If you want more control and customization over your maintenance mode page, we strongly recommend using one of the maintenance mode plugins explained below.
Why is WordPress Maintenance Mode Important?
When you’re working on a live website, it might take a couple of minutes or several hours to complete your changes. But website traffic never stops, so visitors might encounter broken layouts, error messages, or any complete pages. This can confuse users and hurt your credibility.
According to a survey by HubSpot, 88% of online consumers are less likely to return to a site after a bad experience. Maintenance mode helps avoid that.
A WordPress maintenance mode page lets visitors know that the site is still active, but under construction. It encourages them to check back at a later time. You can put anything you like on the page to make their experience better, such as links to your social profiles and an email signup form.
What to Include on a WordPress Maintenance Page
Since a maintenance page is the placeholder visitors see while your website is temporarily offline, it’s important to give them information about the downtime and propose other ways they can engage with you.
Here’s what to include:
- A friendly message that lets visitors know the site is under maintenance and when they can expect it to be back. For example: “We’re making some updates to serve you better! We’ll be back by [specific time or date].”
- An explanation of the downtime, such as: “We’re upgrading our features to improve your experience.”
- A way for users to reach you if they need urgent help. Include an email address, phone number, or a link to your social media profiles. If you have multiple departments—such as sales or customer support—list them all.
- A call to action that directs visitors to follow your social media, sign up for updates, or explore other resources. If possible, give them a way to receive a notification when your site is available again.
- Your logo, brand colors, or other elements to maintain a professional look that reminds visitors they’re on the right site.
Here’s an example of a great WordPress maintenance mode page. It succinctly explains that the site is unavailable and why, it includes a countdown timer so you know when to return, and it offers a convenient contact button in case you really need help.

Here’s another simple WordPress maintenance mode example. The language is simple and concise and the social profile links give you a way to connect with the website owner.

How to Put WordPress into Maintenance Mode with a Plugin
Using a plugin is the easiest way to put your website into WordPress maintenance mode. They are easy to use and give you control over the content that visitors see during the site’s down time.
If this is your first time using plugins, visit our guide on installing a WordPress plugin. Don’t worry, it’s simple and easy!
1. LightStart Maintenance Mode

With 600,000 downloads, LightStart is another popular maintenance mode plugin. It comes with a list of useful features:
- Fully customizable maintenance page (change colors, texts and backgrounds).
- Collect emails with a subscription form (export emails to .csv file).
- Add a countdown timer for the reactivation date.
- Fully responsive and works with any WordPress theme.
- Works with WordPress Multisite installs.
- Add social media icons for more engagement.
- SEO options so crawlers don’t ignore your site.
- Exclude specific URLs and users from maintenance.
- Bot functionality to collect the emails in a friendly and efficient way.
To add LightStart to WordPress, Plugins > Add New Plugin in your dashboard. Search for the plugin, then install and activate it.
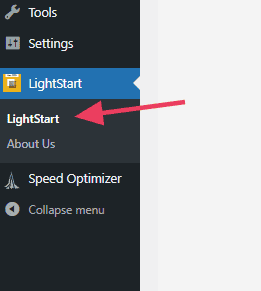
You should be redirected to the setup wizard right away. If not, click the LightStart item on the left-side menu.
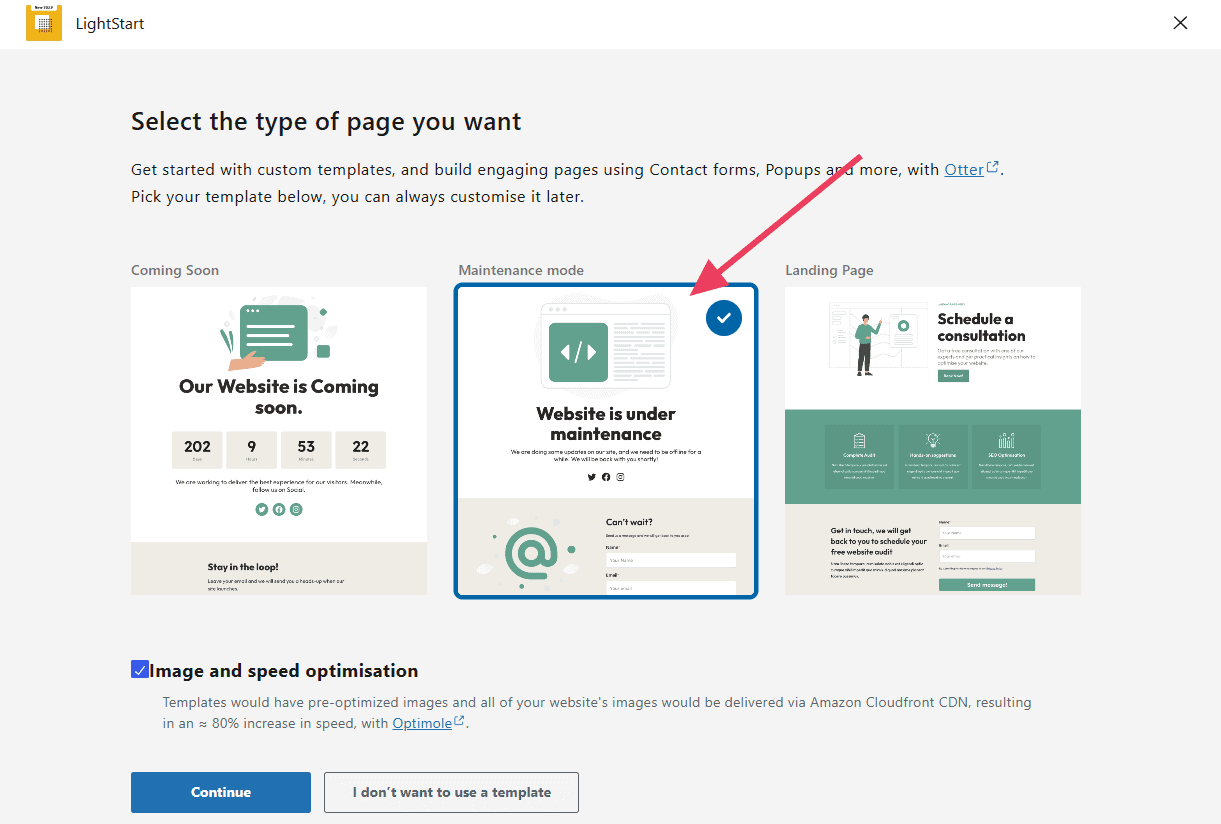
In the setup wizard, choose the Maintenance Mode option and click Continue.
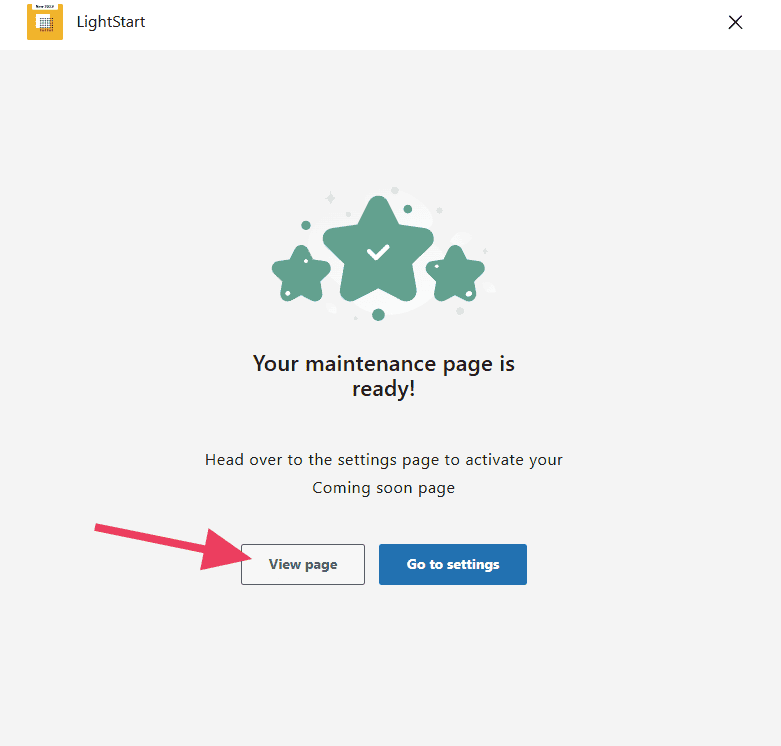
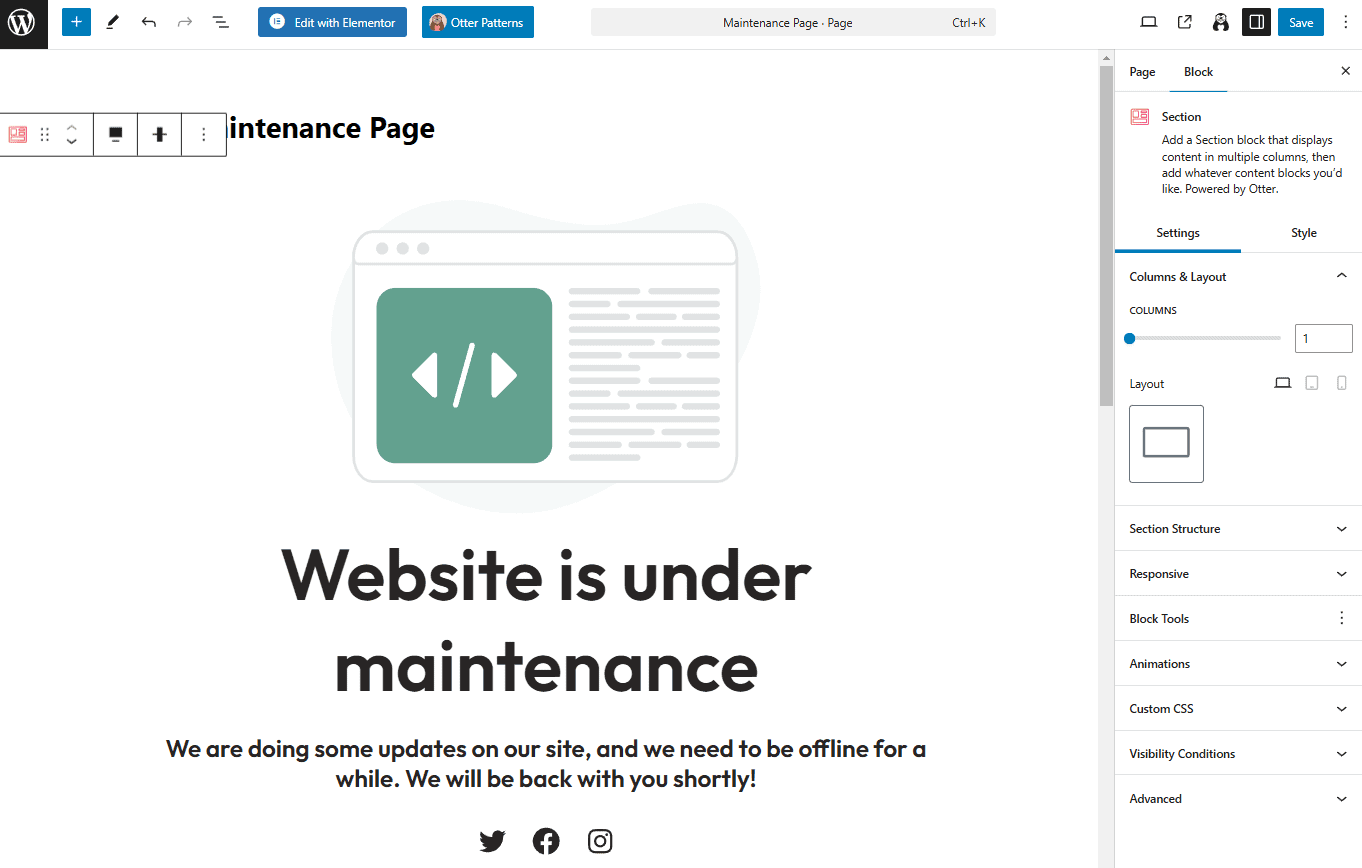
Next, click View Page to visit the maintenance page in the WordPress editor.
Here you can adjust the content to whatever suits your needs. For instance, you might change the copy, image, or contact form fields.
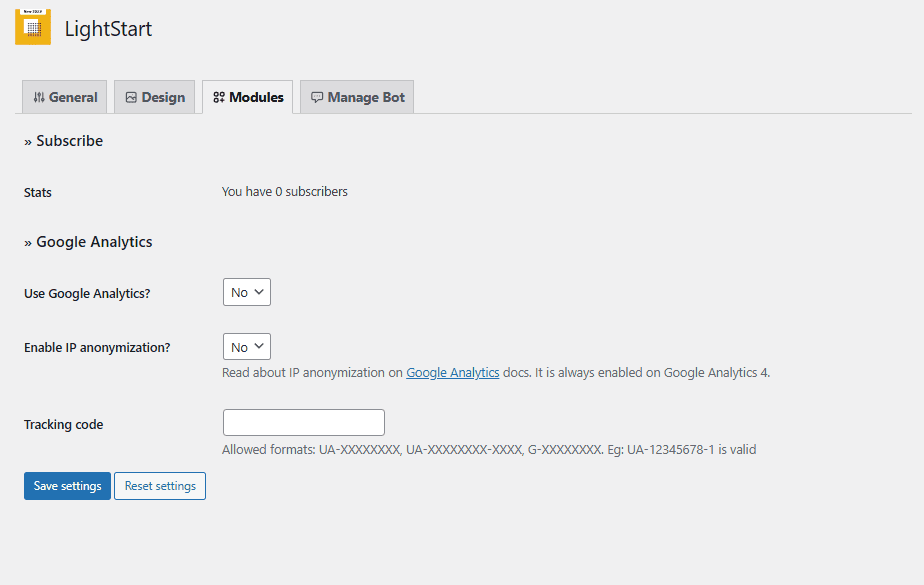
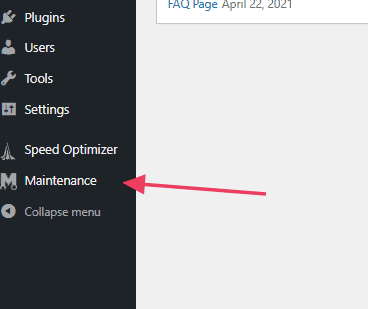
Once you’re happy with the page’s content, click the LightStart item on the left-side menu to reach the plugin’s settings.
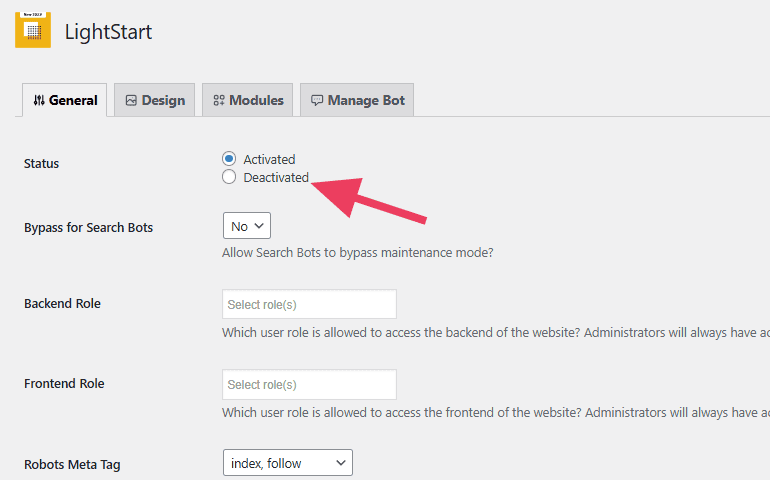
Go through the General settings carefully to make any changes that make sense for your situation. For example, you might exclude certain pages or allow search bots to see the full website.
In the Design tab, you can choose from a wide selection of pre-designed templates for your maintenance page. If you don’t like any of these templates, you can always edit the page yourself.

Click Save Settings at the bottom of the page when you’re happy with your changes.
Confirm that the maintenance page is active by opening your site in an incognito/private browser window. When you are ready to disable your maintenance page, you can either click Deactivated in the General settings or simply uninstall the plugin.
2. WP Maintenance

WP Maintenance is another simple plugin that lets you implement WordPress maintenance mode. It’s easy to setup and customize, and comes with great features:
- Retina ready HTML/CSS layout.
- Full-screen background with optional blur effect.
- Configure your logo, colors, fonts, and icons.
- Customize title, headline, and text.
- User login on frontend and admin bar status.
- Google analytics support.
- Exclude selected pages from maintenance mode
- Support for all popular caching plugins.
If you want a sharp design for your maintenance page, you get over three million images and pre-made themes with WP Maintenance PRO.
To add Maintenance to WordPress, Plugins > Add New Plugin in your dashboard. Search for the plugin, then install and activate it.
Click Maintenance on the left-side menu of your WordPress dashboard to reach the settings page.
Use the button at the top to activate and deactivate WordPress maintenance mode.
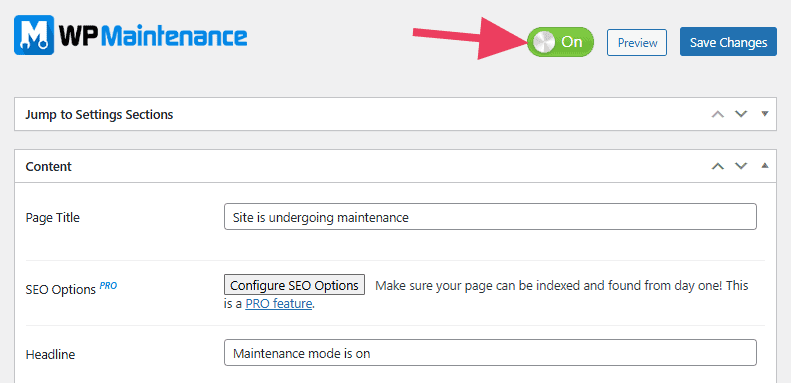
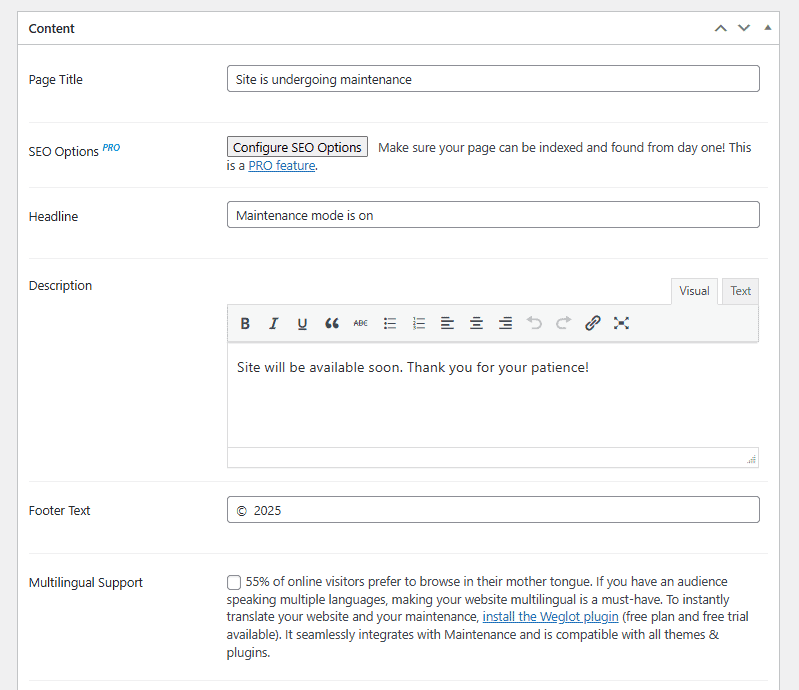
In the “Content” section, make any changes you need to the page’s title, description, and footer. While you don’t have access to a block editor, you can still add your own HTML.
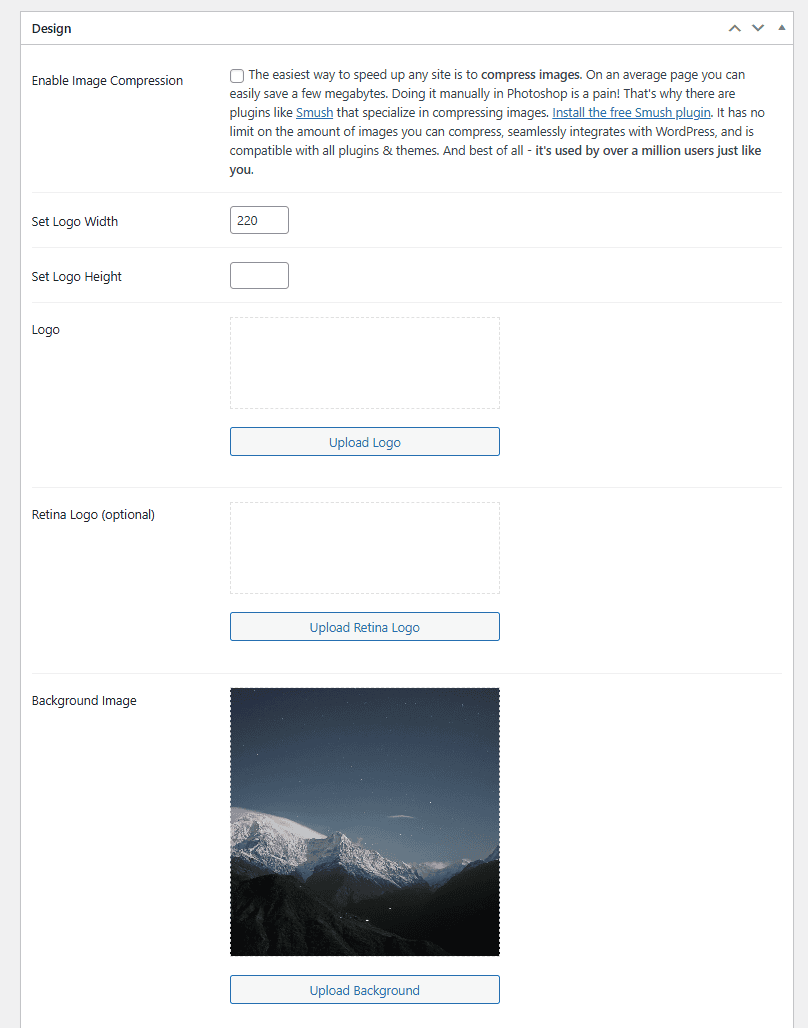
In the “Design” section, edit the look and feel of your page. You can set a logo and change its size, add a background, and change fonts and colors.
In the “Exclude pages from maintenance mode” section, you can make specific content accessible even when the site is in maintenance mode. Simply type the name of a page or post and select it from the drop down menu.

Confirm that the maintenance page is active by opening your site in an incognito/private browser window. When you are ready to disable your maintenance page, change the toggle to Deactivated in the settings or simply uninstall the plugin.
3. SeedProd

SeedProd was originally designed to create maintenance pages, but it’s grown into a complete landing page builder. Here are just a few features that apply to WordPress maintenance mode.
- Drag-and-drop page builder creates lightweight and responsive pages.
- Landing pages work with any WordPress theme.
- 200+ professionally designed templates.
- Collect emails with third-party email marketing service providers.
- Track subscribers with or without a 3rd party email provider.
- Get in-plugin access to over two million stock images.
- Choose from built-in color schemes or make custom palettes.
- Integrates with Google Fonts for countless combinations.
- Add custom scripts to your pages.
- Protect your landing pages from spam, bots, and fraudulent submissions.
To add SeedProd to WordPress, Plugins > Add New Plugin in your dashboard. Search for the plugin, then install and activate it.
Access the maintenance mode options by clicking SeedProd > Landing Pages on the left-side of your WordPress dashboard.
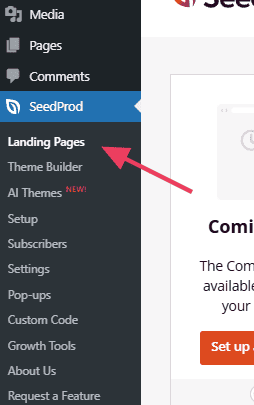
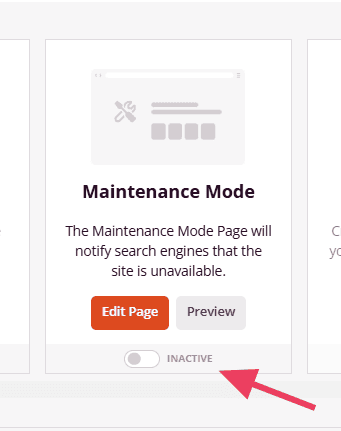
In the landing page designer, click Edit Page under “Maintenance Mode.”

The next page you see is SeedProd’s page designer. Click any element on the page to edit its content.
The panel on the left will offer some options to make changes. For instance, if you select the headline, you gain controls to adjust its content, style, link, alignment, etc.

You can also add new elements to the page by dragging new blocks from the left menu into the designer. Then customize them to meet your needs.
When you’re happy with how the page looks, simply click Save at the top. Then click the X to exit the designer. SeedProd will prompt you to activate the WordPress maintenance mode.

Confirm that the maintenance page is active by opening your site in an incognito/private browser window. When you are ready to disable your maintenance page, change the toggle to Inactive in the settings or simply uninstall the plugin.
How to Put WordPress in Maintenance Mode without a Plugin
If you don’t want to use a plug-in, there are two ways to set up WordPress maintenance mode.
1. Add Code to the functions.php File
You can put your site into maintenance mode by adding a function to the functions.php file.
Keep in mind, however, that making changes to this file can break your website if you add incorrect code or make a syntax error. You should back up your website (or at least this file) before making any changes.
Additionally, you should only make changes to a child theme so you retain the ability to update the parent theme without losing your changes.
To edit the functions.php file, visit Appearances > Theme Editor in your WordPress dashboard. Locate the functions.php file for your theme.
Insert the following code to the end of the file. Replace “Under Maintenance” and “Website under planned maintenance. Please check back later.” with whatever you’d like the page to say.
// Activate WordPress Maintenance Mode
function wp_maintenance_mode() {
if (!current_user_can('edit_themes') || !is_user_logged_in()) {
wp_die('<h1>Under Maintenance</h1><br />Website under planned maintenance. Please check back later.');
}
}
add_action('get_header', 'wp_maintenance_mode');
Here’s what that looks like in the functions.php file.
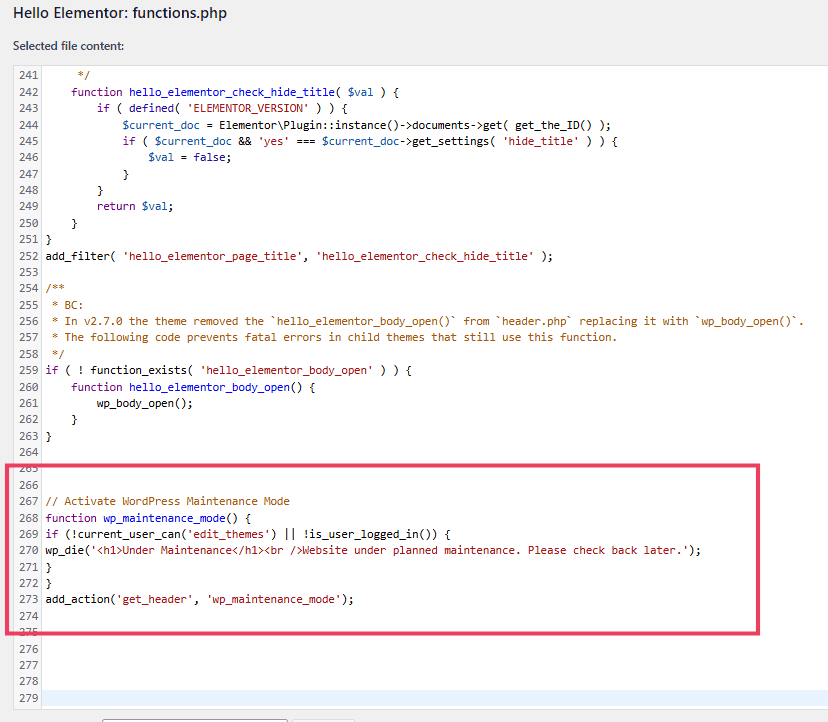
This code snippet checks to see if the current user is logged in. If you’re logged in, it will display the site normally so you can access the WordPress dashboard and make changes. If you aren’t logged in, you’ll see the basic maintenance message.
Test the maintenance mode by opening your site in an incognito/private browser window. You should see the maintenance HTML page you uploaded. (Make sure you aren’t logged in.)
To disable the WordPress maintenance mode, remove the code snippet from the functions.php file. Be very careful to remove only the code you added.
2. Edit the .htaccess File
You can also use the .htaccess file in your website’s root folder to redirect all traffic to a WordPress maintenance mode page.
Important note: Be aware that any mistake you make might leave your website inaccessible to traffic. We strongly recommend backing up your site before making any changes at this level.
First, you’ll need to create a WordPress maintenance mode page. Design one with simple HTML using the tips we explain below. Name the page “maintenance.html.” Upload this file to the root directory of your website.
Next, edit the .htaccess file. Log into your web hosting account and access the cPanel to find the public_html folder.
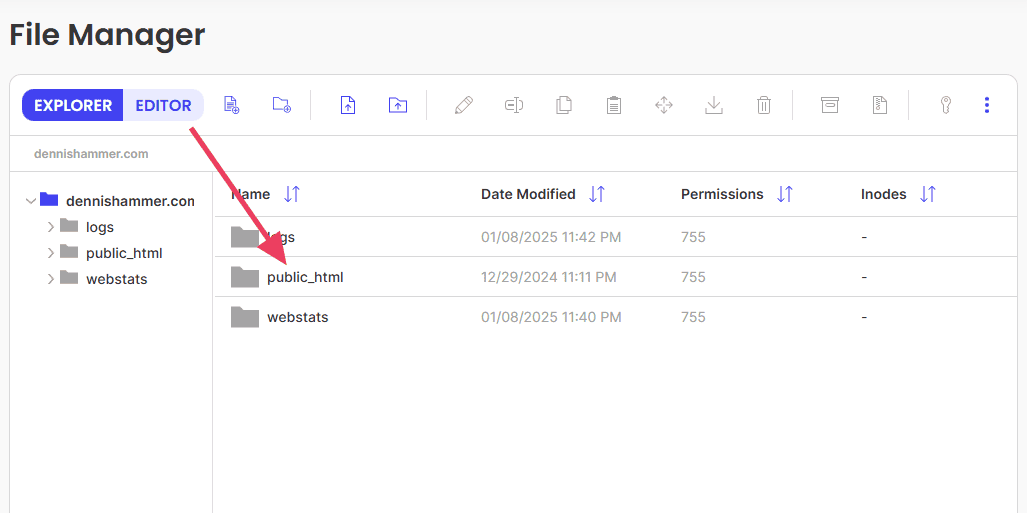
In public_html, you’ll find the .htaccess file. Select the file and click the Edit button.

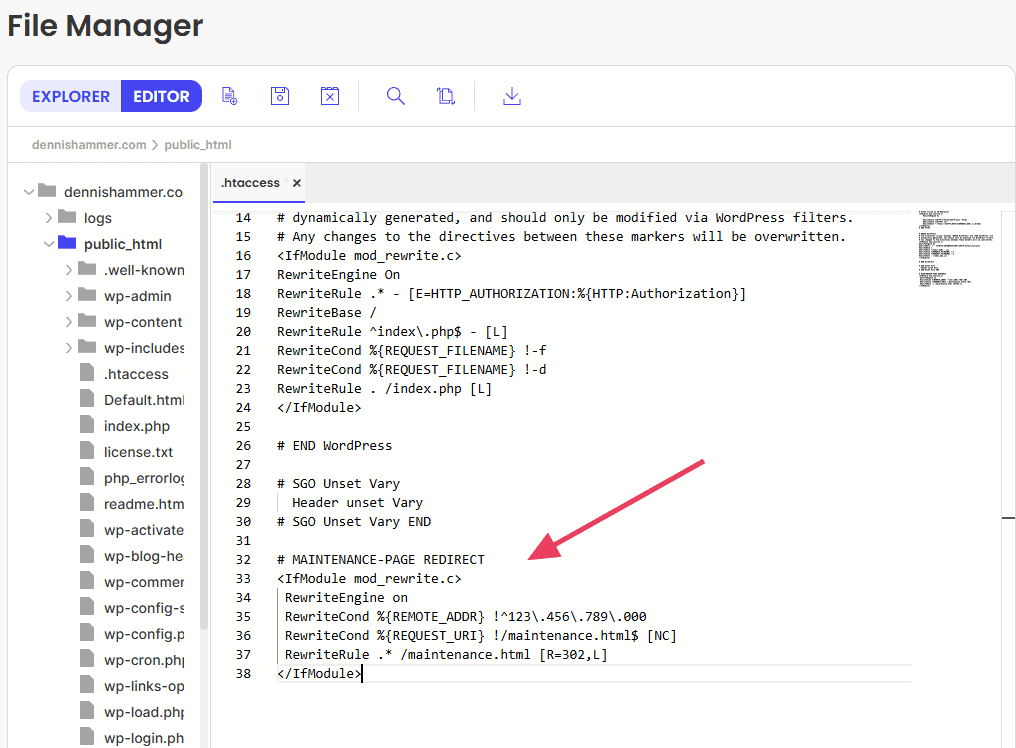
Add the following code to the bottom of your .htaccess file and save the changes.
# MAINTENANCE-PAGE REDIRECT
<IfModule mod_rewrite.c>
 RewriteEngine on
 RewriteCond %{REMOTE_ADDR} !^123\.456\.789\.000
 RewriteCond %{REQUEST_URI} !/maintenance.html$ [NC]
 RewriteRule .* /maintenance.html [R=302,L]
</IfModule>
That should look like this:
What does this code mean?
- The first line is just a comment to explain the purpose of the code. The server doesn’t read it, but it will help you identify what this code means in the future.
- The second line enables Apache’s rewrite engine, called mod_rewrite. Your server setup may not require this, but it won’t hurt to have.
- The fourth line checks to see if the request is coming from your computer. Without this line, you’ll see the maintenance page yourself, which will make working on your site impossible. Change the numbers in this line to match your own IP address so your computer is excluded.
- The fifth line prevents an infinite-loop scenario. If someone travels directly to maintenance.html, we don’t want the server to constantly redirect them to the same page. This prevents that cycle.
- The sixth line redirects all requests that meet the previous conditions to maintenance.html.The [R=302] flag signifies that this is a temporary redirect. This is so that search engines and browsers know that this page is a temporary condition.
Finally, test the WordPress maintenance mode by opening your site in an incognito/private browser window. You should see the maintenance HTML page you uploaded.
In order to disable WordPress maintenance mode, simply return to the .htaccess file and delete the code you added. Make sure to save the changes.
Troubleshooting WordPress Maintenance Mode
Putting your site into maintenance mode is a great feature, but equally comes with its own risks. Here are various issues you might encounter and how to resolve them:
1. Site Stuck in WordPress Maintenance Mode
This happens when an update fails, leaving your site stuck on the default “Briefly unavailable” message. It occurs because WordPress doesn’t remove the .maintenance file in your site’s root directory.
Fix: Use an FTP client (like FileZilla) or your hosting cPanel to access your site files. Locate and delete the .maintenance file from the root directory. Refresh your site and it should load normally.
2. Visitors Still Access the Site
Sometimes WordPress maintenance mode doesn’t block all visitors, so some users can see your site in an incomplete state. This is often due to caching.
Fix: Clear your website and browser cache so the maintenance page displays to everyone. If you’re using a caching plugin, temporarily disable it while your site is in maintenance mode.
3. Search Engines Index the Maintenance Page
If your maintenance page gets indexed by search engines, it can hurt your SEO rankings by showing an “under maintenance” message instead of your real content.
Fix: Use a WordPress maintenance mode plugin that automatically adds a “503 Service Unavailable” status code to your page. This tells search engines the downtime is temporary and prevents indexing.
4. No Access to the Admin Dashboard
If your site is in WordPress maintenance mode, you might lose access to the WordPress admin dashboard, making it harder to fix issues.
Fix: Use an FTP client or hosting control panel to disable the WordPress maintenance mode plugin or delete the .maintenance file. This will restore admin access so you can resolve any problems with WordPress. Then configure your maintenance plugin to allow access to the site for logged in users (and especially the administrator).
Turning on WordPress Maintenance Mode
Putting your WordPress site in maintenance mode is a simple yet powerful way to create a professional experience for visitors while you make updates or changes. Whether you use plugins or manual methods, a well-crafted maintenance page reassures users and protects your brand. The steps we outlined above will keep your site looking its best, even during downtime.
Ready to build your WordPress site?
Try our service free for 14 days. No obligation, no credit card required.


