
If you want to create a multilingual WordPress site you should know that there are several ways to do it. Mainly the most used methods are to use a multilingual plugin or opt for a WordPress multisite installation and thus create multiple sites, each in a different language.
In this article, WordPress multilingual: the complete guide, we’ll look at how to create a multilingual WordPress site in these two different ways. We will also look at what elements of the site you need to translate.
You need to know that in order to guarantee a good user experience and to benefit from your multilingual site, you will not only have to translate the articles but also other elements of the site. Let’s start by seeing what alternatives we have.
Table of Contents
Create a multilingual WordPress site
WordPress doesn’t offer a built-in feature that allows you to manage your site in multiple languages. But thanks to its ever-active community there are several plugins that allow you to do so.
If you want to turn your site into a multilingual WordPress site you have several options in front of you:
- use a multilingual plugin on a single WordPress installation
- use WordPress multisite thus creating a network of sites manageable from a single installation.
Each of these methods can fit different needs, so you just need to figure out which one is right for you.
Let’s see the differences between these alternatives.
One installation with multilingual plugin
Most multilingual plugins allow you to create several posts on a single WordPress installation, each for each language. You will also need to do the same with the other elements of the site i.e. pages, categories, etc.
Each post will then be present in different versions. For example, in an Italian-English bilingual blog, you will have a post in Italian and a corresponding one in English. The two posts (or more depending on how many languages you want to translate your posts into) will be linked together. Linking allows users to switch between languages.
This is what plugins like Polylang or WPML allow you to do.
Then there are WordPress plugins that use a single post in which versions in different languages are stored. This is the case with plugins like qTranslate-X. In this case, however, the posts in different languages will all have a single URL, which will not be translatable.
More WordPress installations
This option consists of creating a separate site for each language in which you want to offer your content. You can manage the sites separately or include them in a single network with a WordPress multisite installation.
If you choose to create a network of sites with WordPress multisite consider that if the resources of a shared hosting or WordPress hosting are not enough you can upgrade to a plan with more resources such as a VPS cloud hosting or a dedicated server.
In case of WordPress multisite you can link each post to its translated version with a plugin like Multisite Language Switcher. In this manner the user can easily switch between the versions.
WordPress multilingual plugin
The most commonly used solution is to use a multilingual plugin on a standalone WordPress installation.
There are several plugins you can use to add translations to your posts. Free plugins like Polylang or qTranslateX and premium plugins like WPML. These plugins take care of configuring the posts to then create the translations, but not the translation itself.
To get good results, you will have to translate the posts yourself or use translators. Using automatic translators, as you can easily guess, is not recommended because the result would not be reliable and in any case you would have to correct the mistakes by hand.
However, let me point out that there are also plugins that allow you to automatically translate posts like Ajax Translator Revolution, a paid plugin that uses Google Translate for translations.
Among the multilingual plugins we decided to use Polylang, a free plugin. Let’s see how to install and configure it to immediately start creating content for our multilingual WordPress.
Multilingual WordPress with Polylang
Polylang is a free and easy to use plugin that allows us to translate articles, pages and other elements of our site, offering itself as the ideal solution for our multilingual WordPress.
The plugin can be used both for bilingual sites, like the example I’m about to show you, and for multilingual sites. Polylang in addition to including several languages, also has support for languages written from right to left (RTL language).
Install and configure Polylang
Login to WordPress and click on Plugins → Add New to access the WordPress plugin section. Using the search bar, let’s search for the plugin and then click on Install Now.

After installing it, activate it by clicking on Activate.

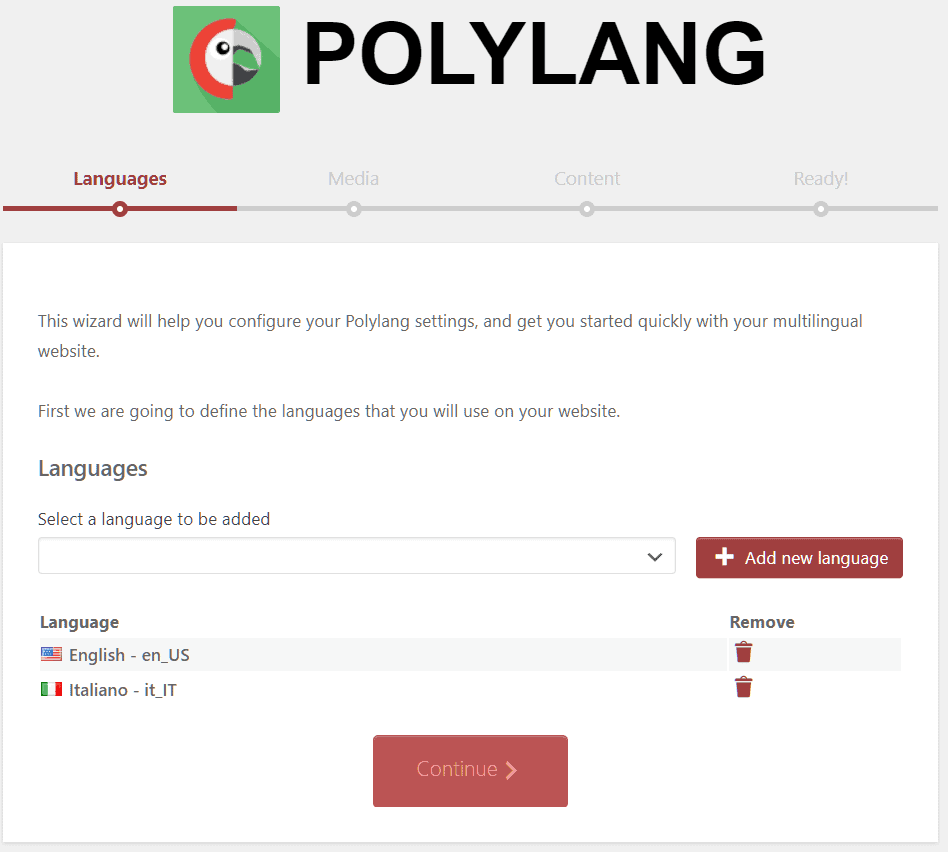
As soon as we activate the plugin we are redirected to the configuration wizard. From here we can first choose the languages to be used.
Let’s click on the menu and then from the drop down menu, find the language we are interested in and click on Add New Language.

After adding all the languages, in our case Italian and English, click on Continue.
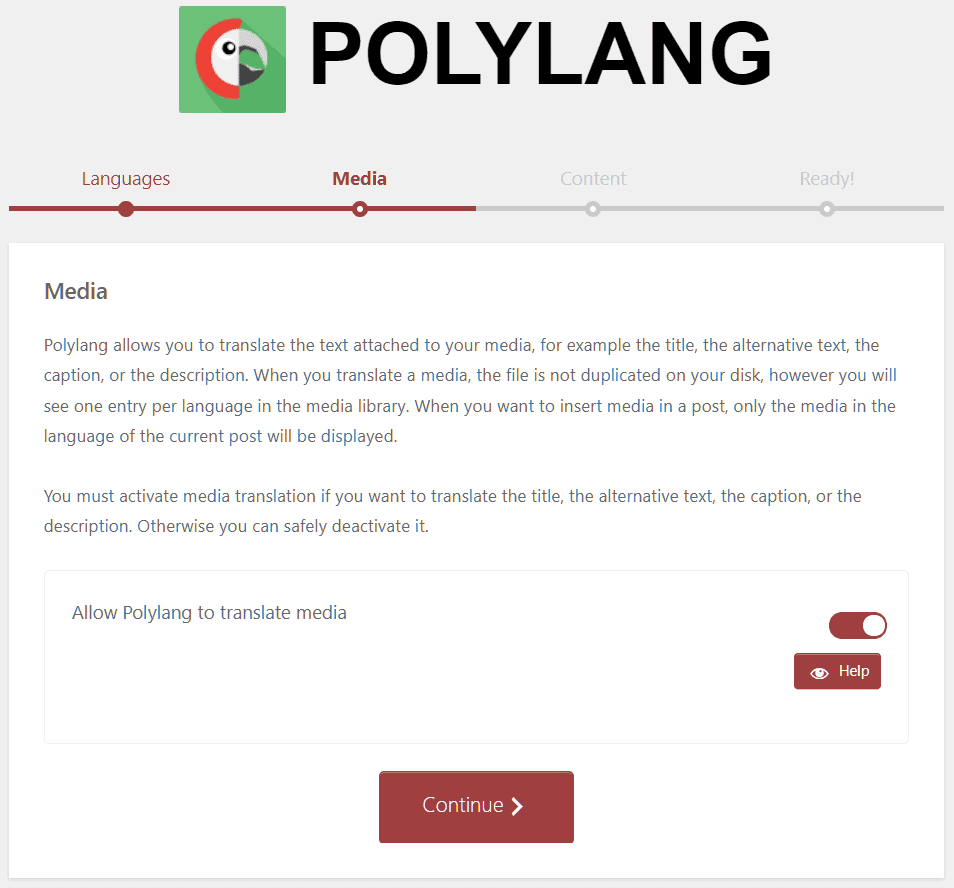
In the next step we should choose whether to enable media attribute translation, i.e. translation of title, alternate title and description, and proceed.
Now we choose which language to automatically assign to the content, the default language that will be assigned to new content. Now that the procedure is complete we can return to the bulletin board of WordPress.
Change Polylang settings
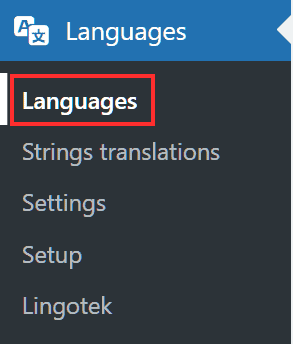
By clicking on Languages → Settings we can access the plugin options.
URL changes
Click on Settings to show the various options and customize the appearance of the URLs of our multilingual WordPress.

You can choose the structure of the permalinks by deciding whether to show the language in the URLs as a directory (domain.com/en/article) or as a subdomain (en.domain.com/article).
By default the main language does not show the language attribute, but you can also choose to keep it by unchecking the Hide URL language information for default language box.
Locate your browser language
By default, the plugin detects the language based on the visitor’s browser preferences. You can choose to leave this function active or deactivate it.
Synchronization

It allows you to choose what information you want to retain in all versions of articles, such as the publication date or featured image.
Share and translate slugs
These options are available only by activating the premium version of the plugin (Polylang Pro). With the pro version you can choose to translate slugs or use a single slug for different translations of articles, categories or tags.
Add a new language
In the left side menu we see a new item, Languages, by clicking on Languages → Languages we can see the languages added to the site in the box on the right.
From here we can also add new languages through the Add new language section.

All we need to do is choose the language from the drop-down menu and the other options are filled in automatically, click Add new language to confirm.
Set default language
We have chosen the default language during configuration, but if you need to change it you can do so at any time.
To change the default language just click on the star icon next to the language as I show you in this screenshot:

Creating posts and pages
In this section we will cover how to create posts and pages and link them to translated versions, without mentioning the content. If, on the other hand, you want to find out how to create a post that will get to the top of Google, you can check out the guide on how to write a blog article.
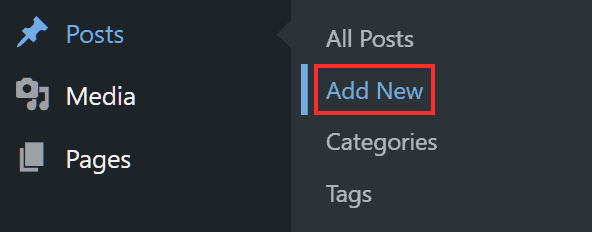
To create a multilingual WordPress site we start by creating our content in the main language of the site, in our case in Italian. To create an article click on Articles → Add New, create our post and save the draft.
We can choose what language is set for that post, or change the language of the article we’re creating from the Languages section that appears in the WordPress settings.

After saving, go back to the All Articles section and you will see our article in Italian. We need to create the English version of the article. To do this we just need to click on the plus sign (+) icon at the flag.

We can proceed by translating our post and as we can see from the Languages tab the post we are creating is linked to the version in the other language, in our case, Italian.

However, keep in mind that if you are using the free version of the plugin you will not be able to translate the URLs of posts and categories. Moreover, it is not possible to duplicate posts before translating them, these two functions, in fact, are reserved for those who buy Polylang Pro.
What we just saw for creating posts applies equally to pages. Let’s see it with an example.
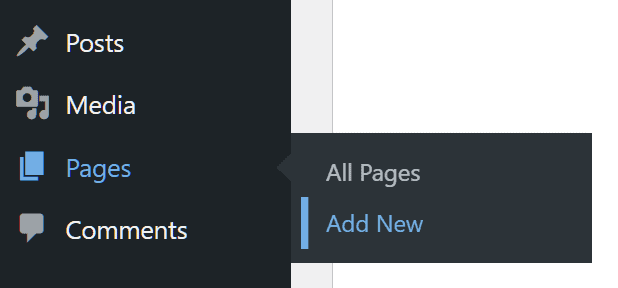
To create a new page go to Pages → Add New.
After creating it, go back to All Pages and click on the plus icon (+) to create the translated version as well.

You can already recognize translated pages because instead of the plus icon, a pencil symbol will appear.

By clicking on it you can edit the translated version of the page in question.
Create categories and tags
In addition to posts and pages, don’t forget that you will also need to translate categories and tags. Click on Articles → Categories to see the ones you have created or add new ones.
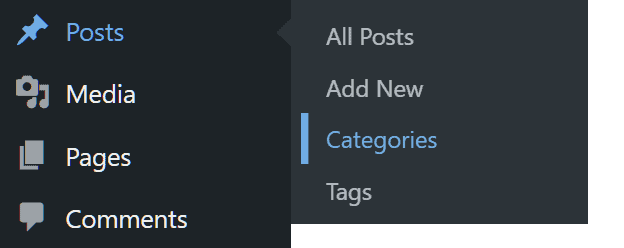
When adding a new category you can select the language at the bottom.

After creating it, follow the same procedure: click on the plus (+) icon in correspondence to the language and create the translation of the category.

To create tags go to Articles → Tag.
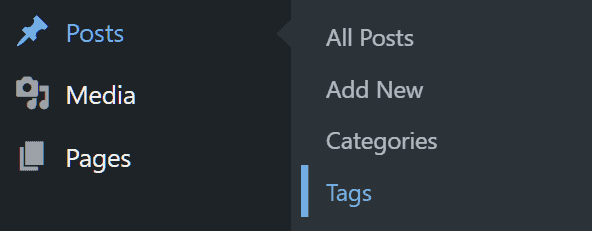
Then add a new tag by filling in the fields and choosing the language.

Then you can create the translated tag from the box on the right, like we just did with categories.
Create widgets for each language
To improve user experience, it’s best to translate every element of your multilingual WordPress site. Luckily, Polylang allows us to translate widgets as well. To explain how to do it, let me show you how to create a search bar widget in Italian and English.
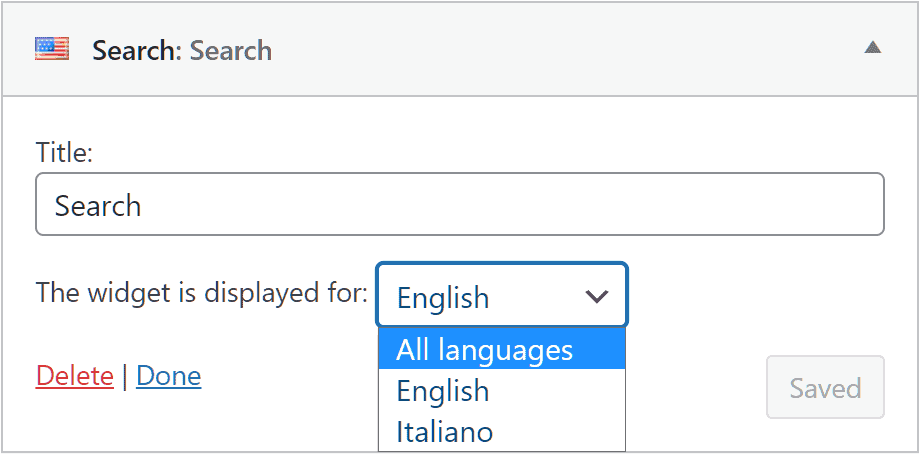
Go to Appearance → Widgets and then add the Search widget.
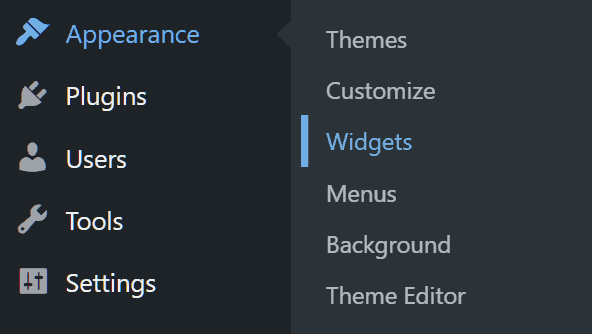
In the tab you can enter the title and then select which of the languages to show it for.
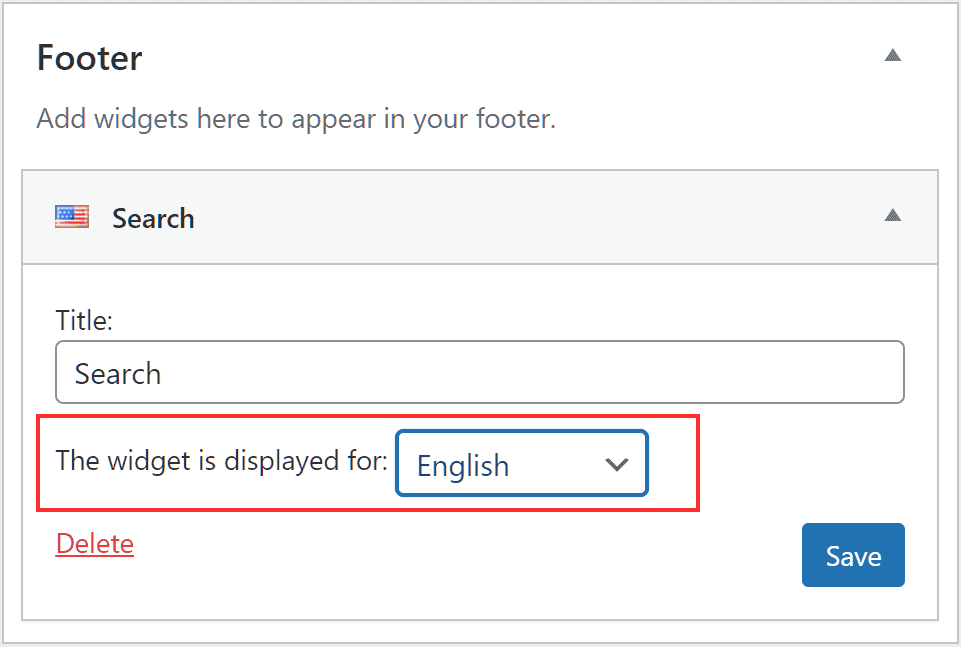
After saving it we create a second widget for the English version of the site. Let’s click on the module we are interested in and then on the Add a widget button, after which we edit it and click Save.

We can use this system to translate as many widgets as we need. If we want to use the same widget for both versions, we can choose the All languages option.
Create menus for each language
We also need to create the site menu so that each version of the menu is in the correct language. To do this we will then need to create multiple menus, one for each language we want to set up on the multilingual WordPress site.
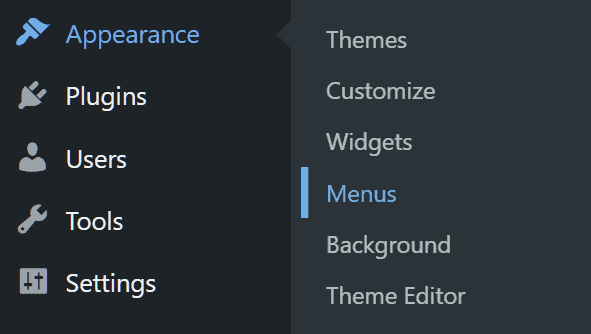
First, let’s go to Appearance → Menu.
At the top we can see the existing menus or click Create a new menu to create a new one. In our case the main menu in Italian was already created, so let’s move on to the one in English. Click on Create a new menu, enter the name and set it as Main Menu English.

Note: the choices you will be shown depend on the languages you have added to the site.
Let’s select the items we want to add to the menu and then click Add to Menu.
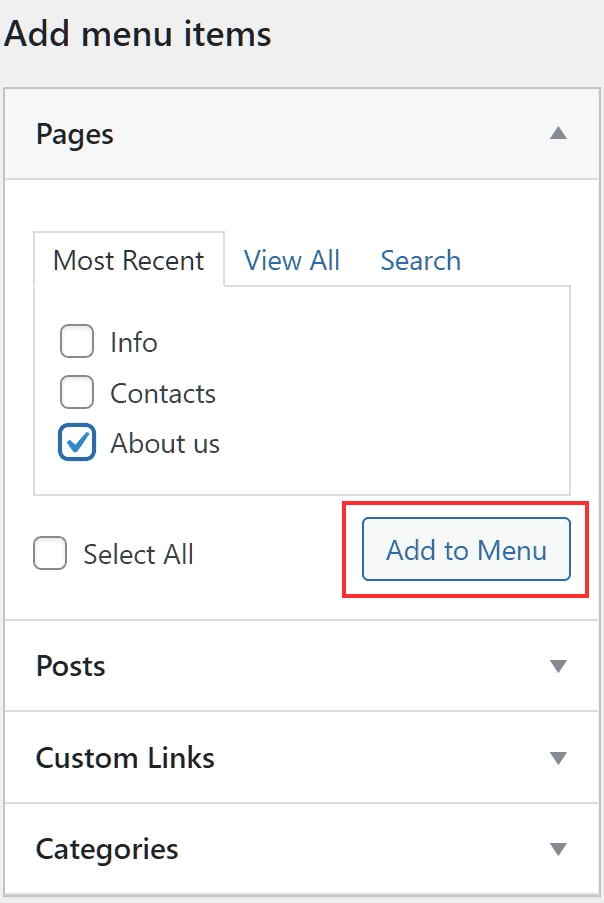
After we have finished, click Save menu to save the changes.
Create a language selector
It’s not enough to just translate your site’s content, you’ll also need to create a selector to allow users to switch languages and thus read the content in their different translations. Polylang already has a built-in selector that you can add from the WordPress widgets.
Click on Appearance → Widgets.
Here we will find the widget called Language switcher and we can add it. After doing so we can choose to leave the default options or change them.
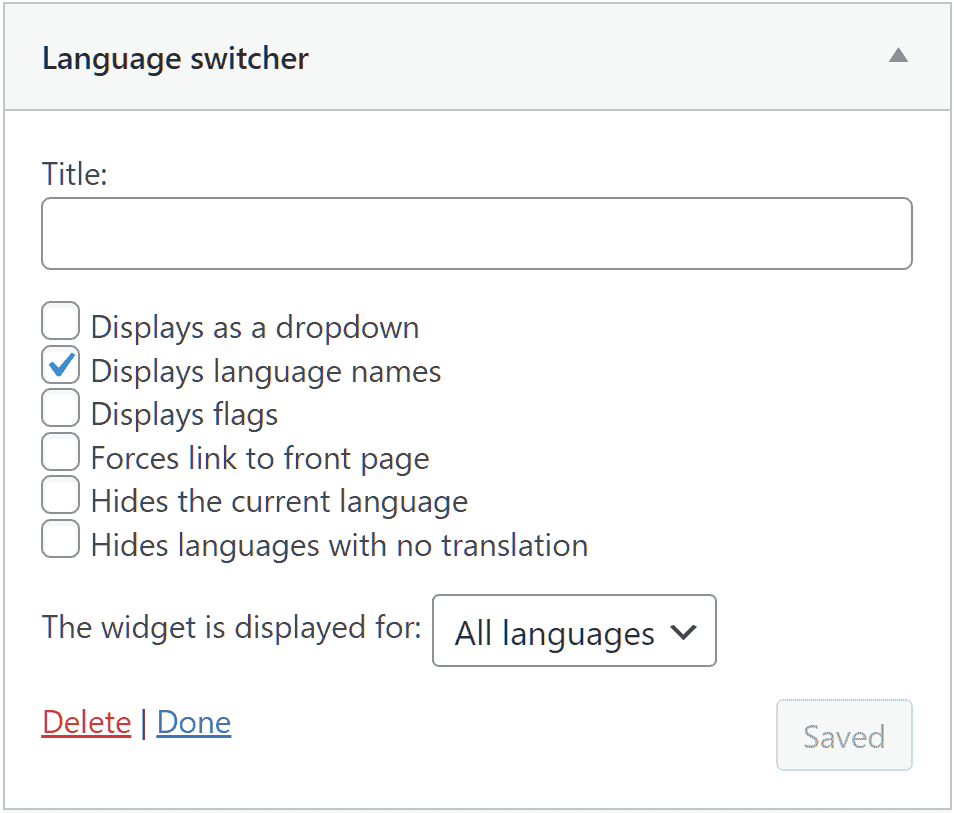
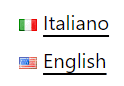
We can for example choose whether to have the choice displayed by showing the names of the languages, the flags or both.
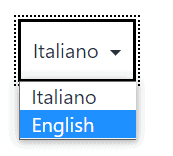
Or choose to show it with a drop-down menu like this:
We can also choose to have the widget appear for all languages or only for a specific language. If we change the options we need to click the Save button to make the changes take effect.
WordPress multilingual with WordPress multisite
One of the ways to create a multilingual site with WordPress is to take advantage of the WordPress multisite feature. After installing WordPress multisite and adding the sites to the network, each one works as an individual site.
For each site, you can then set a different language (for the WordPress backend). This will make it easier to manage your multilingual WordPress site.
Configure Network Sites
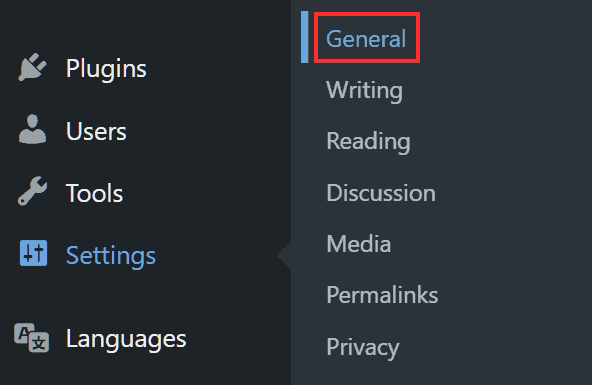
You can change the language from the General Settings of each site in the network. Click on Settings → General. Next to Site Language you will see a drop-down menu from which you can select the language.
You can also change the title of the site, the motto (in the appropriate language), the time zone and the date and time format.
We can modify these settings in the most appropriate way for each site, for example in an Italian site we can use the following settings:

And for the English version of the site we could use these:

After configuring the sites we can select the themes and plugins to use on the network.
Make the network multilingual
To link posts and pages in the main language to the corresponding content in other languages we can use a plugin.
One of the plugins that you can use with WordPress multisite is Multisite Language Switcher. Let’s see how to install and use it.
Linking each post to its translated version by using this plugin will automatically create hreflang tags. This means that on the page with your post in Italian there will be a link connecting it to its English version (and vice versa), like this:
<link rel="alternate" hreflang="en" href="https://domain.com/2021/03/30/hello-world/" title="en_US"> <link rel="alternate" hreflang="it" href="https://it.domain.com/2021/04/12/ciao-mondo/" title="it_IT">
These tags are used to tell Google that there are translated versions of a page (or post).
Multisite Language Switcher: installation and configuration
To activate the plugin on the whole network, we need to go to the plugins section of WordPress. Then click on Network Management → Plugins and then click on Add New.

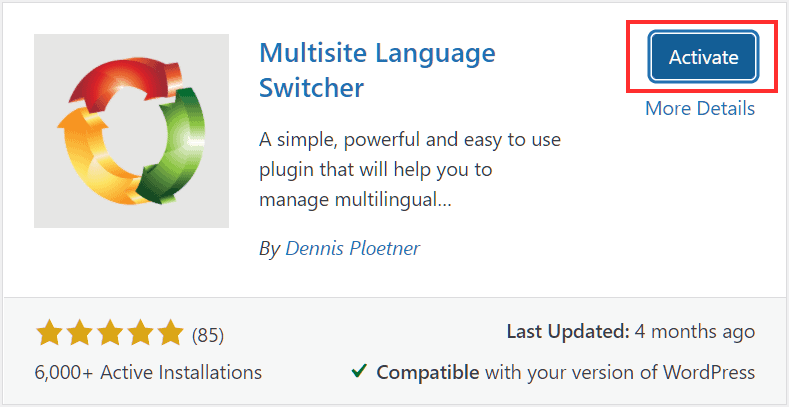
Let’s search for the plugin we are interested in from the search bar and click the Install Now button.

After the installation is done, the Install button will be Activate and we will need it to activate the plugin on the network.
After activating the plugin on the main page of the bulletin board of network sites a warning will appear telling us that the plugin needs to be configured. We can also access the plugin options from the Settings → Multisite Language Switcher panel.

Each site in our network must be configured separately, so we will have to repeat this step for all sites. In this example we configure two sites, one in Italian and one in English, let’s see the settings.
Display: we can choose to show only the flag corresponding to the language, only the description or both. For example by choosing to show the flag and description we will have a result like this:
Translation links: we can choose whether to show the link only when there is an associated translation of the content. In other cases the link will return to the home page.
Alternative URL for flags: the plugin already includes a set of flag images, but if you want you can use your own set, just enter the URL from which to take them in this field.
Exclude blog: this option must be enabled if you don’t want to use the plugin for that site. You may need it in case one of the sites in the network is not a language version of the main site, but a site by itself.
Content import: by activating this option, the contents will be copied into the translated version. It can be useful to keep the structure, as well as images and videos present in the original article.
Eventually you will have to click on the Configure button to save your options.
Remember that for the plugin to work you need to configure the options for all the sites on the network. Even if you want to leave the default options you will still have to access the settings and save them by clicking on the Configure button at the bottom of the page.
WordPress multilingual with Multisite Language Switcher: create and translate our content
After setting up the different sites on the network, it’s time to create our content in the main language of the blog and create the corresponding translated content.
In our case we are going to first create a post in Italian and then the translated version in English. We access the bulletin board of the site in Italian and then click on Articles → Add New.
After creating our post in Italian we have to create its English version. From Articles → All articles we can see the list of all posts, next to each we see the icon of a flag. In our case an American flag, since we have created another site with English as a language.
Next to each article there will be a plus sign icon (+) if there is no translation linked yet. If, on the other hand, we have already associated a translation then there will be a pencil icon.

To create our first translation, click on the plus icon to be redirected to the other site (the one in English). In this way we have linked the two articles together.
At this point we have two options to proceed with. The first is to create the translated version and insert the media manually. All we need to do is create the English article as we did the Italian one.
The second method, however, allows us to import the content. To do that we need to enable the Content import option from the plugin settings in the English site. You can see the previous paragraph on how to configure Multisite Language Switcher in case you skipped it.

After saving the configuration by editing the article in the English version we can see the option Multisite Language Switcher – Import content. From here we can click on Import content from Italian.
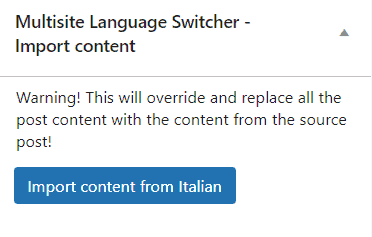
In this way the content of the post of the Italian version will be copied in this post, overwriting its content.
Before importing the content we can act on these settings that allow us to choose what to import.
Post Fields and Meta Fields: we choose to duplicate if we want these fields to be maintained.
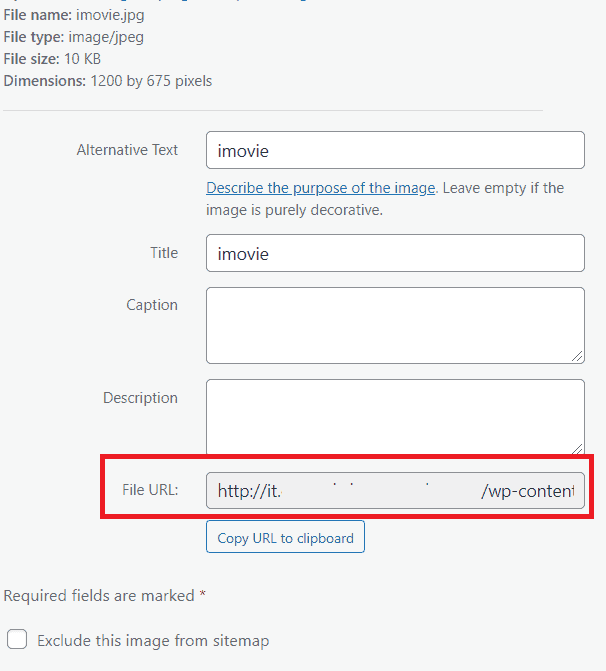
Featured Image and Image Attachments: with the linking option the images are linked to the target post (but not duplicated). The images will be visible in the media library of the site, but their position will remain unchanged, in our case they will be stored in the upload folder of the Italian site. We can check their location by clicking on the file details, in the File URL field.
Taxonomy Terms: the shallow duplicating option allows you to import category names and tags. Keep in mind that category names and tags should be translated, so it is not always convenient to import them directly from one version to another.
After choosing what to import, click on the Import content button and the content of the article will be copied. The text, however, is still in the original language, in our case in Italian, so now we have to translate it. We’ll get back to it later.
Importing content can be useful to maintain the position of the media within the articles and make the job easier for the translator or editor who will edit the posts. Obviously, however, it doesn’t make sense to do this if the images which are to be included in the translated article are different from those in the article in the original language.
Create the switcher to switch between versions
Now that we’ve created our site content and linked it to the translated version or even more than one, the next step is to allow users to switch between languages.
To do this we can use a WordPress widget, by accessing the section from Appearance → Widgets.
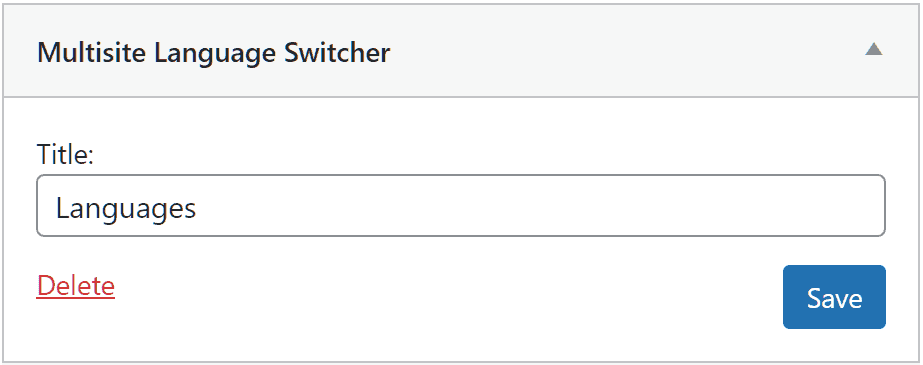
In the list, locate Multisite Language Switcher and click on Add Widget.
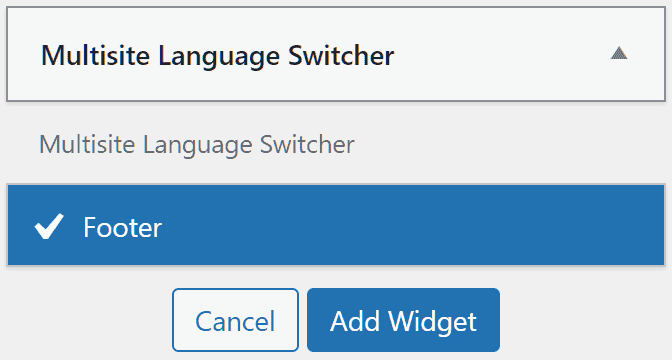
If we want, we can insert a title to show above the widget and click Save.
WordPress multilingual: translate content into other languages
Now that we’ve seen which plugins we can use to link posts to translated versions, we need to translate the content. But what is there to translate? Let’s look at the elements so we don’t risk leaving anything out in our multilingual WordPress site.
Translate posts and pages
There are key elements to translate in posts, starting with the title and content. Pay particular attention to images, for example if they are screenshots make sure you use in-language screens wherever possible.

When importing content from one version to another, internal and external links are also copied, so be sure to edit them so that they are consistent and point to resources in the correct language.

Don’t forget to translate the article permalinks as well, so that each URL is in the correct language. This also allows you to make sure that the keyword you want to use in the URL is in the correct language.

Not surprisingly, we must not neglect the SEO aspect of the site, if we use a plugin like Rank Math SEO remember to set title and meta description in different languages.

The same amount of attention should be paid to the media we insert in the posts, in particular for images we should insert a title and alternative text in the language. You can learn more about the importance of image attributes for ranking in our article on how to optimize images for SEO.

Translate categories and tags
As mentioned earlier when we were importing the content of a post from one language version to another, you can choose to import the taxonomy directly as well. With WordPress, each article can belong to one or more categories and can contain one or more tags.
When you’re creating a multilingual WordPress site, if you want to keep the same structure as the source site, you’ll need to create these elements in the translated version.
To do this just click on Articles → Categories (Posts → Categories if you have the language set to English).
Then you will need to fill in the fields to create a new category.

Name: enter the name that will appear on the site.
Slug: the url of the category.
Parent category: from here you can set the category hierarchy, for example you could create a Plugin category as a subcategory of the WordPress category.
Description: some themes show a short description of the category, in other cases it is not shown and you can leave this field blank.
After creating the category you will see it in the panel next to the creation panel. At this point we need to create the corresponding category in the English version of the site. Click on the + icon next to the category you want to translate.

Now fill in the fields with the translated name and slug and then click on Add New Category.

As you can see in the Multisite Language Switcher section, the corresponding category appears in the other version of the site (in this case Gossip).
Other elements to translate in a multilingual WordPress site
There may be other elements to translate depending on the structure of your site and the theme you use. For example, you may have to translate widgets and menus if you use them, as well as the biography of the authors of the post if your site displays it. Also, remember that if your site is an ecommerce site it will also be essential to set the currency according to the language.
Conclusion
Win this article,WordPress multilingual: the complete guide, we have seen how to create a multilingual WordPress site with two options. You can use a multilingual plugin that allows you to have your content in different languages on one site. Or you can choose to network with a multisite WordPress installation. The choice essentially depends on your needs and how you want to manage the site.
When you create a multilingual WordPress site you have to take care of several aspects, it is not enough to only translate the main content, but you must ensure that all elements of the site are translated if you want the site to be utilized in different languages.
That’s why I focused not only on how to create a multilingual site step by step, but also on the important elements that shouldn’t be left out in the translation.
Were you able to create your own multilingual WordPress site? Which method did you use? Let me know in the comments below.
Ready to build your WordPress site?
Try our service free for 14 days. No obligation, no credit card required.


