
In this article, I will explain how to install WordPress locally, what it means and why it is convenient to install WordPress locally.
We will also see how you can do it in less than two minutes with only 3 clicks, the operation is very easy.
Table of Contents
WordPress is the most widely used CMS (Content Management System) for creating websites. If you want to delve into the topic you can take a look at our article to better understand what is WordPress and how it works.
Every time a visitor visits a page of our website the server runs the WordPress php files, retrieves the information it needs from the MySQL database and creates the HTML code of the web pages of your site to send them to the visitor’s browser.
All of these operations are performed for every page every time a user visits a page on your website, unless we have performed a WordPress optimization and are using a caching plugin.
The browser on our computer is capable of opening and displaying HTML, CSS and JavaScript files. For WordPress to work properly we need a web server that can run PHP files, as well as a MySQL database.
A WordPress hosting service provides the MySQL database needed to store the data needed by WordPress and a server (in our case Apache) to run the PHP files.
If you are looking for a solution that allows you to use not only WordPress but any script in PHP, Perl or Phyton check the article I wrote about MAMP. If, instead, you want to run the installation on a web space take a look at the article on how to install WordPress.
You’ll find many guides that explain how to instal WordPress locally with XAMPP, personally I think the method described in this article is the easiest ever. Installing xampp is as simple as installing Local, but creating new WordPress sites is super easy with Local, you can create a new test site in less than 2 minutes with just 3 clicks.
Before we see how to install WordPress locally on a web server that resides on our computer, without the need to upload files to a remote server.

But first let’s see what are the advantages of installing WordPress locally.
Why install WordPress locally?
Installing WordPress locally, through the localhost, is the best choice if you are developing a new site or need to make major changes to your website.
In case you want to edit a file on the remote server you will need to download the file via FTP, make the changes, save it and upload it back to the server using FTP. It would be possible to perform the same operation using the file manager but again it is time consuming.
If, on the other hand, we are working locally, all the files are on our computer. All we have to do is look for the file on our computer to open and modify it. Once saved, we will only have to reload the page.
This saves us time because we don’t have to download and upload the files on the server every time to modify them.
Also working locally our workflow will be much faster because we don’t depend on the speed of the internet connection. This means that we can even work on our website if we are offline or if we have a slow connection.
The main problem with installing WordPress locally is due to the fact that since the site is on our computer, it is difficult to show it to our clients without having them come to the office.
Local by Flywheel comes to our aid thanks to its integration with ngrok. In this way we will be able to create a link to provide the customer to view the site that is on our local server.
In a later paragraph we’ll see how to show the finished work to the client, but first let’s proceed with installing Local on our computer.
Install Local by Flywheel
Local by Flywheel is available for Mac, Windows and Linux. If you visit the site you will find the download button in the upper right corner.

A popup will open from which we must choose our operating system and proceed with the download.
Once the download is complete we click install Local by Flywheel on our as any other application.
How to install WordPress locally
Open Local by Flywheel and click on the icon to create a new site, it’s a plus sign icon in the bottom left corner.
We will be asked to enter the name for the site:

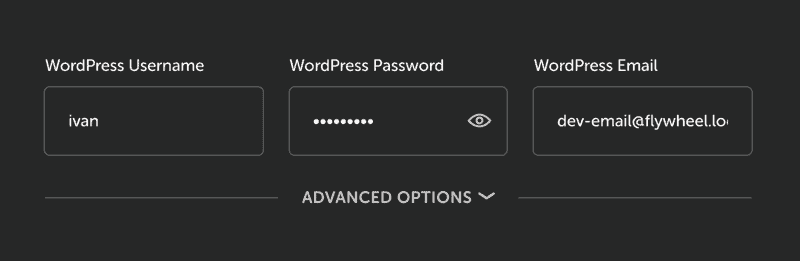
In the following screen, we’ll be leave the default settings as it is, unless you want to use a specific version of PHP or MySQL. Enter the data you want to use for the administrator and continue to create the site. In this step you can decide on installing the WordPress multisite version.
At this point the automatic installation will start and you can use WordPress locally.
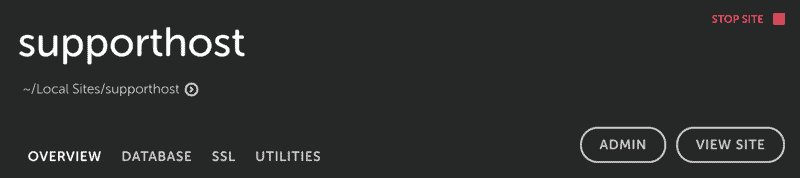
Local allows us to access the site in one click. We can access wp admin or view the site by clicking on either button.
Manage files
As I explained in a previous paragraph all WordPress files are on the disk of your computer. This means that you can view and open them through your computer’s file manager (e.g. finder on Mac).
Local allows us to open the folder that contains the WordPress files in just one click. Just click on the link to open the folder.

At this point we can manage the files normally through the file manager of our computer.
Manage the database
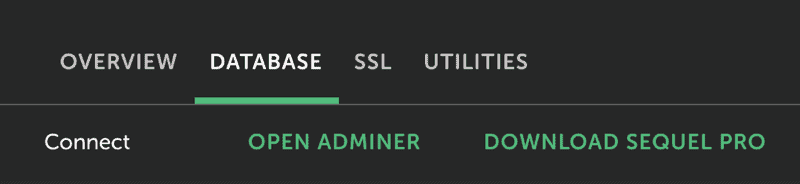
Local provides us with Adminer, a tool similar to phpMyAdmin that allows us to manage the database.
To access Adminer click on the tab Database then click on the link to open Adminer.
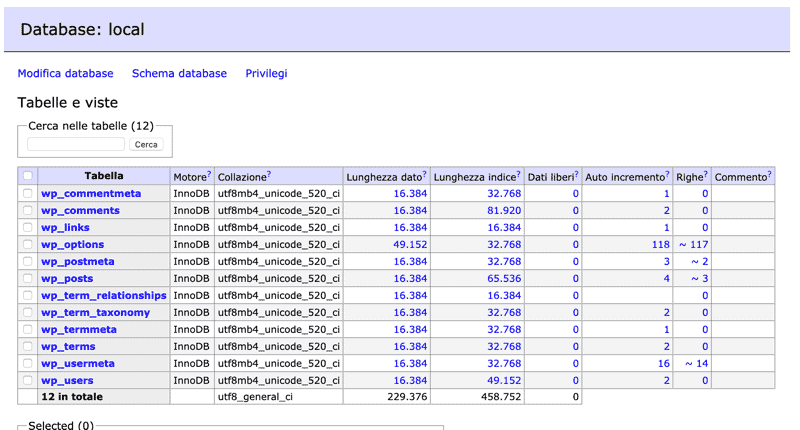
Through this tool we can manage the database as we like. Note that this option is for expert users and if you don’t know what you are going to modify in the database you could create problems for the site.
Making your customers see a site locally
One of the coolest features of Local is to give your customers the ability to see your site locally, via a link.
Local uses ngrok to provide a link to your client, and you do this with a single click.
At the bottom you see “Live link” and next to it a button with the text “Enable”. Click on the button to create the link that you can give to your client to display your website locally.

Keep in mind that since your website is hosted on your computer, in order to show it to your client your website must be connected to the internet with the Local application running.
How to import an existing site
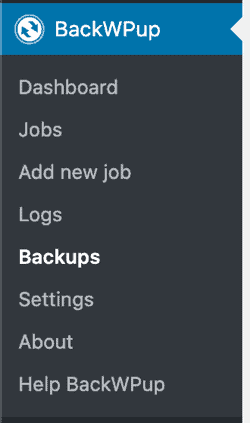
If you have a site and you want to create a staging installation you can import it in Local.As usual, a plugin can help us. Install the backwpup plugin and from the plugin menu go to backwpup->add new job.
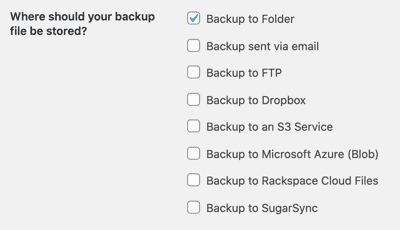
Leave all default settings and scroll down to choose backup location, selecting “Backup to Folder”.
Once saved click on “Run now”.

Let’s then go to the backup section.
And then we can download the backup of the site we just created.

At this point on Local we can go to File->Import Site and select the backup we’ve just downloaded.
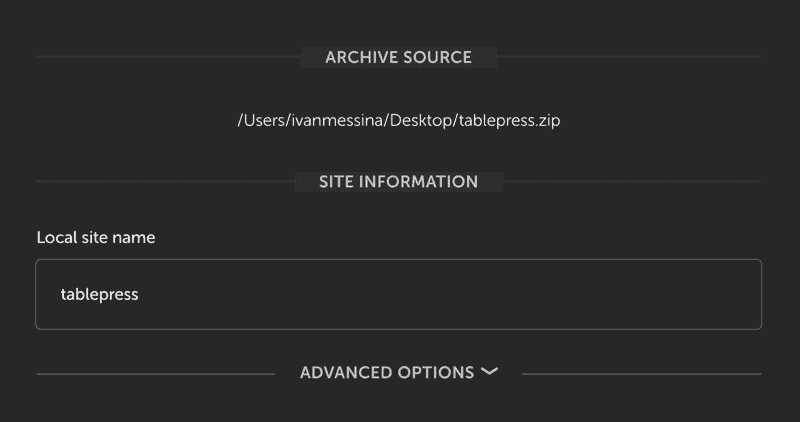
Local will take care of the rest: install the plugins, import the database, change the database url so that everything works properly.
Upload site from local to remote
In some cases it may be necessary to create a backup of the site we created locally in order to upload it remotely.
Local has an export function, but this is intended to be used for an import into Local, so it doesn’t help us much.
In this case we can use a plugin like Duplicator or an all in one wp migration. Alternatively, we can do it manually. Let’s upload all files to the server withFTP.
From cPanel we can create a database and manually edit the access data in the file wp-config.php In the local installation we install WP Migrate DB, modify the WordPress url by exporting the database after modifying the WordPress url.
We then open PhpMyAdmin and proceed to import the dabatase we just exported with WP Migrate DB.
Conclusion
In this article, we saw how to create a local test environment to install WordPress and create a site locally.
We saw how to share a link with your clients so they can see the site you are developing locally.
It also took me 1 minute and 25 seconds to install WordPress locally. It couldn’t have been easier than that.
Were you able to install WordPress locally with Local by Flywheel? Let me know in the comments below!
Ready to build your WordPress site?
Try our service free for 14 days. No obligation, no credit card required.


