
Your website’s footer might seem like a small section at the bottom of each page, but it plays a big role in your site’s usability, branding, and SEO.
Visitors often scroll down looking for essential information like your contact details, quick links, or social media profiles. Customizing your footer helps users navigate your site easily and enhances your professional appearance.
In this guide, we’ll walk you through how to edit the footer in WordPress whether you’re using a classic theme, a block-based theme, or a page builder.
Table of Contents
What is the Footer in WordPress?
The footer is the bottom section of your website. It usually appears on every page of your WordPress website because it contains useful information and links for users.
Your footer is valuable because visitors often scroll down to find quick information without navigating back to the menu. It’s also useful for SEO since footer links can help search engines find and index important pages.
A typical WordPress footer might include things like:
- Copyright Notice: The year and website owner’s name or business name.
- Navigation Links: Quick links to your most important pages (e.g., About, Services, Privacy Policy, or Blog).
- Contact Information: Phone numbers, email addresses, or a physical address.
- Social Media Links: Icons or buttons linking to your social media profiles.
- Legal Information: Links to your privacy policy, terms of service, or disclaimers.
- Call to Action (CTA): Sign-up forms or links to promotions, newsletters, or special offers.
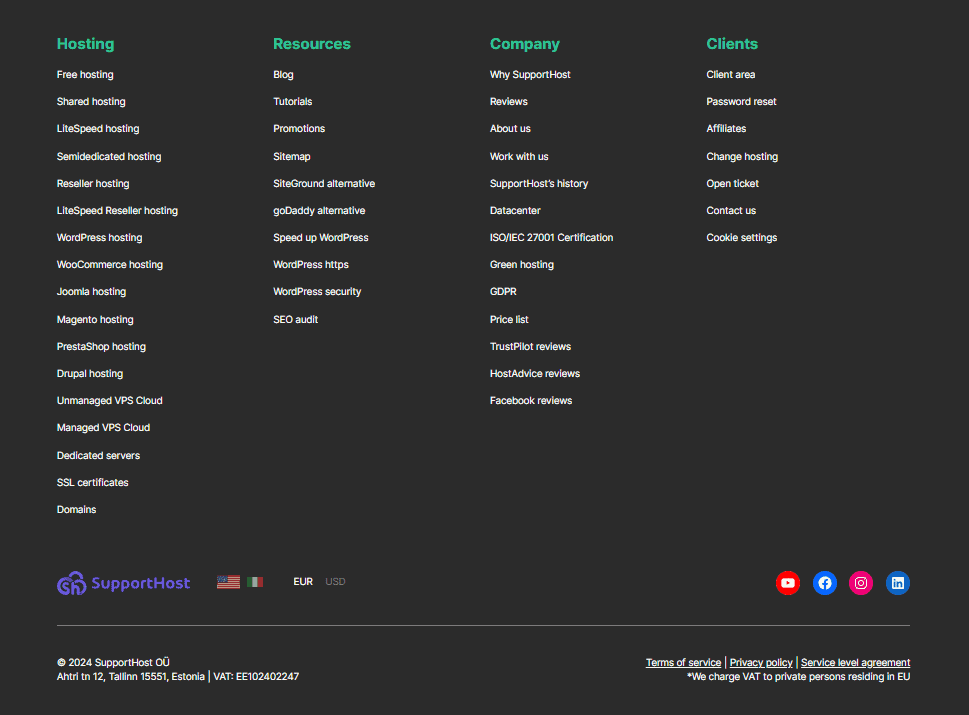
Here’s an example of our website’s footer. It includes direct links to our hosting packages, user resources, company information, and tools for customers.
In WordPress, the footer content is controlled by your theme. Most themes offer widgets or built-in footer areas so you can add or edit this content without coding. Advanced users can customize the footer by editing theme files or using page builders.
How to Edit the Footer in WordPress
How to edit the footer in WordPress depends on the theme and plugins you’re using. Classic themes tend to put their footer settings in the Customizer. Page and block builders use editable templates. Different themes and plugins store their footer settings in different places, so we can’t possibly show you every method.
However, we can point you in the right direction! In this guide, we’ll show you a few examples to help you find the right spot to edit your footer.
Method 1: Editing the Footer in a Blocks Builder Theme
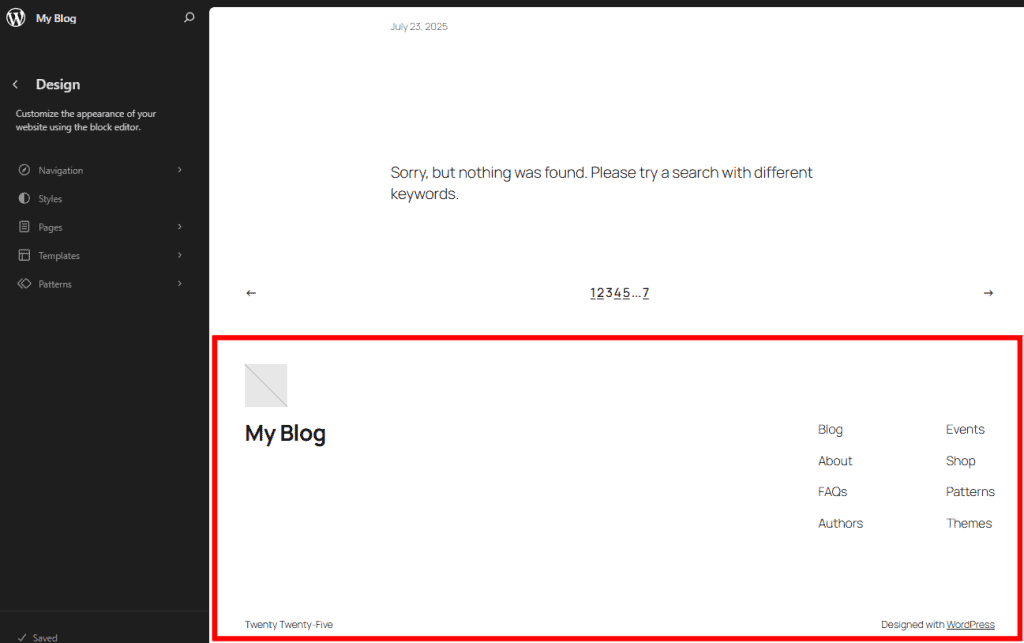
In a block-based WordPress theme (also called a “Full Site Editing” theme), you edit the footer directly using the Site Editor.
Go to your WordPress dashboard, then click Appearance > Editor.

Scroll down to the bottom and click the footer area in your layout. This will take you to the block editor.
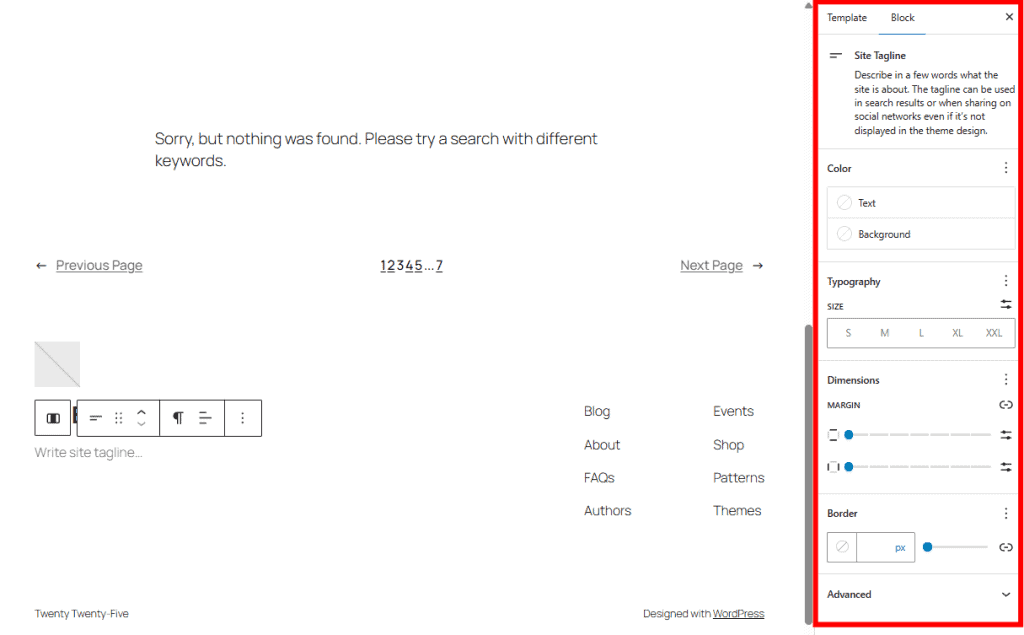
Here you can add, move, or delete blocks, such as text, navigation, social icons, or images.

You can select pre-designed layouts from the right sidebar.

When you select a block, you can customize its content, style, and position. Everything happens visually, so you see your edits immediately as you make them.
It might be helpful to open the List View menu to see your page’s structure. You can drag and drop items around the list to reorganize your page elements.
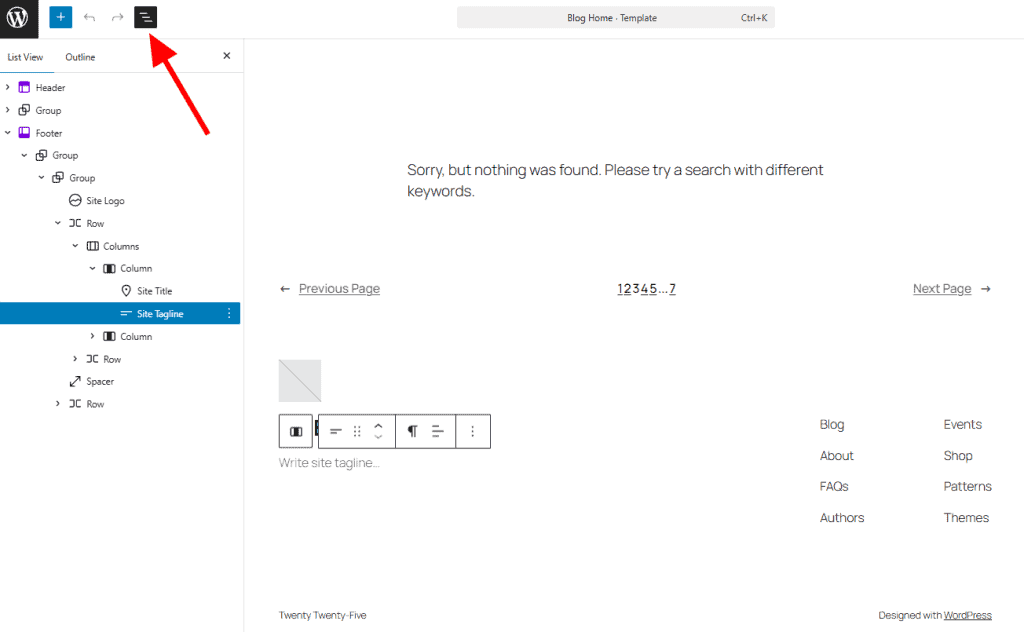
When you’re happy with your footer, click the Save button to save your changes.
Method 2: Editing the Footer in a Classic Theme
Many of the best WordPress themes use widgets to populate the footer area of your site.
Widgets in WordPress are small content blocks you can easily add to specific areas of your site, like the footer. You simply select a widget (such as text, menu links, social icons, or recent posts), place it into a designated widget area provided by your theme, and customize it with your content.
To use widgets, go to your WordPress dashboard and click Appearance > Widgets.
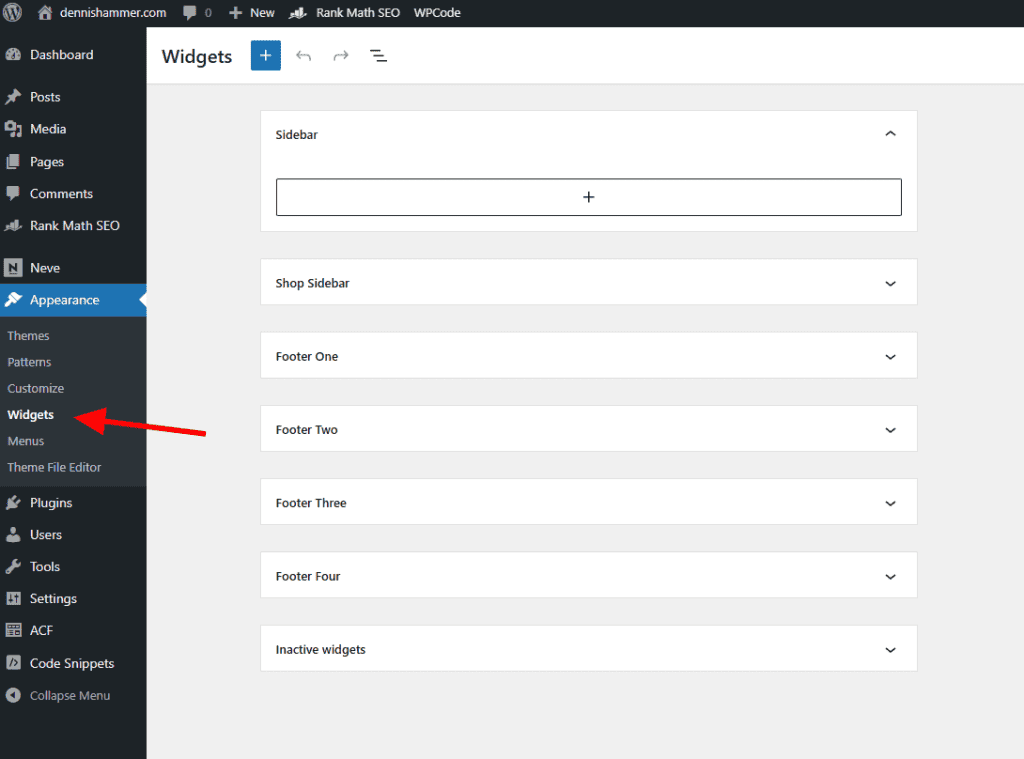
You’ll see widget areas labeled as Footer or something similar. Your theme may split your footer into sections, like this example.
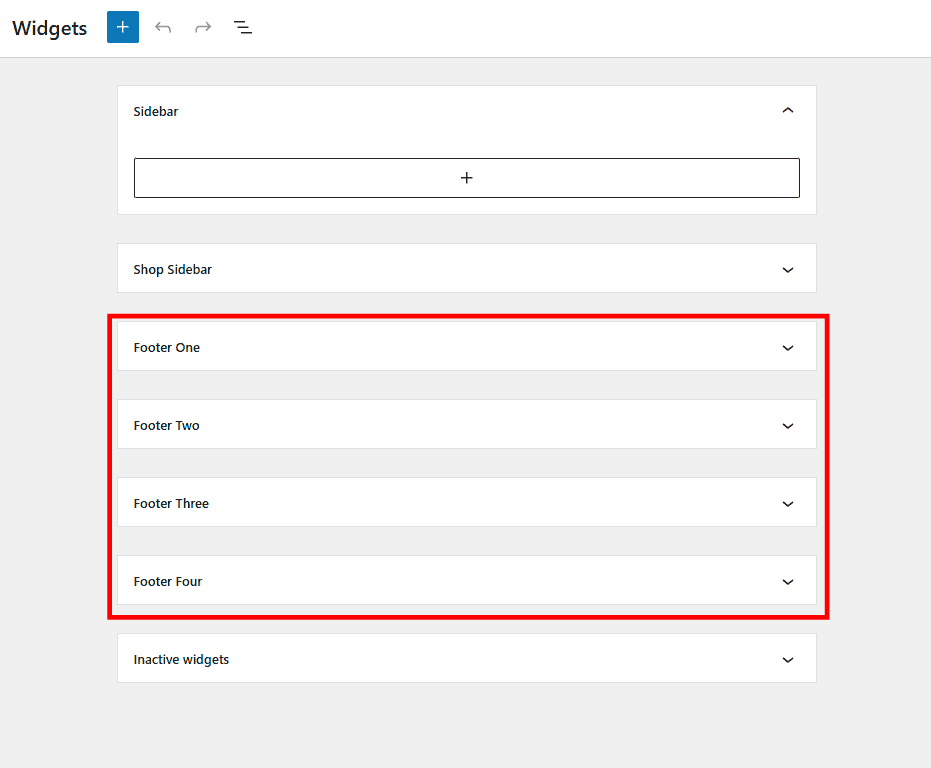
Click a widget area to open it. Use the + button to add blocks, such as menus, images, or text. You can even use layout blocks for unique designs.

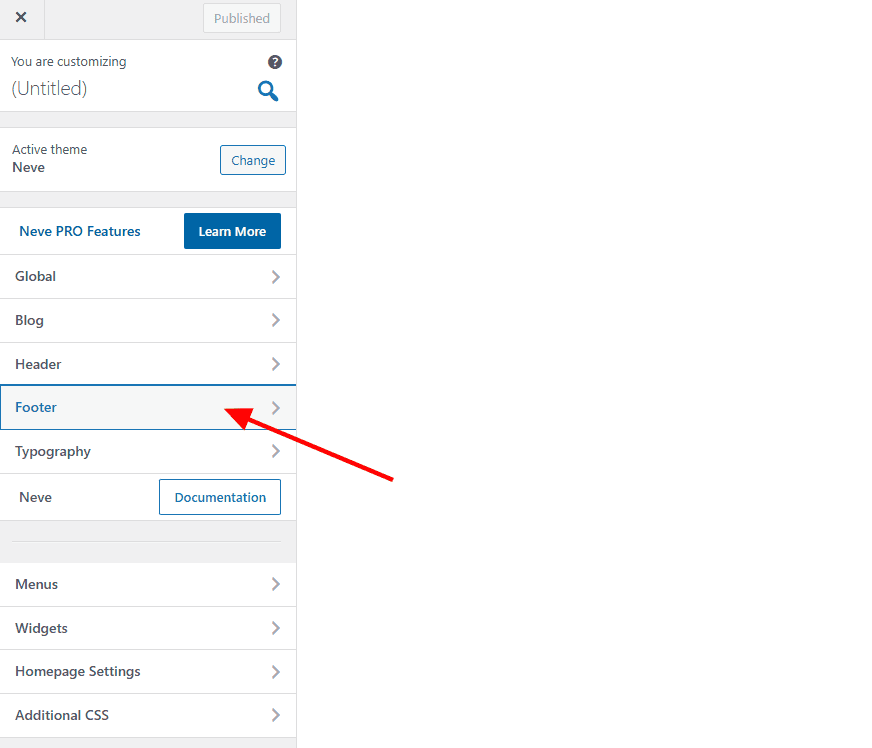
Alternatively, you can use the Theme Customizer by navigating to Appearance > Customize > Footer, if your theme supports it.
Click the + icon in any of your footer sections to add widgets. In this example, the theme provides three rows of content for the footer, each with three columns.

Once you’ve added a widget, customize its properties in the left sidebar.

Method 3: Editing the Footer in a Page Builder Theme
If you use a page builder to create templates and pages, editing the footer will depend on how the page builder is set up. We’ll show you how to edit the footer in WordPress using two popular page builders: Elementor and Divi.
How to Edit the Footer in Elementor
If you’re using Elementor, for instance, go to Templates > Theme Builder.

Click the + icon next to Footer.

If you have a footer already, it will appear here. If you haven’t designed a footer yet, you’ll have the option to choose a template. Or you can click the X button to start from scratch.

Once your footer is available, use Elementor’s tools to make any changes you need.

How to Edit the Footer in Divi
Divi’s Full Site Front Editing makes changing anything on your site simple. This lets you edit anything you see on your site by just clicking on it.
Simply visite the front of your site and click Enable Visual Builder in your WordPress admin bar.

Scroll to the bottom of your site and hover over any of the elements in the footer. Buttons will appear that give you options to edit that element.

Change the content to anything you like. Add whatever formating or style changes are right for your site.

How to Remove “Powered by WordPress” From Your Footer
Want to remove the “powered by WordPress” link in your footer bar? Many themes come with this bit of copy by default. Some theme creators alter it to include their own name and links. But most website owners prefer to remove it.
Before you go any further, you’ll want to create a child theme, otherwise your changes will be overwritten when you update your core theme. Don’t worry, it’s super simple!
Follow the steps we outlined above to access the footer editor of your website. Then find the widget area or content block that contains the phrase “powered by WordPress,” “designed with WordPress,” or something similar.

You can change the text to something else or delete the entire widget. Click Update or Save when you’re finished.

If your theme doesn’t have the option to edit the footer text using the Customizer, Theme Editor, or a page builder, you’ll need to edit the template file directly.
Some themes give you access to the Theme File Editor. This lets you make direct changes to your theme files. You’ll find it in your WordPress dashboard under Appearance > Theme File Editor.

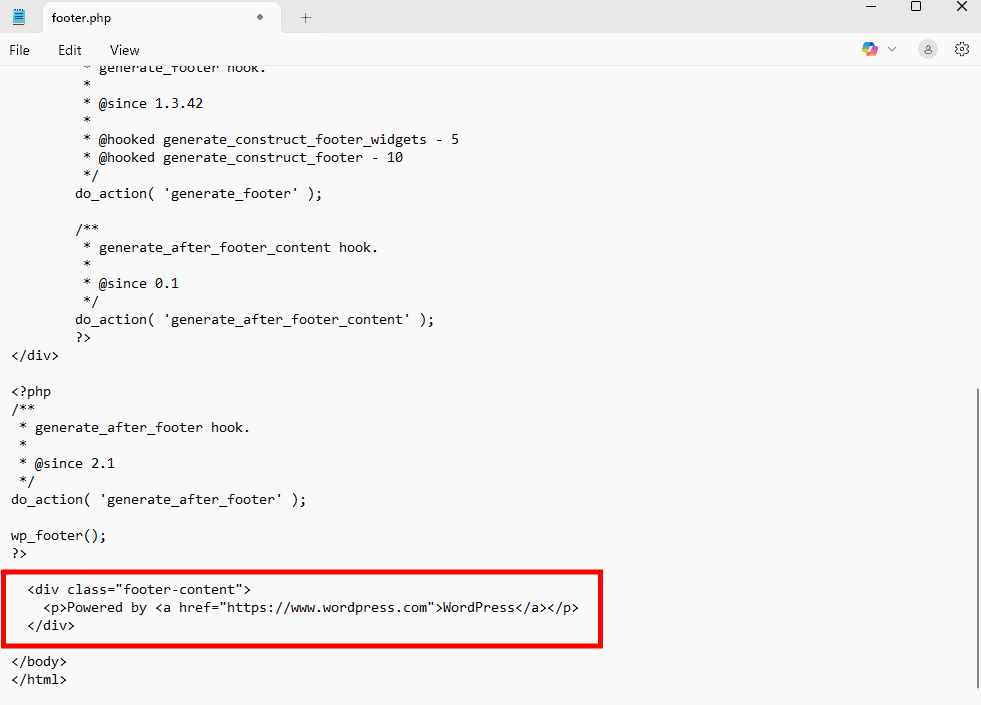
Select a file called footer.php in the list on the right. This file is responsible for displaying the footer area for your theme.

You can add PHP or HTML content to this template, just make sure to place it before the </body> tag. Press Update File when you’re finished.

You can find it by using an FTP client to connect with your WordPress hosting provider or by accessing your files through your host’s cPanel.
First, find the footer.php file in your web host’s file manager. It’s usually in a location like this:
public_html > wp-content > themes > [your theme name] > footer.php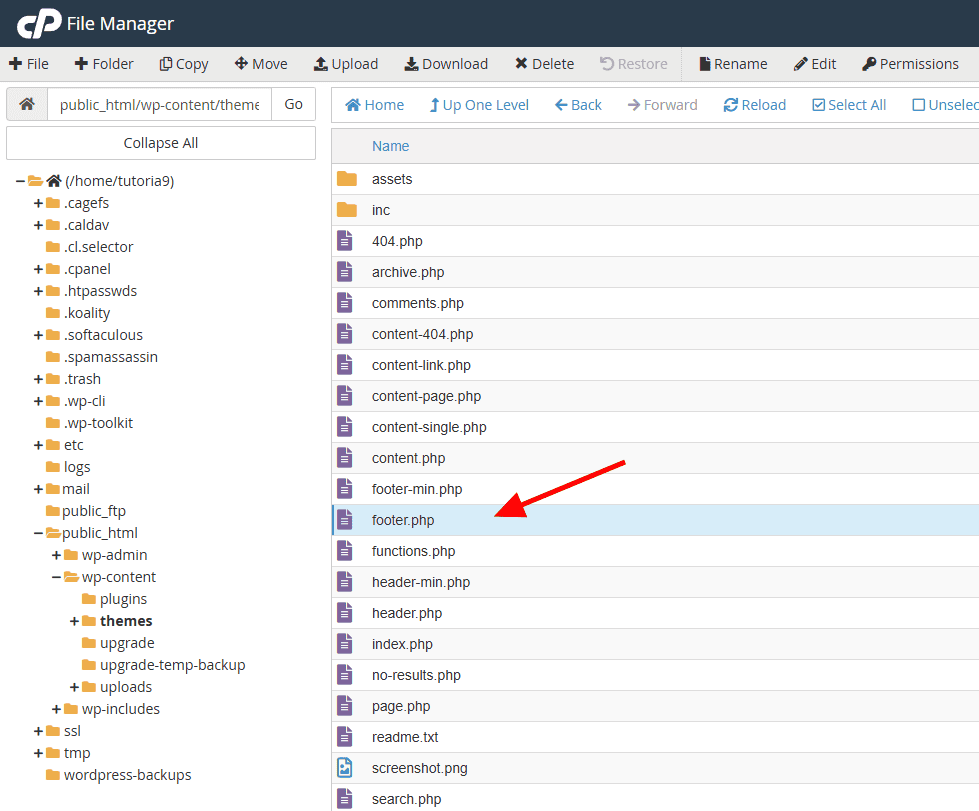
Download the footer.php file to your device. Make a copy and store it somewhere safe in case you make a mistake later.
In the footer.php file, find the line of code with “Powered by WordPress.” Delete the line of code or change it to something you prefer.
Finally, upload the newly edited footer.php file to the same folder you downloaded it from, overwriting the original file.
How to Add Code to Your WordPress Footer
In some cases, you may need to add code to your WordPress footer. This happens when you need to add scripts to your site or connect your site to external apps or plugins (such as Google Analytics).
It’s generally best to add these elements to the footer so they load last when a user opens a new page. If you put scripts/code earlier on the page, users may be forced to wait while they load, which disrupts the user experience.
If you need to know how to edit the footer in WordPress in order to add code, the easiest method is with the WPCode plugin. This tool lets you add code to your site without breaking it.

If you’ve never installed a plugin before, see our guide on installing WordPress plugins.
After installing and activating WPCode, go to Code Snippets > Header & Footer.

Paste your code into the Footer box, then click Save Changes at the top of the page.

FAQs About How to Edit the Footer in WordPress
Why don’t my footer changes show up?
If your edits don’t appear, try clearing your browser cache or any caching plugins you’re using. Also, double-check that you saved your changes. In some cases, your theme may override certain settings, so make sure you’re editing the correct template.
Can I edit the footer without coding?
Yes, it’s possible to learn how to edit the footer in WordPress without code. Most themes let you edit the footer using the Customizer, widgets, or a visual page builder like Elementor. You don’t need to touch any code unless you want full control over layout or add custom scripts manually.
Can I add scripts like Google Analytics to the footer?
Yes, you can add scripts manually by editing your theme’s footer.php file or more safely by using a plugin like WPCode. These tools let you insert tracking codes into your footer without touching code directly.
What if my theme doesn’t have a footer widget area?
Some themes don’t offer footer widgets or visual editors. In that case, you can use a child theme to customize the footer.php file or switch to a more flexible theme that supports full footer customization.
Will footer changes affect my whole website?
Yes, in most themes the footer is global, meaning it appears across all pages. Any changes you make will be reflected sitewide, which makes it a great place to add consistent navigation, contact info, or legal links.
Is it safe to edit the footer.php file directly?
It’s safe if you know what you’re doing, but mistakes can break your site. Always create a backup and use a child theme. If you’re unsure, use a plugin or visual editor instead to avoid editing theme files directly.
Final Thoughts
By now, you should understand how to edit the footer in WordPress. Your themes and plugins may be different, so if none of those examples help, consider investigating your themes’ or plugins’ documentation to learn more. Regardless, customizing your footer is straightforward, even without technical skills, thanks to WordPress’s flexible editing methods.
Always keep your footer clean, organized, and useful. Make sure visitors find what they need quickly without overwhelming them. And don’t forget to preview your changes on both desktop and mobile views to make sure everything looks great on all devices.
Ready to build your WordPress site?
Try our service free for 14 days. No obligation, no credit card required.


