
W3 Total Cache is one of the most widely used caching plugins for WordPress and it boasts over a million active installations currently. You can immediately start using W3 Total Cache with the basic configuration thanks to the wizard or find the settings that best suit your site by configuring the advanced options.
In this article, W3 total cache: the complete guide we will see how to use the plugin to improve site performance.
In the first part, we will see how to install W3 Total Cache and how to configure it with the wizard. Then we will analyze all the advanced settings that the plugin offers.
Table of Contents
What is W3 Total Cache
W3 Total Cache is a WordPress plugin that allows us to create site cache and optimize a WordPress site. So, here’s a brief introduction on how caching works in order to understand what is the real purpose of caching plugins.
When a visitor tries to reach your site, a request is sent to the server, followed by processing and response from the server to the user’s browser. These steps take more or less time depending on the requests on the page.
What happens when you use a caching plugin? Plugins like W3 Total Cache allow you to store page content, so when a page is visited the loading time is much shorter than normal because the server takes less time to process requests and displays content directly.
Before installing W3 Total Cache
Before installing and getting a caching plugin you should test the performance of your website in its current state. By doing so you will be able to have a comparison between before and after configuring the W3 Total Cache and you will know if were able to speed up WordPress as you intended.
To test the speed of your site you can use a free tool like GTmetrix or Pingdom.
Install W3 Total Cache
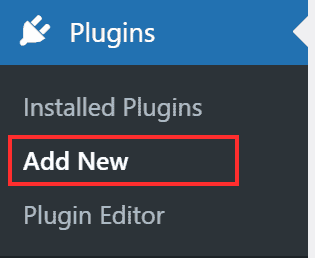
The first thing you need to do is to install W3 Total Cache, then go to your WordPress dashboard and click on Plugins → Add New.
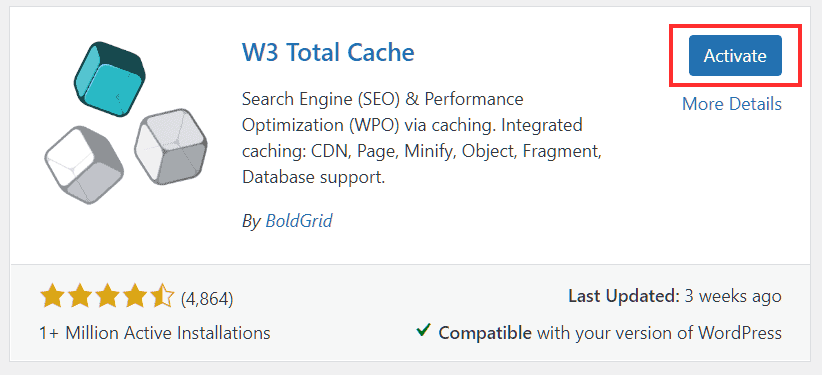
Type W3 Total Cache in the search bar and once the results appear click on the Install Now button next to the plugin in question.

After installing it, activate W3 Total Cache by clicking on the blue Activate button.
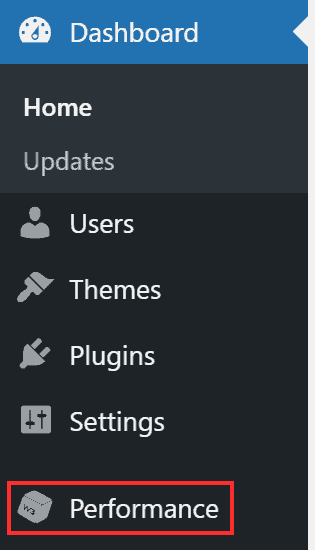
As soon as you activate the plugin you’ll see a new tab appear, Performance, in the left side menu of the WordPress bulletin board. This tab allows us to access the configuration of W3 Total Cache.
Configure W3 Total Cache with the wizard
If it is the first time you are installing W3 Total Cache and you have just activated it, clicking on Performance will open the configuration wizard.
First, you have to choose if you want to share the plugin usage data with the developers, the data will not contain any personal information, you can choose to Accept or Decline and proceed anyway.
At this point, if you prefer to skip the wizard, you can configure W3 Total Cache by yourself. In this case, let’s see how you can enable the settings following the wizard then click on the Next button.

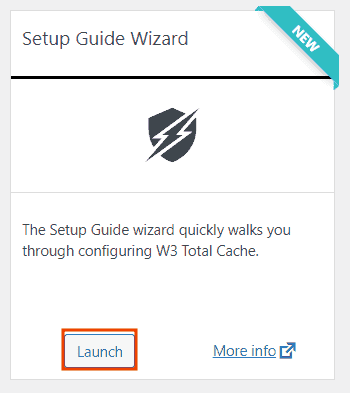
Remember that you can restart the W3 Total Cache wizard by clicking on Feature Showcase.
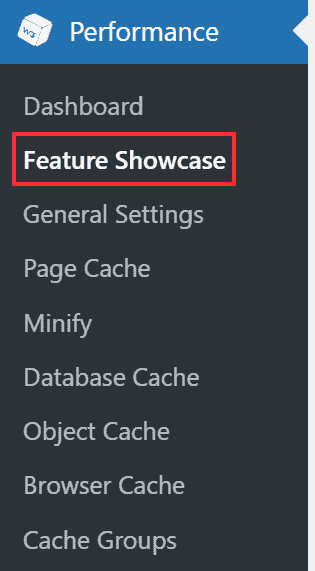
You will then need to click on the Launch button under Setup Guide Wizard as you see in this screenshot.
Page Cache
The Page cache or page cache feature of W3 Total Cache is used to create a static copy of each new page. The copies are stored and used each time there is a subsequent request, this allows content to be displayed faster when a page is opened.
The wizard allows us to perform a test to compare the loading speed, and in particular, the Time To First Byte, with the feature disabled and then with the feature enabled according to the available methods.
Click on Test Page Cache.

You’ll then see the test results and can decide which caching method to enable.
W3 Total Cache mainly uses two different methods to create the page cache, in most cases, the best configuration is the Disk Enhanced option. In any case, let’s see how the two methods work.
Disk Enhanced: with this method, a cache copy of the pages is created by rewriting the rules of the .htaccess file.
Disk Basic: the static copy of the pages is created with a PHP script.
The Disk Basic method can be used when you have limited access to the site files or you can’t use the .htaccess file. In general, in most cases, the recommended option is Disk Enhanced which is also the fastest and most efficient method.

As we have already seen in the LiteSpeed and LiteSpeed Cache guide, caching plugins use different methods to create static copies that are then shown to visitors.
Creating the server-side cache compared to using PHP allows you to have a lower load on the server, and this is exactly the method used by LiteSpeed Cache or W3 Total Cache with the Disk Enhanced method.
Keep in mind that if on the server are installed cache systems such as Memcached, Redis or APC you can also choose to use them to create the cache of the pages.
After selecting the method click on the Next button to proceed.
Cache of the database
Every time a page on your site is opened there are queries to the database. W3 Total Cache’s database caching options allow you to store the results of database queries so you don’t have to repeat them.
However, this feature does not always help reduce loading speed. To see if enabling the feature would be useful for your site, do a database cache test and examine the results.
Once you’ve reached this point in the wizard, just click on Test Database cache.

If the changes in speed are not significant, or if you can only use the Disk method, it is better to leave this option disabled.

Object cache
The Object cache allows you to reduce the total number of database queries. Although WordPress has its own built-in object cache, it works for a single page load and data is not stored for subsequent page requests. This is precisely why caching plugins intervene.
Depending on the server cache system, W3 Total Cache provides you with different methods for object caching. For example, if you have Redis or Memcached active on your server you can use these methods, otherwise, the only option is Disk. To see the available methods click on Test Object Cache.

In this last case, you’ll have to evaluate if activating the object cache affects the response time of the site or not. In most cases, if you can only choose the Disk method, you can leave the option off.

Browser Cache
The default setting of W3 Total Cache is that the browser cache is active. The plugin sets a time limit to determine how long site resources will be cached before expiring and being replaced.
First, click on the Test Browser Cache button.

You can simply leave the Browser cache option active.

Lazy Load
Enabling lazy load when a page is opened will load only the images visible on the screen, reducing the initial loading time, especially for longer and more image-rich pages.
Remember that WordPress already uses the lazy load function which by default is supported by most browsers including Firefox and Chrome, but not yet by Safari. In this case, then, enabling the lazy load feature of W3 Total Cache allows you to ensure faster loading even for those who visit your site using Safari as a browser.

Summary
In the very last window of the Wizard you will see a summary of the settings you have chosen.

W3 Total Cache manual configuration
In addition to the settings we have seen with the wizard there are other options and functions of the plugin you can activate.
Remember that in most cases you won’t need to change any additional settings than those seen in the wizard. Also, if you do not choose the plugin settings correctly, they can affect the functions of your site.
In this section, we will first see what you can do from the plugin dashboard and the general settings of W3 Total Cache. These are always basic settings, but as you’ll see, some functions are added to those you can activate with the wizard.
In the second part, we will look at the advanced settings of each of the functions (page cache, database cache, CDN configuration and so on).
Dashboard of W3 Total Cache
From the W3 Total Cache dashboard, we can do a compatibility check and delete the cache.
The main options are gathered in this set of buttons we see above.

Compatibility check: This allows us to perform a check to see which functions we can enable. We’ll see the functions and caching methods available vary from server to server. For example on our shared hosting and semi-dedicated hosting we use Memcached.
Empty all caches: delete all resources stored in the cache.
Empty only the memcached cache(s): deletes resources that have been stored with the memcached method.
Empty only the opcode cache: it deletes the resources that have been stored with the opcode method.
Empty only the disk cache(s): deletes the resources that have been stored with the disk methods (disk:basic and disk:enhanced).
Update Media Query String: updates the strings so that the resources are updated.
The remaining sections in the dashboard allow us to see the statistics (only in the pro version of W3TC) or to view the Google Page Speed reports (after activating them).
W3 Total Cache configuration: general settings
General
To test plugin options before making them effective you can activate Preview mode. In this way, you can make sure that the configuration you are using doesn’t compromise the functions of other plugins or of your site theme.
As stated before, in most cases you won’t need to change advanced plugin settings, but if you want to do that it’s better to test the changes before implementing them.
To activate Preview mode we have to click on General Settings from the Performance item in the left sidebar of WordPress dashboard.
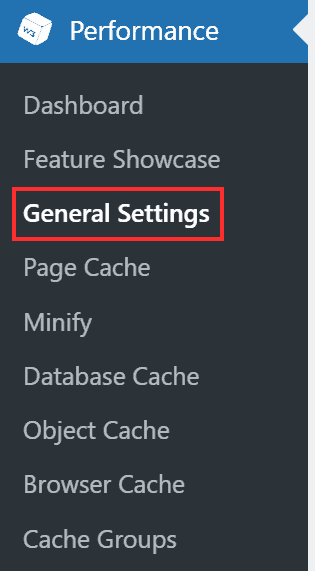
Then in the General section, we just click on the Enable button in correspondence to “Preview mode”. This will save the current W3 Total Cache configuration.

We can then make changes to the settings and return to General Settings. From here clicking on Preview we can see how the site looks like.

This gives us the opportunity to check the effects of W3 Total Cache settings and decide whether to make them effective or go back to the previous configuration.
If the site doesn’t work as it should we can go back to the previous W3 Total Cache configuration (before activating Preview mode). To do that click on Disable.

If, instead, we are happy with the new settings we can apply them to the site by clicking on Deploy.

Page cache
In this section, we can enable page cache and choose the method. Checking the Enable box we can activate the function.
By clicking on the drop-down menu next to Page Cache Method you can choose which method to use. Keep in mind that not all methods are available and will change depending on the server. The recommended method is Disk: Enhanced.

Minify
Since this option is one of the settings that can give your site problems, be sure to test it (by enabling Preview mode) before making the changes effective.
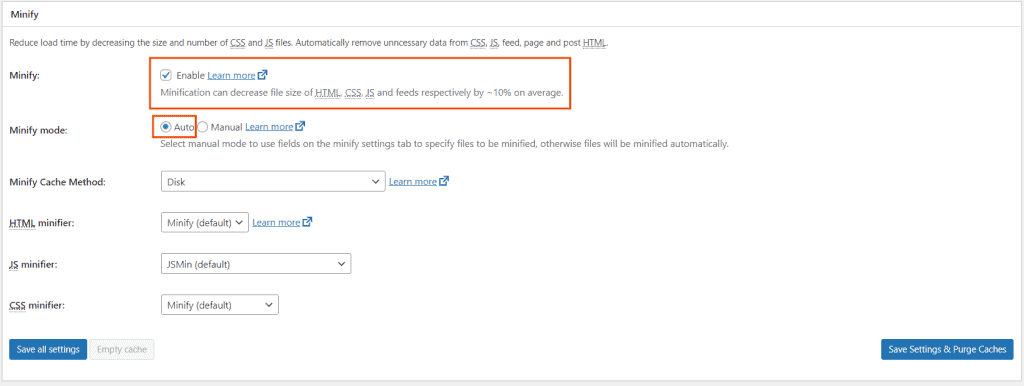
Minify removes unnecessary CSS, JavaScript and HTML resources allowing you to reduce the size of your pages.
For most sites, you just need to enable the Minify feature and select the Auto method.
Database cache
By enabling this option database queries are cached. However, since this feature tends to make excessive use of server resources, it may be counterproductive.
In most common cases it is better to leave the option disabled.

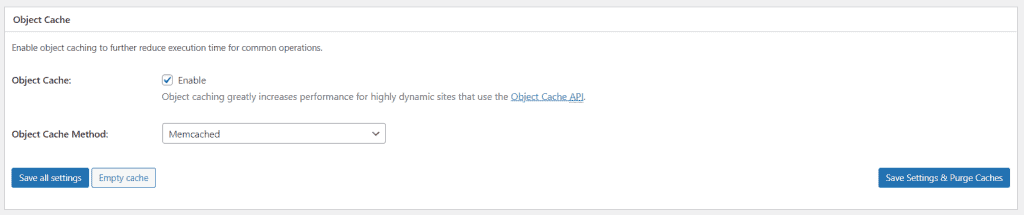
Object cache
Object caching reduces the total number of database queries per page. Activating the function gives you a choice of available methods.
Generally, if you can only use the Disk option it is better to disable the option. Otherwise, you can see if Redis or Memcached are available on your server and enable the feature with one of the two methods.
Browser cache
Browser caching is one of the functions that has the biggest impact on your site’s response time and is definitely one of the options to enable.

CDN
If you are using a CDN from this section you can configure it, otherwise, you can skip to the next section. If you are using CloudFlare you can leave the CDN option off and then go to configure the CloudFlare extension for W3 Total Cache, as we will see in the section dedicated to extensions.

Reverse Proxy
In order to use the feature, you must have Varnish available on your server, contact your host to get the necessary information to enable the feature.
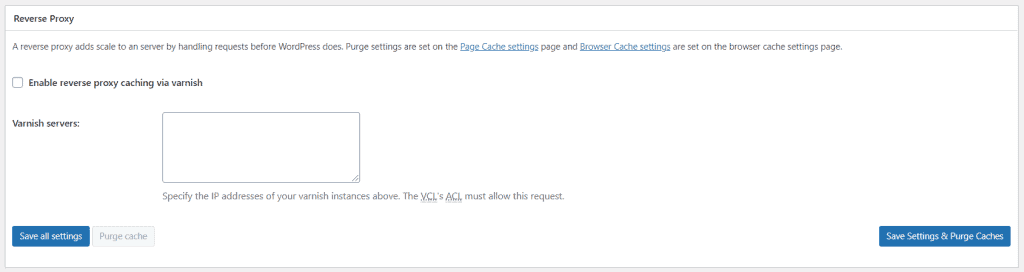
Remember that server-side caching systems like Varnish may be available (upon request) on plans like VPS cloud hosting.
User Experience
Through the User experience section, we can enable the lazy load function for images and disable emoji (recommended if you don’t use them on the site).

From here we can also disable the wp-embed script that allows you to embed WordPress posts. Keep in mind that the oEmbed feature to embed YouTube videos or images from Instagram will remain active.
Miscellaneous
This section contains various settings of the plugin. First, we can display a Google Page Speed widget on the WordPress dashboard. To do this we need to enable the feature and enter the Page Speed API key.

In most cases, you can leave the other options in the default configuration.
Debug
By enabling debug mode W3 Total Cache will add HTML comments to the source code of the pages to help you find errors in the plugin configuration more easily.

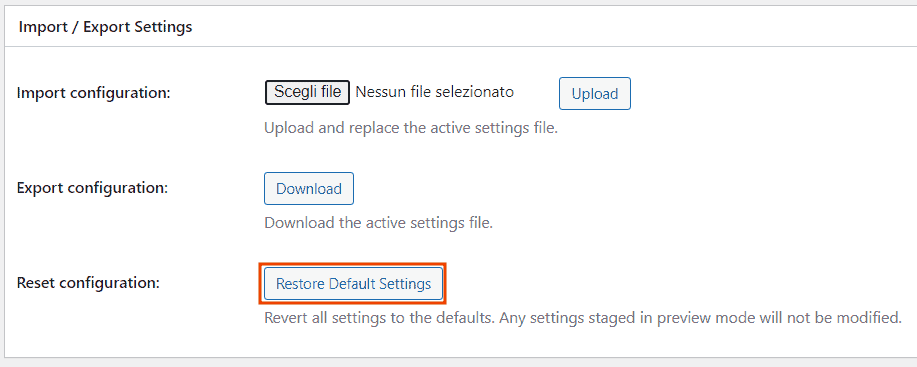
Import/Export Settings
From the Import/Export section, you can export a backup of the current configuration by clicking on Download.
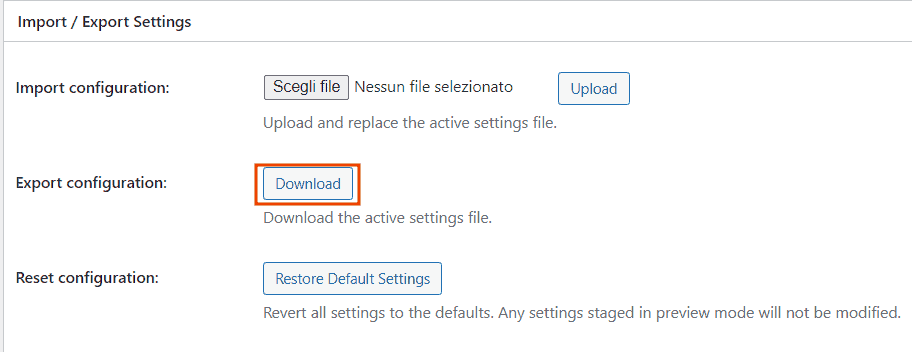
If instead, you want to import an existing configuration you can upload it by clicking on Choose file and then Upload.
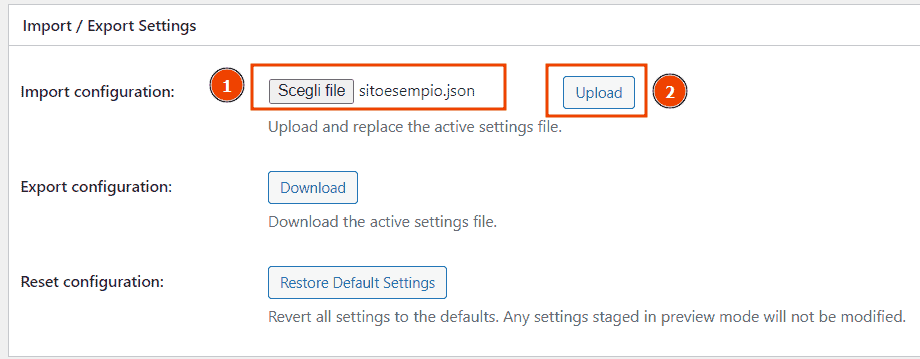
From here you can also return to the plugin default settings by clicking on Restore Default Settings.
W3 Total Cache: Page Cache settings
For each function we have seen in the general settings, there are additional options. Let’s start with the Page Cache function.
Page Cache – General
For the page cache in the General section, we find the settings that may interest us.

Cache posts page: creates a cache copy of blog posts.
Don’t cache front page: by default, the home page cache is created, this function is useful if you don’t want it to be created. In most cases, it is good to keep it active (do not check the box next to the Don’t cache front page).
Cache feeds: enable it if you use feeds on your site.
Cache SSL (HTTPS) requests: enable it if you are using SSL (https) protocol.
Cache URIs with query string variables: enabling this function also URIs with parameters will be cached. In most cases, you can leave it deactivated.
Cache 404 (not found) pages: if you are using the Disk enhanced method you don’t have to activate this option. In that case, error 404 pages would return the HTTP status code to 200 instead of 404, generating a soft error 404.
Don’t cache pages for logged in users: leave the function active, in this way pages of logged in users are not cached.
Don’t cache pages for following user roles: this option is a variant of the one we have just seen, it allows you not to cache only pages of logged-in users who have a specific role (editor, administrator, etc).
Page Cache – Cache Preload
Let’s move on to the Cache Preload section, I deliberately skipped the Aliases section since in most cases it’s not needed or it’s better not to use it.
Activating the Cache Preload function of W3 Total Cache allows you to create the cache copies of the page even before the users visit them. In order to use the function, it is necessary to indicate the URL of the sitemap of the site.
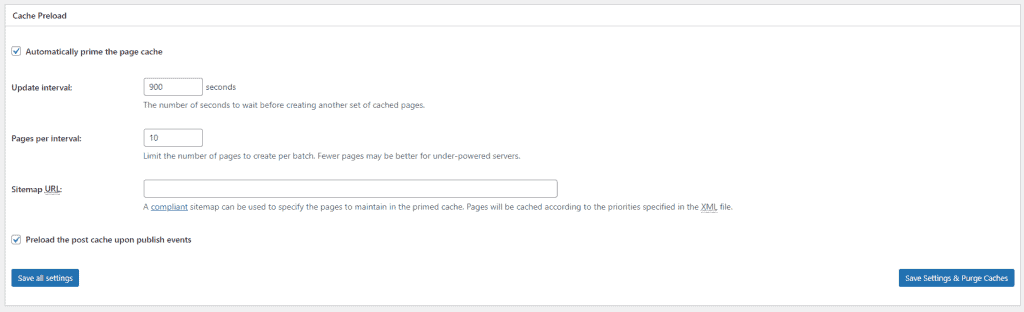
Keep in mind that preloading consumes resources, in this case, to avoid peaks in the use of resources you can set a lower limit to the number of pages that are created simultaneously.
Activating the option Preload the post cache upon publish events the cache is updated after the publication of new posts.
Page Cache – Purge Policy
This section allows you to choose which pages (and feeds) will be purged automatically every time a new post is published or modified.
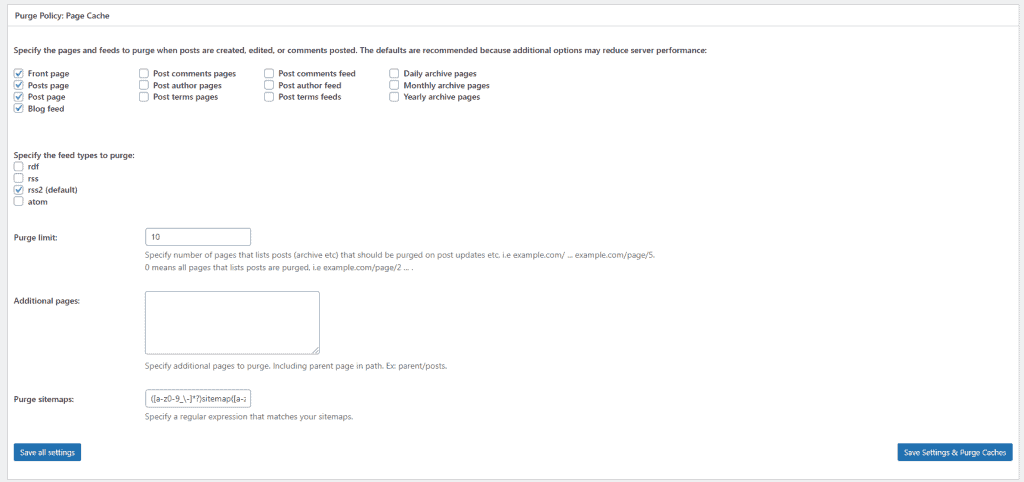
In most cases, the pages to be updated will be the front page, the blog feed and the post page. However, you can add more options or specify additional pages in the Additional Pages field.
Page Cache – Advanced
In the Advanced section, you can add exceptions specifying which pages should not be cached, or enable compatibility mode if you are having problems with the plugin.
In most cases, you don’t need to change the settings in this section, and in any case, there are no general guidelines, but the options depend specifically on your site.
W3 Total Cache: Minify settings
Minify – General
In the General section, we have two options and the ability to enable notifications.
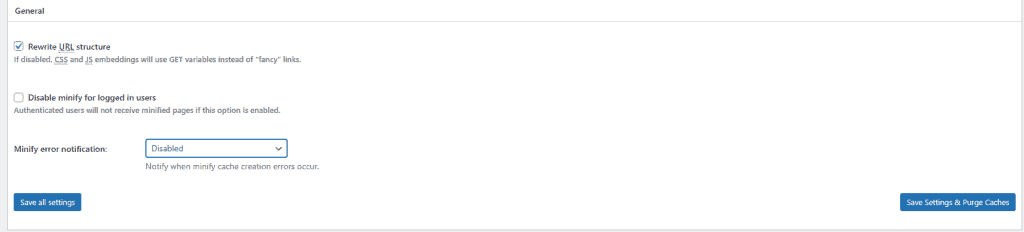
Rewrite URL Structure: by default, it is active and allows to rewrite the URL structure to keep them readable.
Disable Minify for Logged In Users: by default, it is not active and it is better to keep it as such. If enabled, it disables minification for authenticated users.
Minify error notification: you can enable notifications in order to be warned in case of errors in the function.
Minify – HTML & XML
Here we can find the settings for HTML minification.
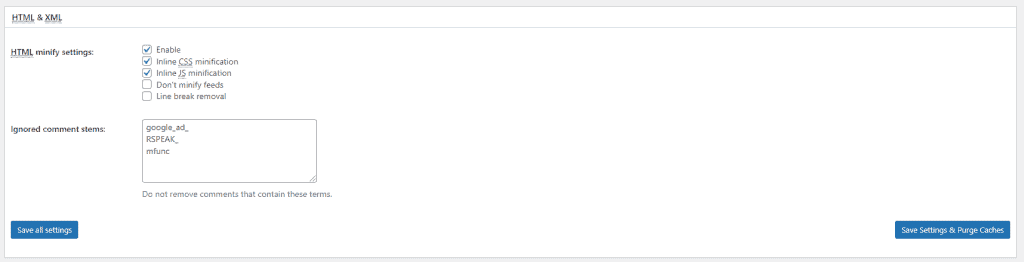
HTML minify settings – by activating it you can enable the next options, in general, you can use this configuration:
- Inline CSS minification: activated
- Inline JS minification: enabled
- Don’t minify feeds: deactivated
- Line break removal: deactivated.
Minify – JS
In this section, you can set the JavaScript minification. In most cases, you can activate the function and select the Combine only method. This way the JavaScript files are combined, but not minified.

If you choose the Combine & Minify option, the files will be combined and minified. If you encounter errors when activating Combine & Minify, select the Combine only method.
Minify – CSS
From here you can enable the CSS minification feature. Among the available options we have:
Line break removal: the option to remove whitespace (line breaks) from CSS files.
Preserved comment removal: applies comment removal.

You can test the options and make sure that no errors or display problems occur, otherwise disable them and save the settings again.
Minify – Advanced
The advanced section allows you to add exceptions to indicate files or pages not to minify and set the time interval for updating CSS and JS files (by default it will be every 24 hours).
W3 Total Cache: Browser Cache Settings
If you don’t know how to set the options, I highly recommend leaving the default options or you risk making your site inaccessible.
However, there are options you can consider enabling. First of all the GZIP compression, if it is not already enabled, you can enable it with W3TC in this way:
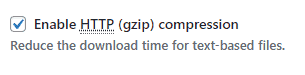
Another recommended option is Prevent caching of objects after settings change which generates a new string when settings are changed.

W3 Total Cache: Database Cache settings
In the database cache settings, we find first the General tab that allows us to enable the option Don’t cache queries for logged in users to prevent queries from authenticated users to be stored in the cache. Generally, it’s better to leave the option enabled unless you are in a particular case.

In the Advanced tab, we find the advanced configurations for the database cache that W3 Total Cache provides. Let’s see the main ones.

Maximum lifetime of cache objects: it establishes how long the elements in the cache should be stored. The default value is 180 seconds, you can increase it, but keep in mind that it will increase the size occupied by the cache.
Garbage collection interval: indicates how often the expired cache should be deleted. Usually, the default setting of 3600 seconds or one hour is appropriate in most cases.
Never cache the following pages: in this field, you can indicate which pages should not be included in the cache.
Ignored query stems: this field allows us to specify which database roots should not be included in the cache, it can be useful if we are experiencing compatibility problems with other plugins in use on the site. In the field, we already see exceptions for some plugins like WP Session Manager (_wp_session_) and Gravity Forms (wp_rg_).
W3 Total Cache: Object Cache settings
The settings available on this screen vary depending on the object caching method used. In all cases from the Advanced tab of this section, we will be able to change the following settings.
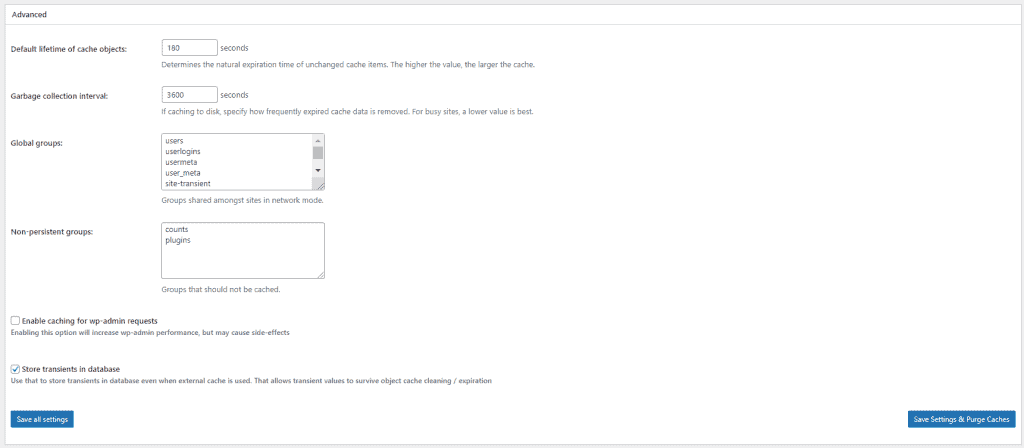
Default lifetime of cache objects: This allows us to set after how long the elements stored in the cache expire. The default setting is 180 seconds, keep in mind that increasing the value will increase the space occupied on the disk.
Garbage collection interval: this value corresponds to the frequency with which the cache data (in this case the object cache) will be deleted (after expiration). By default, it is set to one hour (3600 seconds).
Global groups: Global groups: in this box you see the list of groups that will be stored in the cache, it refers to global groups for multisite installations (WordPress multisite). In most cases, you can leave the default settings.
Non-persistent groups: This allows you to make exceptions to global groups, in this case, the groups you make will not be cached. Again, if you are not familiar enough with this type of settings, leave the defaults.
W3 Total Cache: Cache Groups Settings
User Agent Groups
The settings in this section allow us to manage users in groups according to the user agent, that is the device used. For example, this function could allow us to redirect users who connect with mobile devices to a version of the site optimized for mobile devices.
At the moment, since themes and site design are already implemented to be responsive, the function makes little sense.
In any case, if you need to use it you can activate it by checking the enable box and from the drop-down menu choose the theme to use, if you want users using a specific device, see a different theme. Or you can redirect users to another URL by indicating it in the Redirect users to field.

Referrer Groups
From this section you can manage users according to their origin, creating for example a group (like the default one) for users who reach the site from a search result on search engines.
Also in this case you can choose whether to redirect users or show the site with a different theme from the one in use.
Cookie Groups
The indications reported in the groups that we have just seen are valid. In this case, you can create user groups based on the cookies of the requests (e.g. logged in users).
W3 Total Cache: CDN settings
Before changing the settings in the CDN section you must have enabled the CDN to be used in the general settings, as we saw earlier.
First, let’s see which options are present in the General section.

Host attachments: when enabled, attachments (e.g. images from the media library) are served through the CDN.
Host wp-includes/files: when it is active the files of the wp-includes folder are served through the CDN.
Host theme files: when enabled the theme files are served through the CDN.
Host minified CSS and JS files: when enabled, minified CSS and JavaScript files are served through the CDN.
Host custom files: refers to the files specified in the Custom file list that you can see in the Advanced tab of this same page.
Add canonical header: This allows you to identify the original URL with the canonical tag. Generally, search engines are able to distinguish the URL without the need to specify it, so by default, the option is disabled.
Let’s see now what are the main functions available in the Advanced section.
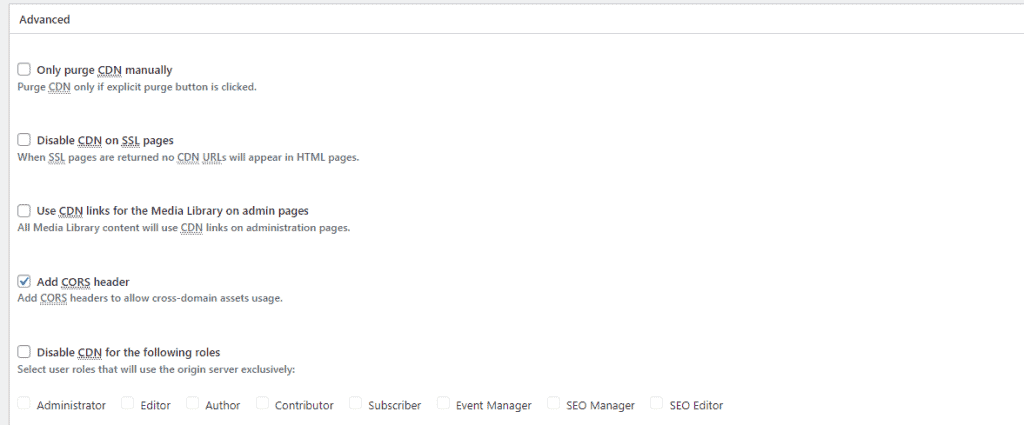
Only purge CDN manually: by default W3TC manages autonomously the purge of the cache. If you enable this option you will purge the cache only manually, normally you don’t need to enable the function.
Disable CDN on SSL pages: By activating this option you may run into the problem of mixed content. It happens when some contents are downloaded using http protocol instead of https and the browser returns a not-secure site warning. In most cases, it is better to leave this option disabled.
Disable CDN for the following roles: This allows you to choose which user roles to disable CDN for.
W3 Total Cache: User Experience settings
This section allows us to customize the settings we find in the General section about the user experience on the site and in particular about how to manage the lazy loading function.

The first two options, Process HTML image tags and Process background images are already active, leave them in this way if you want to use the lazy load function.
Exclude word: in this field, you can indicate the tags (e.g. no-lazy) that allow you to exclude images from lazy loading.
Script Embed method: we can set a different method for lazy load, in most cases the default method, async, is the best solution. For sites with one or a few pages, we can use the inline method.
W3 Total Cache: Extensions
W3 Total Cache extensions allow us to integrate third-party services, such as the WordPress plugin for SEO or CloudFlare services.
To activate an extension we just need to click on Performance → Extensions, find the extension we are interested in and click on Activate. In this example, we see how to activate Cloudflare extension.

After activating it, click on Settings and from this section you can proceed to associate the service. Just click on Authorize and then enter your credentials (email and API key associated with CloudFlare).

You can find the detailed documentation to configure CloudFlare on the official website of the plugin.
Conclusions
As we have seen in this article, W3 Total Cache: the complete guide, W3 Total guide is one of the most powerful and comprehensive caching plugins. To get the best out of the W3 Total Cache configuration and advanced settings you may need to consult a developer. In any case, we have seen the key settings for a basic and more advanced configuration.
If you have doubts about activating the settings remember that you can safely test the W3 Total Cache configuration by activating the Preview Mode. If something goes wrong you can deactivate it and go back to the previous configuration.
Were you able to configure the plugin on your site? What improvements did you see? Let me know in the comment below.
Ready to build your WordPress site?
Try our service free for 14 days. No obligation, no credit card required.


