Email accounts organization is one of the aspects often overlooked by users.
With a poorly organized inbox, it’s hard to find the data you need.
In this tutorial, I will show you how to integrate an email filter in your email to better manage your inbox.
Table of Contents
What is an email filter
We have already seen how it can be useful to have multiple email accounts to sort requests from users.
With email filters, you can further optimize this process since they allow you to organize your incoming emails, automatically routing them to specific folders.
In fact, by setting some instructions in the email filters, it will be clear to the server how to manage all incoming emails.
The server, when it receives a new email, will verify whether it satisfies the set criteria and will act according to the instructions provided.
Thanks to email filters, you can optimize your workflow and easily manage relationships with your suppliers, customers, and collaborators by marking fundamental emails making sure that they are automatically moved to a specific folder.
In an email filter, it is possible to add more instructions, but it is crucial not to overdo it. It is preferable to create several filters instead of using one large filter containing all the instructions.
Create a new email filter
The first step to create an email filter is to login to cPanel.
Next, search for and select the “Email Filters” item.

On this page, all your email accounts will be listed; you will have to identify what you want to manage and then press the “Manage filters” button.

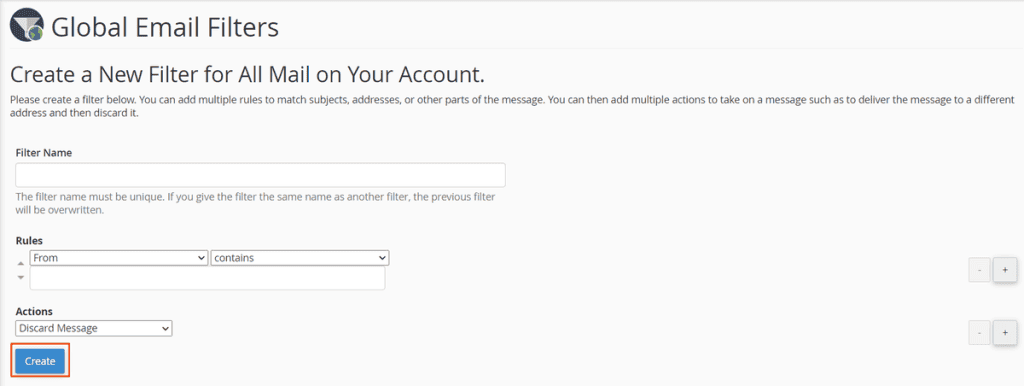
After selecting the account to manage, click on “Create a new filter” and start filling in the fields.

Filter Name: In this field, you will have to enter the name you want to assign to the filter. I suggest you use a name that is easy to remember and that recalls the rules contained within the filter.

Be careful when creating email filters; if you accidentally create two filters with the same name, the newer file will overwrite the older one.
Rules: These two fields define the condition that must be met to activate the email filter. For example, by selecting the value “From” and selecting the option “contains” in the adjacent field, we will instruct the server that it will only have to consider emails that contain the text we indicated in the “From” field.

- From: the sender’s address.
- Subject: in an email, the subject represents “the title”.
- TO: the recipient of the email.
- Any recipient: this entry will consider all emails.
- Body: the body of an email is nothing more than its content.
- Spam score: to prevent spam, many servers use antispam platforms such as SpamAssassin. Based on certain criteria, this software assigns a spam score to each email. This field should only be selected if you want to create an antispam filter.
So far, we have only designated what our object of interest is, but we have not yet defined what logic to apply to it.
By filling in the “Actions” field, you can set the logic that the server will have to follow.

Actions: the actions field defines how the server should act. By selecting, for example, the “redirect to email” option, the email filter will direct all incoming mail to the declared email address.
- Ignore message: this action has the purpose of deleting the received emails.
- Redirect to email: Selecting this option you will create an email forward to the specified address.
- Fail with message: the filter will delete the message by sending an error message to the sender.
- Stop processing rules: The system will stop performing further actions or applying any remaining filters on this message.
- Deliver to folder: This setting will direct emails to a specific folder.
- Pipe to a program: the email filter will redirect new emails to the specified program.
It is possible to create and interlock multiple rules and actions for each email filter. To do so, just click on the “+” symbol on the right of each instruction.

Instead, to delete a rule, click on the “-“ symbol.

Once all the rules to be applied have been defined, click on “Create“.

How to set up a global email filter
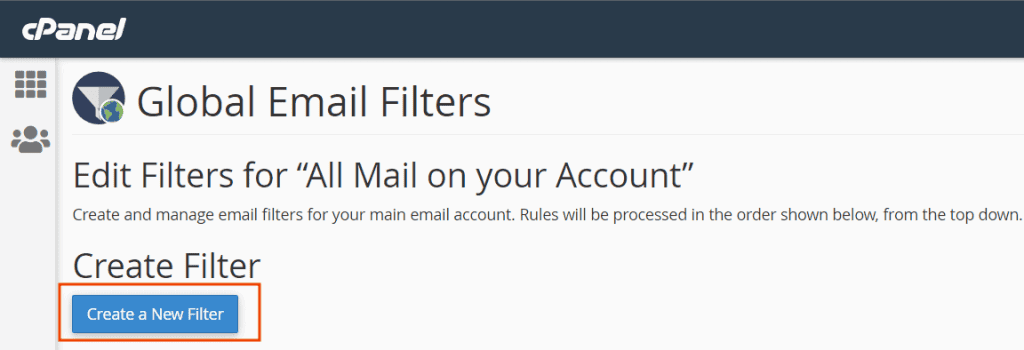
cPanel, not only offers us the possibility to create email filters for each account email, but it is also possible to filter all email addresses to a domain, creating a global email filter.
To create a global email filter on cPanel, select the item “Global email filters“.

To create a new filter, click on “Create a new filter“.

You simply have to enter the values in the fields, as we have seen above, and then press the blue button “Create” to activate the new rule.

Delete an email filter
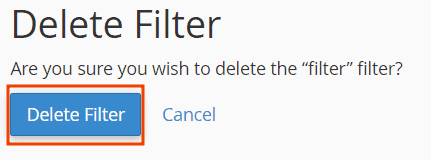
To delete an email filter, just go back to the page where you see all the filters we have created and click on the “Delete” button for the filter you want to delete.

Next, you have to confirm by pressing the blue button “Delete filter“.


