
Want search engines to find every page on your Joomla site? A sitemap makes it easy. It tells Google exactly where to look, which helps your content get indexed faster.
Fortunately, you don’t have to build one from scratch. With the right tool, you can generate a Joomla sitemap in just a few clicks.
In this tutorial, I’ll walk you through the process of creating an XML sitemap file for a Joomla website using the OSMap extension. This is a free Joomla sitemap generator that automatically creates XML and HTML sitemaps for all of your content.
Table of Contents
What is a Joomla Sitemap?
A Joomla sitemap is a file that lists all the pages on your website. It helps search engines like Google understand your site’s structure and find your content. Without a sitemap, some pages might not get indexed, which means they won’t appear in search results.
There are two types of sitemaps:
- XML sitemaps;
- HTML sitemaps.
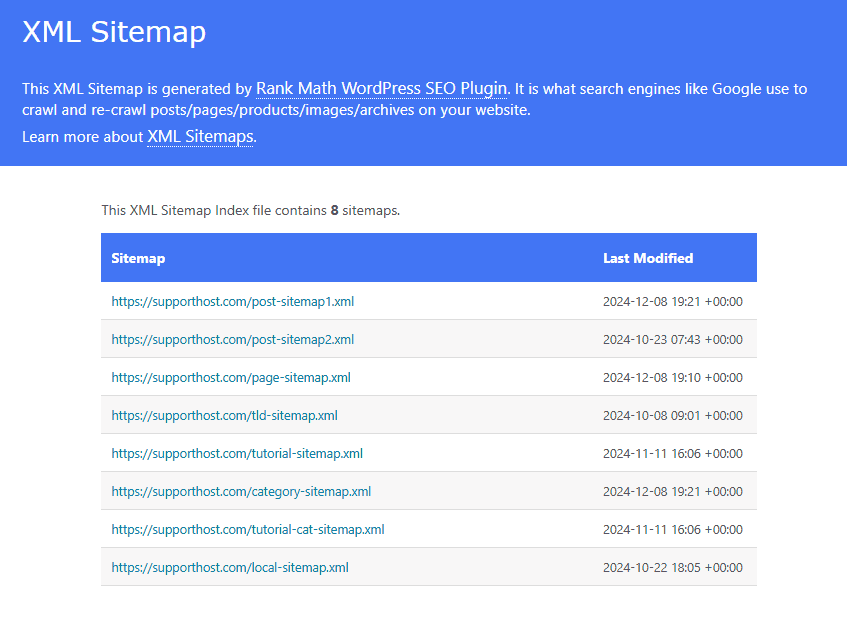
XML Sitemaps
These are made for search engines. They tell Google and other search engines which pages to crawl. Here’s an example:
You can create a Joomla sitemap manually by writing an XML file, but that takes time and effort. The easiest way is to use a Joomla extension, which generates and updates the sitemap automatically.
HTML Sitemaps
These are made for visitors. They provide a list of links to your site’s main pages to help users find what they need. Few people use sitemaps to navigate a website these days, but they are still worth having.
As an example, see our HTML sitemap (it’s too big for an image).
Why Do You Need a Sitemap?
A sitemap helps search engines find and understand your website. It isn’t required, but it makes it easier for search engines to crawl your site and show your content in search results. If you care about SEO, having a sitemap is a smart move.
Here’s why having a sitemap is important:
1. Helps Search Engines Find Your Pages
Search engines crawl websites by following links. If a page isn’t well linked, it might be missed. A sitemap gives search engines a clear list of all your pages so nothing gets skipped.
2. Improves SEO
A sitemap improves your Joomla SEO. It makes it easier for Google and other search engines to crawl your site. This increases the chances of your pages appearing in search results. While a sitemap doesn’t boost rankings directly, it helps search engines understand your content better.
3. Useful for Large Websites
If your site has a lot of pages, search engines might not find them all easily. A sitemap organizes everything in one place so crawlers don’t overlook important content.
4. Essential for New Websites
New websites often have few backlinks, which means search engines might not find them on their own. A sitemap helps get your pages discovered faster.
5. Helps with Dynamic and Hidden Content
Some pages, like product listings, search results, or dynamically generated content, can be hard for search engines to find. A sitemap gives search engines a clear path.
6. Keeps Search Engines Updated
Search engines love updated content. When you edit, add, or remove pages, a sitemap tells search engines what’s changed. This helps keep your site’s index fresh and accurate.
How to Create Joomla Sitemap
To create a Joomla sitemap, you just need to install an extension and let it run. Let’s walk through the individual steps. This process requires a Joomla website. If you don’t have one yet, read our Joomla installation guide.
(Don’t have a Joomla website yet? The first step is to find a Joomla hosting provider.)
Step 1: Download the OSMap Extension
The first step is to download OSMap from their official site.
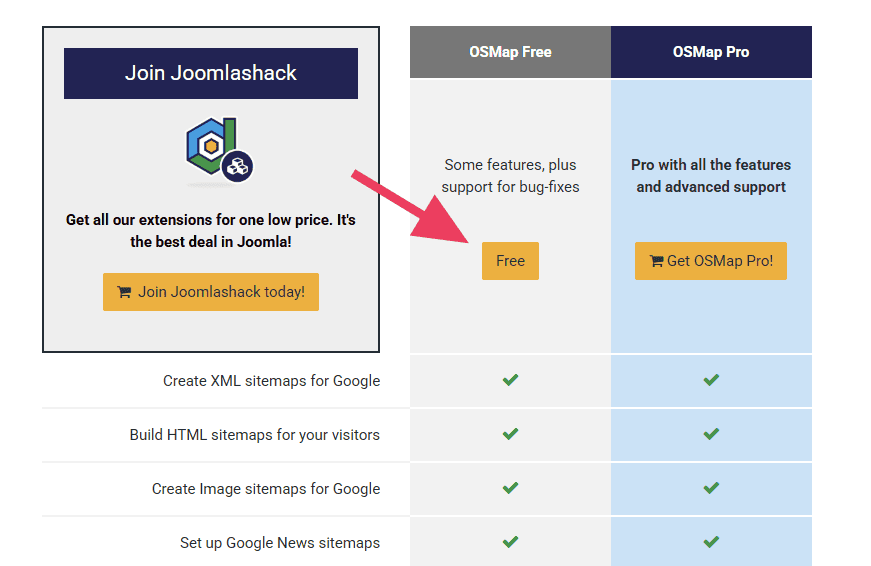
There are two packages available: free and OSMap Pro for $59 USD. The free version has everything you need to make a Joomla sitemap, but the Pro version may have some features that matter to you.
Click the Free button to download.
Enter your email address and press Click to Continue to receive the extension.

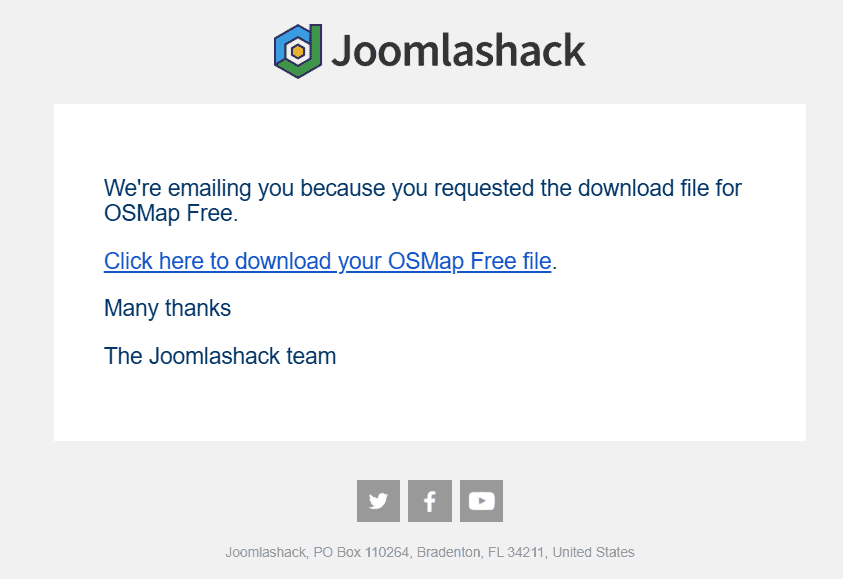
OSMap will email you a link to download, so check your email client and click the link. The extension will download automatically.
Step 2: Install OSMap to Your Joomla Website
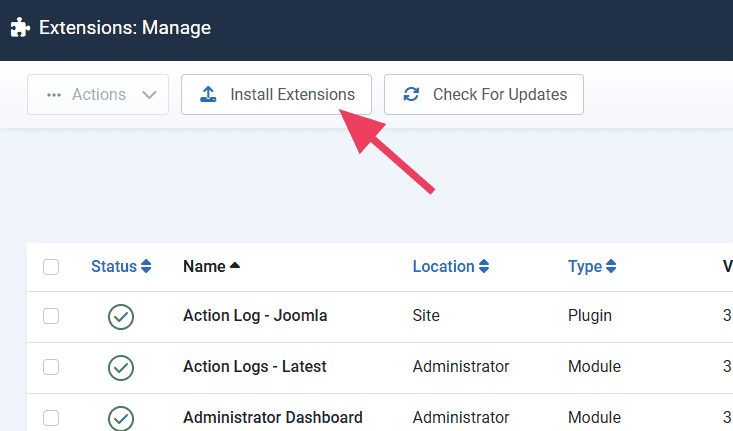
Login your Joomla administration panel and navigate to System > Extensions.

Click Install Extension at the top of the page.
On the next page, click Browse for File and find the OSMap file you downloaded a moment ago. After a few seconds, you will see a success message.

Step 3: Configure the OSMap Sitemap
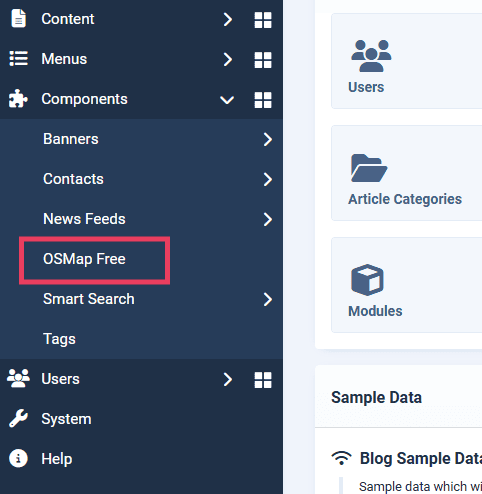
The next step to create a Joomla sitemap is to configure the OSMap extension you just installed. Navigate to Components > OSMap Free.
The next page is the OSMap Sitemap manager. The green check mark means the Joomla sitemap is published. You can click this at any time to publish or unpublish it.

Use the Sitemap Links to view your live Joomla sitemap in different formats.
- XML: This version is for search engines, but you can still view it.
- HTML: This version is for real visitors. It appears as a real page on your site.
- News: This version is for Google News.
- Images: This version is for Google Images.

Step 4: Display Your Joomla Site on Your Site
Now that your Joomla sitemap is active, you’ll want to link to the HTML version somewhere on your site so users can find it.
There’s no need to link to the XML version of your sitemap. Search engines usually find it on their own, though you should definitely submit your XML sitemap to Google Search Console.
For the purposes of this guide, we’ll add a link to your bottom menu, but you can put a link anywhere you like.
Navigate to Menus > All Menu Items and click the +New button.

Give your menu item whatever name you want to appear on the front end of your website, such as “Sitemap.” In the Menu dropdown, choose Bottom Menu. Make sure Default Page is set to No and Status is set to Published.

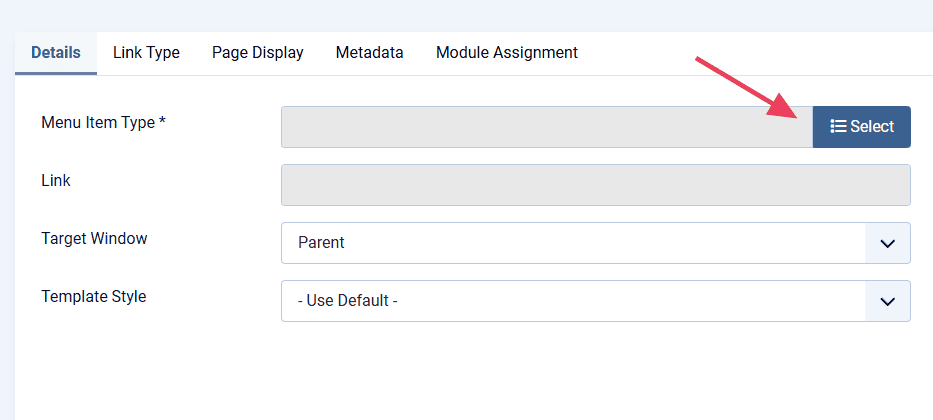
Next, click Select next to Menu Item Type. This is where you’ll point the menu item at your HTML sitemap.
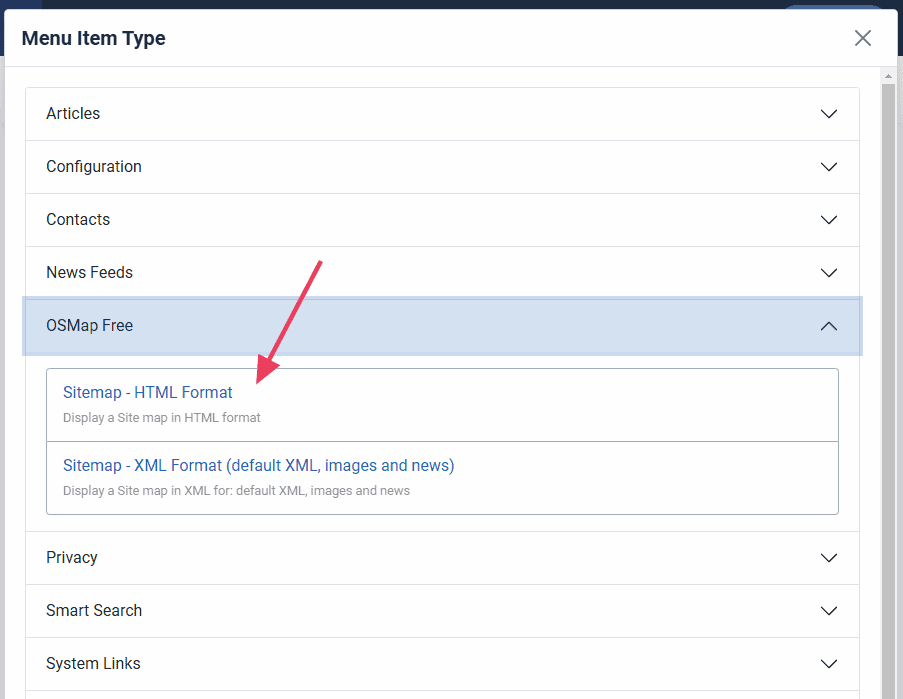
In the window that appears, choose Sitemap – HTML Format under OSMap Free.
Next, click Select next to Sitemap. (This field will have just appeared for you.)
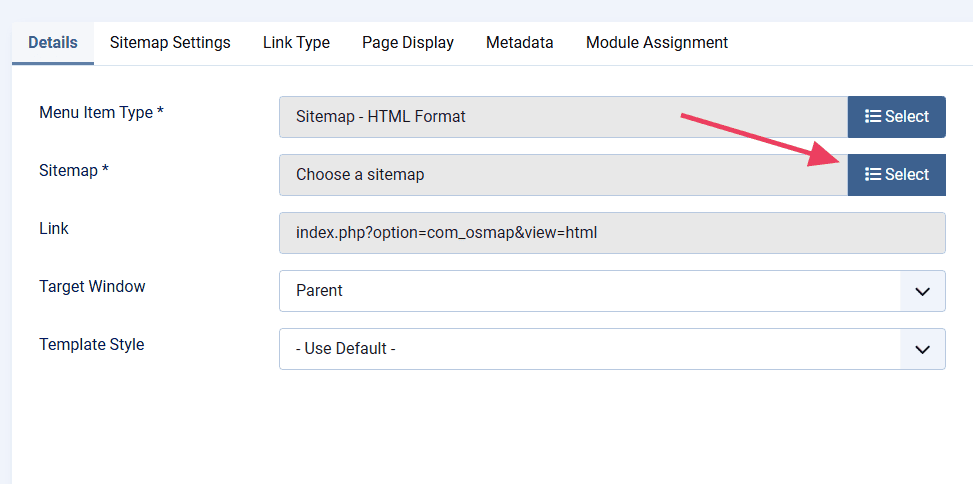
In the window that appears, click the Default Sitemap.

The menu item editor will now reflect your choices. Click Save & Close to save the menu item.
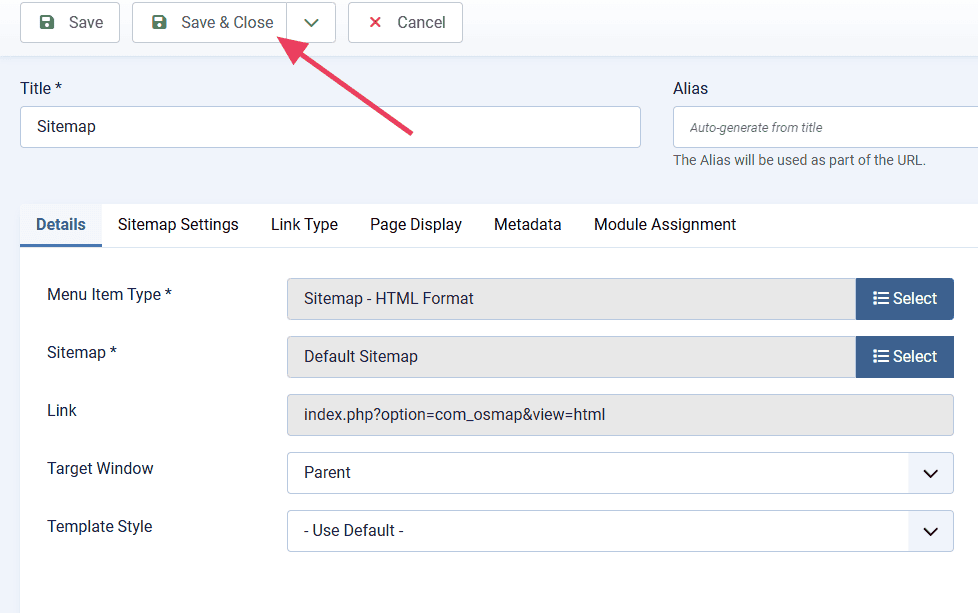
A new item has been added to your menu!

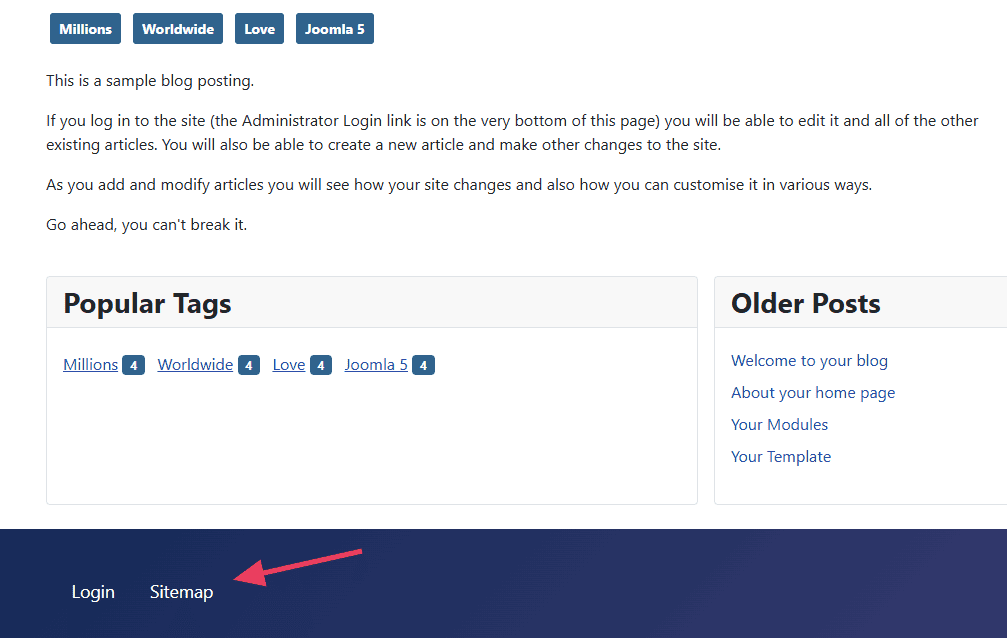
When you visit the live site, you’ll see the sitemap link in the bottom menu.
3 More Joomla Sitemap Extensions to Consider
If you don’t like the OSMap Joomla sitemap extension, here are a few more options. They come with their own features so you can choose the one that fits your needs best.
1. Aimy Sitemap
Aimy Sitemap generates both XML and HTML sitemaps. It’s highly customizable, supports SEF URLs, and even works with third-party components. It also notifies search engines when you update your site to help with indexing.
2. JSitemap
JSitemap is a feature-packed sitemap extension that keeps your sitemap updated automatically. It integrates directly with Google Search Console. It also supports multi-language websites and can generate structured data for better SEO.
3. Sitemap Generator
Sitemap Generator uses an external crawler to create your XML sitemap. Since the crawling happens outside your server, it doesn’t slow down your website. It’s simple to set up and supports robots meta elements, image sitemaps, and video sitemaps.
You should also check out our list of the best Joomla extensions.
How to Submit a Joomla Sitemap to Search Engines
After creating your sitemap, you’ll need to submit it to Google and Bing. This step is optional because search engines will eventually find it on their own, but it can help them discover your site more quickly.
Submitting Your Sitemap to Google
Google Search Console is a free tool that helps you manage your site on Google’s platforms. Submitting your Joomla sitemap only takes a moment.
Visit Google Search Console and sign into your account. Click the Search Property selector and then click Add Property.

Enter your domain name and click Continue.

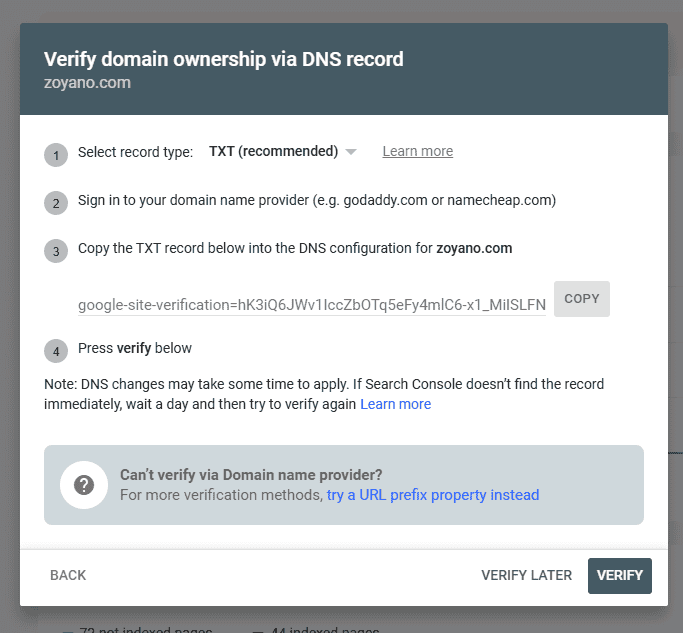
Google Search Console needs to verify that you own the domain. Follow the four-step instructions and click Verify.
After verifying, return to the main screen and select the property from the Search Property selector. Select the domain you just verified and navigate to Sitemaps.

Enter the URL of your sitemap in the Add a new sitemap field, then click Submit.

Once submitted, Google Search Console will check your sitemap and notify you if there are any errors.
Submitting Your Sitemap to Bing
Bing Webmaster Tools is a simple way to submit your Joomla sitemap to Bing. Visit the Bing Webmaster Tools website and click Get Started.

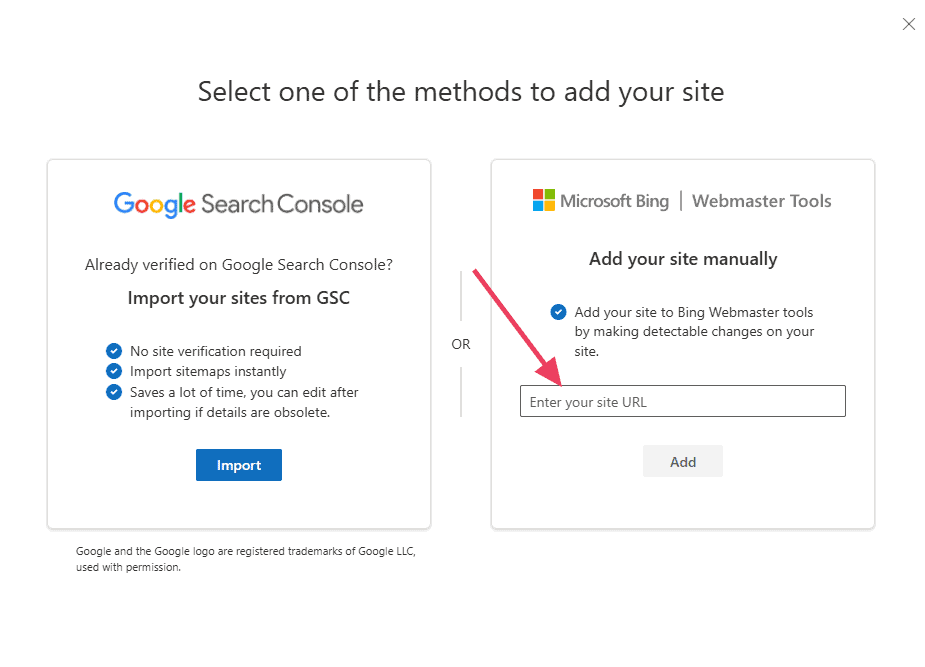
After logging in, you’ll have two options. Next, you have two options. You can import your site from Google Search Console or add it to Bing manually.
Importing from Google Search Console is the easiest method if your sitemap is already available there. Follow the steps to connect to Search Console and choose the appropriate site.
If you need to add your site manually, enter your site’s URL and click Add.
Next you’ll need to verify ownership of your website. You can…
- Upload a file to your web host,
- Add a meta tag to your site’s HTML, or
- Manually add CNAME record to the domain name server.
As a WordPress user, the HTML meta tag method is easiest. Copy the meta tag code and add it to the <head> tag of your website and click Update.

After inserting the code, click Verify. Then click Done to return to the home screen and navigate to the Sitemaps page.
Click the Submit Sitemap button, enter your sitemap’s URL in the field, and click Submit.

Bing will put your sitemap in a “processing” state for about a few minutes, but it could be as long as several days. Revisit Bing Webmaster tools at a later date to verify that it worked.
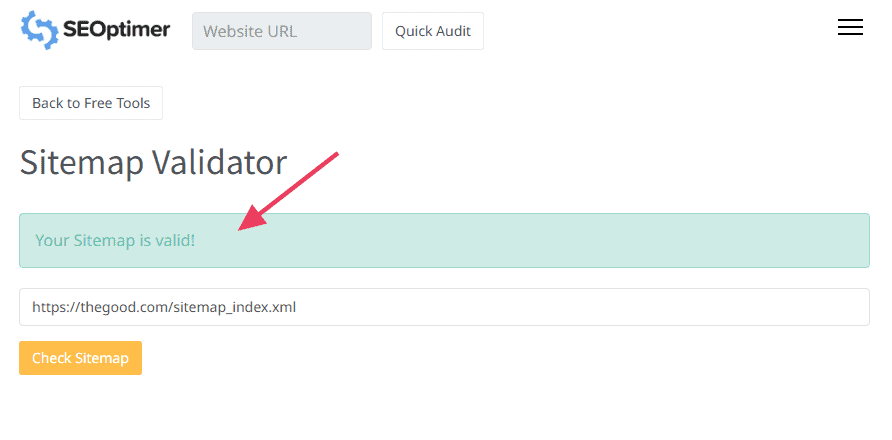
How to Validate Joomla Sitemap
After creating your Joomla sitemap, it’s a good idea to validate it to make sure it complies with XML schema.
You can do this by running it through a validation tool like Sitemap Validator by SEOptimer. Enter your website’s sitemap.xml URL and click Check Sitemap. The tool will show you any errors.
Joomla Sitemap FAQs
Do I really need a sitemap for my Joomla site?
A sitemap isn’t required, but it helps search engines find and index your pages faster. It’s especially useful for large sites, new websites, or pages that aren’t well linked.
What’s the difference between an XML and an HTML sitemap?
An XML sitemap is for search engines, helping them crawl your site efficiently. An HTML sitemap is for visitors, providing a list of links to help them navigate your site.
How often should I update my Joomla sitemap?
If you use a sitemap extension, it updates automatically when you add or remove pages. If you create one manually, update it whenever you make significant changes to your site.
How do I submit my Joomla sitemap to Google?
Find your sitemap URL (usually yourwebsite.com/sitemap.xml) and submit it in Google Search Console under the Sitemaps section. This helps Google crawl your site more efficiently.
Can I create a Joomla sitemap without an extension?
Yes, but it’s time-consuming. You’d have to manually create an XML file listing all your URLs and update it whenever you make changes. Using an extension automates the process and saves time.
Ready to build your WordPress site?
Try our service free for 14 days. No obligation, no credit card required.


