
If you use images, videos, or documents on your website, you’ve already used the WordPress Media Library. It’s a key part of WordPress that gives you access to your media files.
In this guide, we’ll explain everything you need to know about the WordPress Media Library, including how it works, how to access it, and how to add and edit files. We’ll also show you some helpful plugins to organize it better.
Table of Contents
What is the WordPress Media Library?
The WordPress Media Library is a central location within your WordPress dashboard that organizes all the media files you upload to your site, such as images, videos, audio files, and documents. It’s a key tool for efficiently handling and reusing multimedia assets across your website content.
The Media Library is just an organizer tool. The files still exist on your web host in folders based on upload date. So you can access those files through your cPanel at any time.
How to Access the WordPress Media Library
There are two places you can access the WordPress Media Library.
The first is through the library’s page. Visit Media > Library in your WordPress dashboard.

How the WordPress Media Library is Organized
The Media Library shows your files in one big list or a grid of thumbnails. You can switch between these two views with a simple click.

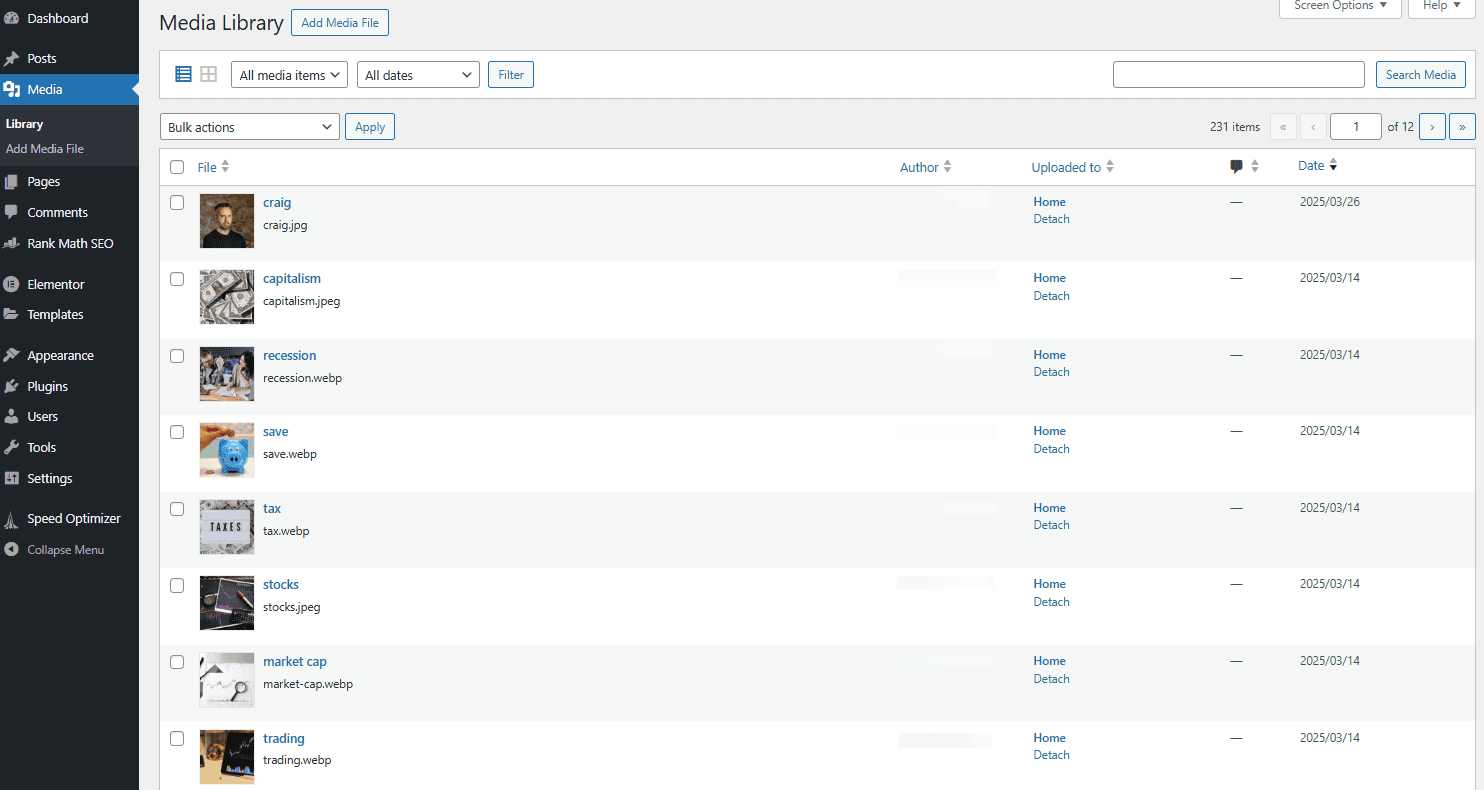
By default, files are sorted by the date you uploaded them. So the newest files show up first. If you want to find something older, just scroll down or use the date filter.

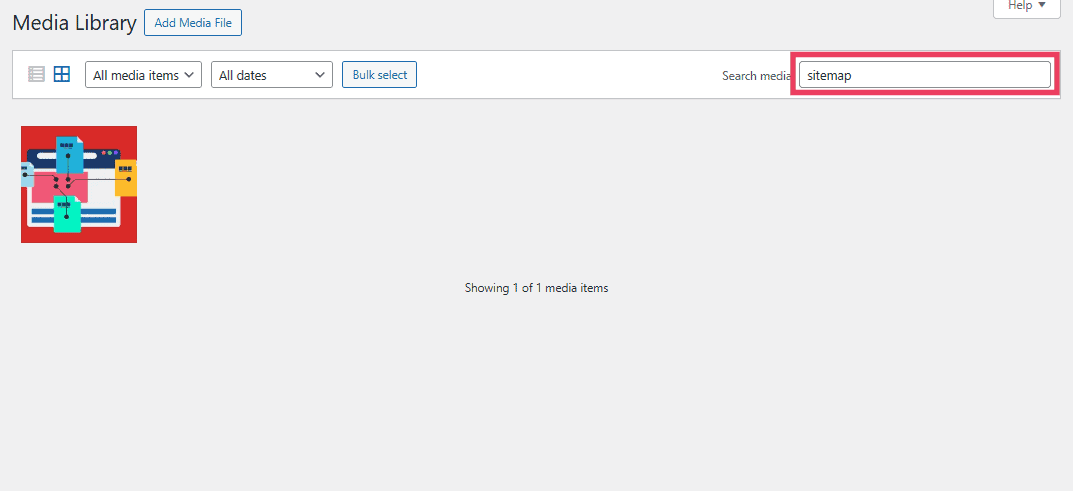
You can also search by file name or title. Just type into the search bar, and WordPress will pull up anything that matches. If you uploaded a photo called “beach-day.jpg,” you can type “beach” and find it fast.
There’s also a dropdown to filter by type. So if you’re only looking for images, PDFs, or videos, you can choose that and hide the rest.

Even though the Media Library keeps things simple, it doesn’t use folders like on your computer. Everything is stored together. If you want to group files, you’ll need a plugin to create folders or categories. We’ll explain that in a moment.
What Types of Files Can You Upload to the WordPress Media Library?
You can upload most of the common file types you’d use on a website. That includes:
- Images like JPG, JPEG, PNG, GIF, and WebP (learn how to use webP images in WordPress).
- Videos like MP4, M4V, MOV, WMV, MPG, AVI, OGV.
- Audio files like MP3, M4A, WAV, and OGG.
- Documents like PDF, DOC, PPT, and XLS.
There are some limits, though. You can’t upload every file type by default. For example, ZIP files or SVGs might not work unless you change your settings or install a plugin.
Also, your hosting plan may limit the size of files you can upload. If you hit an upload limit, you might need to resize your file or talk to your host about raising the limit.
How Much Content Can You Store in the WordPress Media Library?
There’s no hard limit inside WordPress itself. You can store as many files as you want in the Media Library.
The real limit depends on your web hosting plan. Your hosting account comes with a certain amount of storage space. Every image, video, and PDF you upload takes up part of that space. Smaller files like images usually don’t take up much room. But large videos or audio files can fill your storage fast.
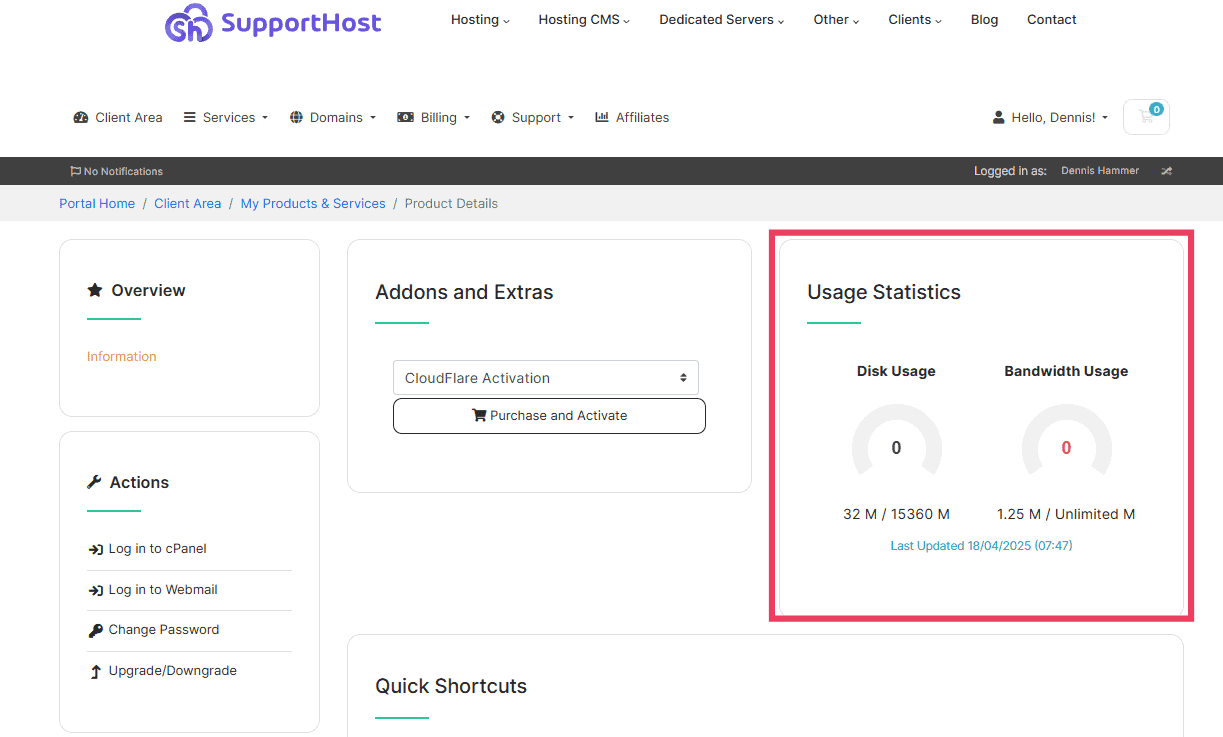
To check how much space you’ve used, log into your hosting account or contact your host. If you’re with SupportHost, we make it easy to track your usage.
If you need more space, you can either:
- Compress large files before uploading.
- Delete old or unused media.
- Upgrade your hosting plan for more storage.
How to Add Files to the WordPress Media Library
WordPress is a pro-media platform, so there are several easy ways to add files to the WordPress Media library.
1. Upload Files From Your Device
Visit Media > Add Media File. You can upload files by either dragging them into the big square or clicking the Select Files button and locating the file on your device.

You can also access the Media Library in the WordPress editor of any page, post, product, or custom post type. This is how most people do it because they tend to upload media when creating content.
To add an image or other media, hit the + icon and select the Image block.

The image block will appear in your content with a few options. Click the Upload button and select the file from your device.

2. Import Files From a URL
If you don’t have the file on your device, you can give WordPress the file’s URL. WordPress will add the image to the page or post, but the file won’t be added to your Media Library (because it won’t be saved to your server).
Add an image block to the editor and click the Insert from URL button. A field will appear. Paste in the image’s address.

Be mindful about any images you add via URL. Make sure the image’s copyright license allows you to use the image for your purpose, otherwise you might commit a copyright violation and face penalties.
3. Bulk Upload Files
If you have a handful of images to upload, the simplest method is to use the Media Library page (Media > Library). You can drag groups of files into the Library at one time. It may take a few moments to upload depending on the number and size of the files.
But if you need to upload hundreds or thousands of files, we recommend accessing your host’s file manager or connecting with an FTP client.
Upload via cPanel
Like many hosts, SupportHost uses cPanel to manage your files. Your hosting provider should have a similar process.
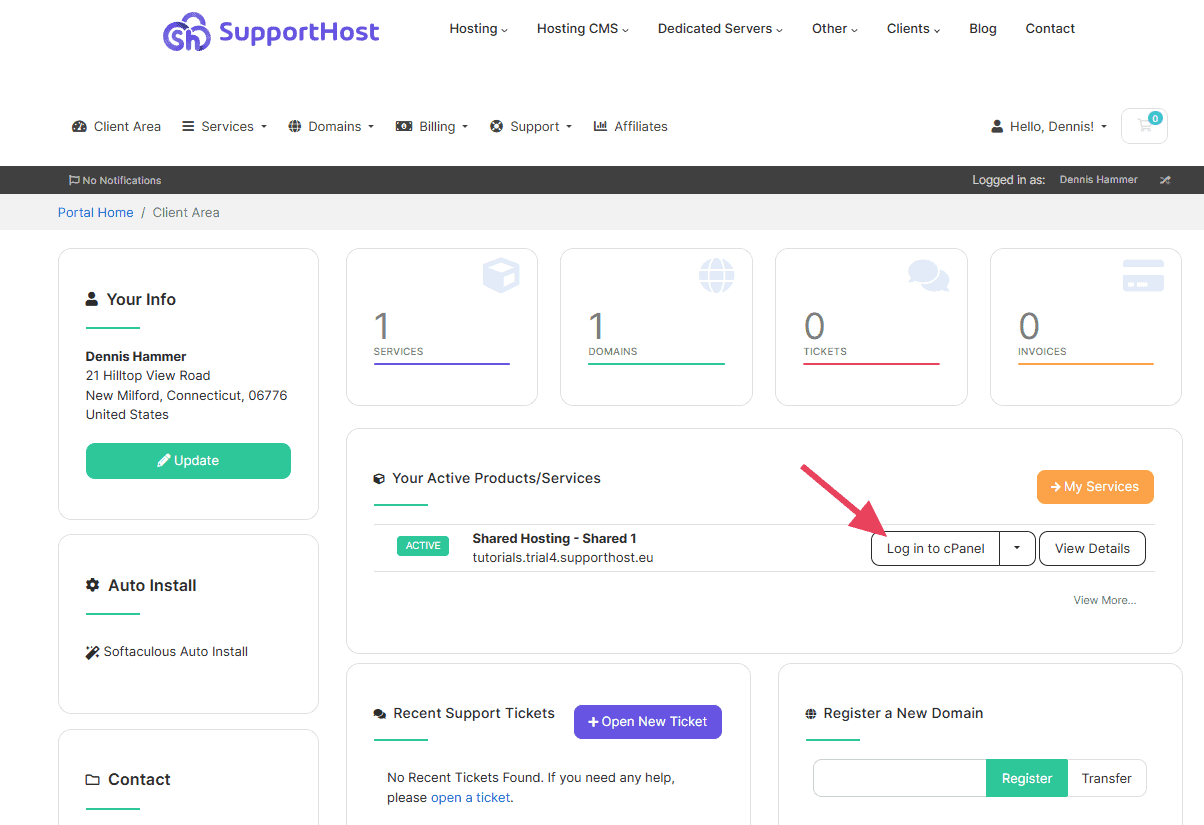
From the client dashboard, click the Log in to cPanel button.
In cPanel, click the File Manager link.

Once you’re in the File Manager, navigate to the folder where you want to upload your images. Click the Upload button at the top.

Next, click Select File to select all of the files on your device that you want to upload. Or you can drag those files from your device into the upload area.

Upload via FTP
An FTP client allows you to connect to a server and access its files. You can download, upload, and even edit the server’s files from your computer. If you expect to interact with your site’s files often, this is the best method.
First, download a free FTP client like FileZilla. Then follow our steps to create an FTP account.
Next, use our FileZilla guide to connect to your server. This requires setting up a connection, but once the connection is in place, you can quick-connect in the future.
Once your connection is established, you simply need to open the file’s location on your device in the local site (your device) window, open the destination for those files in the remote site (the server) window, and then upload them from the local site to the remote site.
You can upload by either right-clicking the group of files and selecting Upload or by dragging the files from one window to another.

As soon as the file transfer is complete, you will see them in the destination folder on the server.
When you upload images via FTP, they don’t appear in the WordPress media library right away. To make them appear, you have to synchronise them with the database using a plugin like Media Sync.
Important note: Plugins like Media Sync make changes to the database in order to display the images in the library. It’s a good idea to make a backup of your WordPress site.
After activating the plugin, navigate to Media > Media Sync.

Click on Scan Files under Sync – uploads directory.
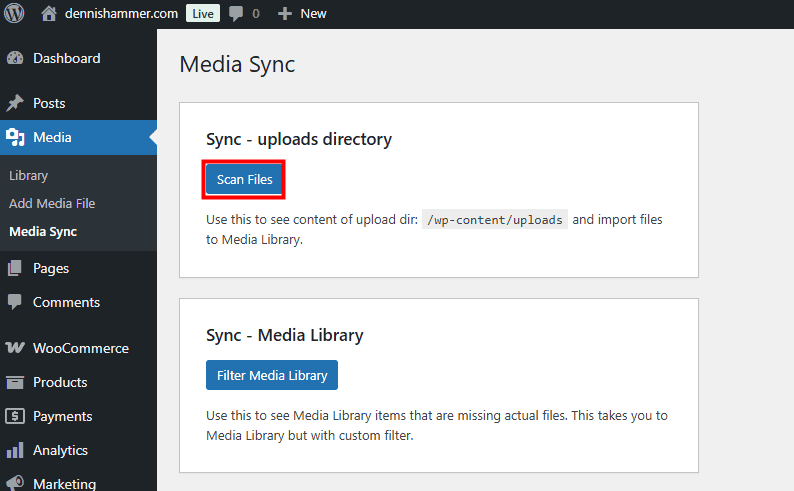
You should see a list of files you just uploaded via FTP. Select one or several files from the main folder or a subfolder and click the Import Selected button.
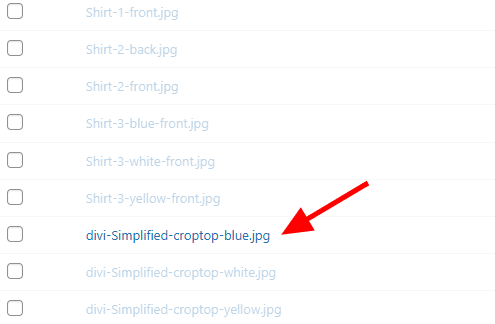
When the import is complete, you should see all of the files you uploaded via FTP in your Media Library.
How to Edit Images in the WordPress Media Library
The WordPress Media Library comes with some basic editing tools to help you create the best content for your site.
Open the Media Library and select any of the files from the list or grid.

The file will open in a larger window. Click the Edit Image button at the bottom.

On the next screen, you can crop, scale, or rotate your image to your needs. (You can extend these options with an image editing plugin.)

Common WordPress Media Library Errors
Sometimes the Media Library doesn’t work like we expect. If something goes wrong, don’t panic. Most issues have simple fixes, and your hosting provider can help if you’re stuck. Here are a few common errors you might run into and what they usually mean.
1. File Type Not Allowed
You try to upload a file, but WordPress blocks it. This usually means the file type isn’t supported. For example, WordPress doesn’t allow SVG files by default. You can fix this by converting the file or using a plugin that allows more file types.
2. File Size Too Big
You get an error that says your file is too large to upload. This means you’ve hit your site’s upload limit. You can try shrinking the file size or ask your host to increase the upload limit.
Read our guide on how to increase file size upload in WordPress.
3. HTTP Error During Upload
This error shows up while a file is uploading. It could be caused by a slow internet connection, a plugin conflict, or a server issue. Try refreshing the page or disabling plugins to find the problem.
4. Media Library is Blank
You open the Media Library, but nothing shows up. This might be a caching issue or a plugin conflict. Try clearing your browser cache or disabling plugins one at a time to test.
5. Image Won’t Display Properly
Sometimes images show up as broken or don’t load on your site. This could mean the file path is wrong, the image didn’t upload fully, or there’s a problem with your theme.
5 Plugins to Organize the WordPress Media Library
If you want more control over the WordPress media library, you’ll need to install a plugin. Fortunately, there are a lot of great options to choose from. We’ll go through our favorites.
If this is your first time using a plugin, read our guide on installing WordPress plugins.
1. Media Library Organizer
Media Library Organizer is a handy plugin that helps you keep your WordPress media files tidy. Instead of scrolling through a long list of uploads, you can create folders and sort your files just like on your computer.
Key Features
- Create folders and subfolders to organize your media.
- Drag and drop files between folders.
- Filter by folder, date, file type, or keyword.
- Keep file URLs the same, so links don’t break.
- Works with posts, pages, and custom post types.
- Compatible with most themes and page builders.
- No need to re-upload or re-assign files.
- Easy-to-use interface right inside the Media Library.
The plugin is super simple to use. After installing, you’ll notice a new column in your Media Library that lists your media categories. Click Add to create a new category and give it a name. The category will appear in the list.

To add an image to a category, click an image to open it and select a category in the image settings.

Alternatively, you can drag and drop images from the Media Library’s general list into one of your categories.
When you add media to your page or post content, you can sort your files by category to find what you need faster.

2. Enhanced Media Library
Enhanced Media Library makes it easier to manage large collections of files. It lets you sort and filter your media in smarter ways so you can find what you need fast.
Key Features
- Create custom categories and tags for media files.
- Filter files by type, category, or date.
- Bulk edit file categories.
- Works with audio, video, images, and docs.
- Keeps media organized without changing file locations.
- Supports WordPress galleries and shortcodes.
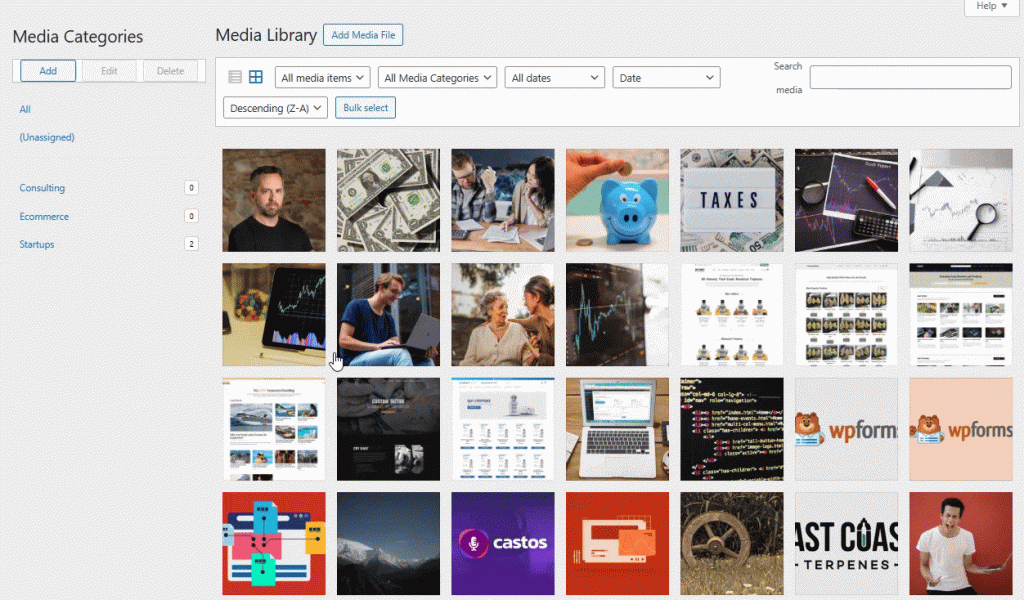
This is another easy-to-use WordPress Media Player plugin. To create a category, visit Media > Media Categories. Give your category a name and then click Add New Media Category.

To categorize an image, open the image in the Media Library and select an appropriate category on the right.

You can sort your images by category using the Filter by Media Categories drop down menu.

3. Media Library Assistant
Media Library Assistant gives you advanced tools for organizing, sorting, and displaying your media. It’s powerful but best for users who want more options and aren’t afraid to explore settings.
Key Features
- Use custom taxonomies and filters.
- Display media galleries with shortcodes.
- Search by almost any file detail.
- Add and manage metadata easily.
- Bulk edit and update files.
Unlike other WordPress Media Library plugins, this one lets you organize files by category and tags. Create categories on the Media > Att. Category page. Create tags on the Media > Att. Tag page. In both cases, simply enter the name of the category or tag and click Add New at the bottom.

To categorize a file, open the image in the Media Library and select the appropriate checkboxes under Att. Categories.

Now you can use the drop down selector at the top of the Media Library to sort your files.

In Media > Assistant, you’ll see your files displayed in a list. Clicking into each file gives you an entire page of new controls for that file. For instance, you could apply custom fields, give the file a parent file (similar to the hierarchy system of pages or posts), or directly edit the file’s metadata.

4. Enable Media Replace
Enable Media Replace does one thing well. It lets you replace an existing media file without changing the file URL or breaking links on your site. This is helpful if an image is used in multiple places.
Key Features
- Replace files directly from the Media Library.
- Keep the same URL so links and embeds still work.
- Choose whether to update the upload date.
- Supports images, videos, PDFs, and more.
- Simple, no-code setup.
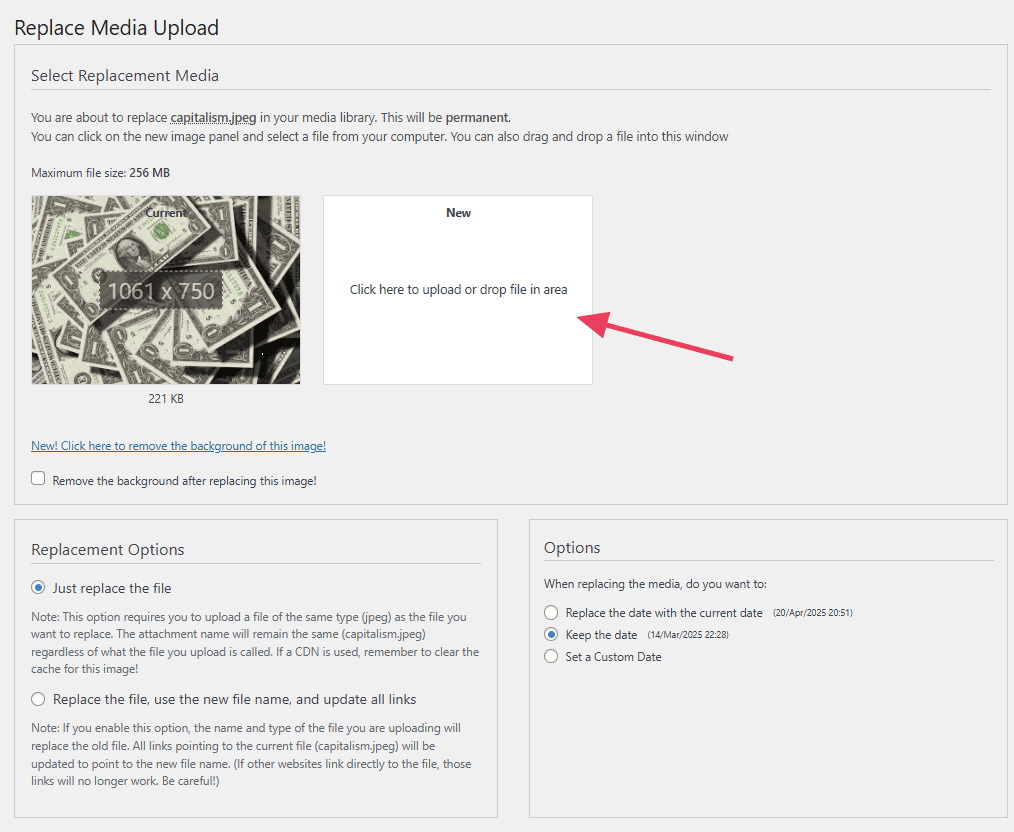
To replace an image or file in your Media Library, open the file you want replaced and click the Replace Media button.

Click the New button to find the new file in your computer or drag it into the file area. Then choose between two options:
- Replace just the file. You must upload a file of the same type. If you’re using a content delivery network (CDN), you must clear the cache for that image.
- Replace the file, use the new file name, and update all links. The name and type of the uploaded file will replace the old file. All links pointing to the current file will be updated to point to the new file name.
You must also decide whether to keep the original upload date, use the current date, or set a custom date. This determines where the file appears in your hosting folder structure.
Click Upload once you’ve made your decisions.
5. FileBird
FileBird adds a folder system to your Media Library so you can organize files just like you would on your computer. It’s clean, modern, and very user-friendly.
Key Features
- Create folders and subfolders.
- Drag and drop files into folders.
- Clean sidebar layout for quick navigation.
- Right-click options like rename and delete.
- Works with media in posts, pages, and WooCommerce.
- Doesn’t break file links or URLs.
To add a folder, click New Folder in the Media Library.

Give the folder a name and click Save.

You can either drag files into the new folder or open the file and choose the appropriate category from the down down menu.

If you want to get granular with your file folders, you can even create sub-folders.

WordPress Media Library FAQs
Can I create my own folders in the WordPress Media Library?
No, WordPress doesn’t use folders by default. If you want to organize files into folders, you’ll need to install a plugin.
Can I download images from the Media Library?
Yes, just click on the image, then right-click and choose Save image as to download it to your computer.
How do I delete a file from the Media Library?
Open the Media Library, click on the file you want to remove, and then click the “Delete permanently” button.
Can I replace an image without breaking links on my site?
Not by default. To replace a file without changing its URL, you’ll need a plugin like Enable Media Replace.
Does deleting a file from the Media Library remove it from my posts?
Yes, if you delete a file, it will no longer show up on any pages or posts where it was used.
Can I edit images in the Media Library?
Yes, you can crop, rotate, flip, or resize images directly inside WordPress. No extra tools are needed.
Can I protect images on a WordPress site?
There are several options available to you if you want to prevent people from using your images without permission. Read more about protecting images on a WordPress website.
Ready to build your WordPress site?
Try our service free for 14 days. No obligation, no credit card required.


