
Deleting unused images on WordPress allows us to save a significant amount of disk space. On a site, it is inevitable that unused images get accumulated in the library on the site or you may even find multiple copies of the same image. Not to mention the copies that WordPress creates automatically.
In this article, Unused images:how to cleanup WordPress, we’ll see how to delete images manually and how to make it easier to find unused and duplicate images with the help of some plugins. We’ll then find out how to prevent WordPress from creating additional copies of the images we upload and how important it is to optimize images for your site. In this way, we’ll not only see how to clean up WordPress from unnecessary media, but also how to reduce the space occupied by essential images.
Table of Contents
Deleting unused images manually
Remember that if you permanently delete library files, you will have no way of recovering them. Before proceeding, it’s good, therefore, to create a backup copy of the site, so as to restore in case of errors.
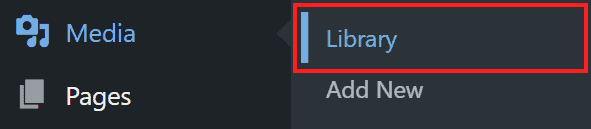
If we want to do a manual cleanup of the WordPress library we can proceed directly from the dashboard. Click on Media → Library to see all the files uploaded to the site.
By clicking on the drop-down menu where it says All Media Items you can select Not Attached.
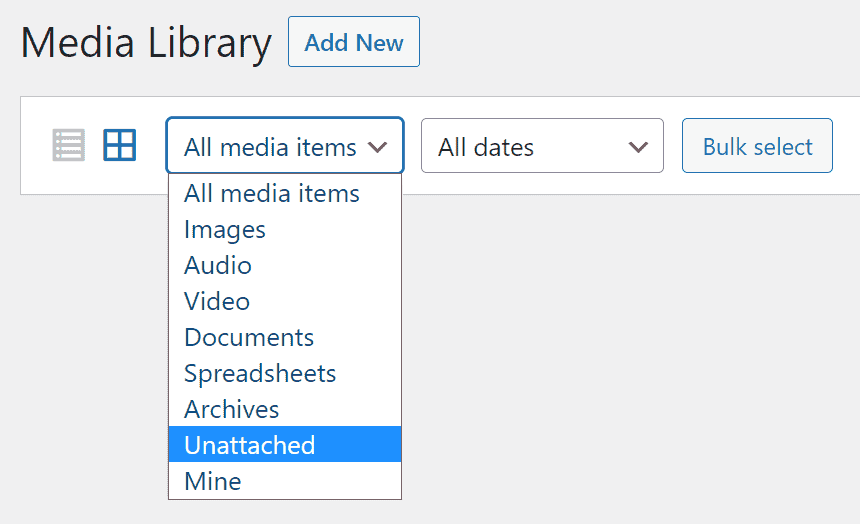
In this way, you will only see images that have not been attached to posts or pages and you can delete unused images.
Be careful because in this list there could be images that are actually present in posts or pages. If you have uploaded images in the library and then added them inside an article or elsewhere on the site they will not be attached. The same goes for the logo or images used by some themes that may not appear.
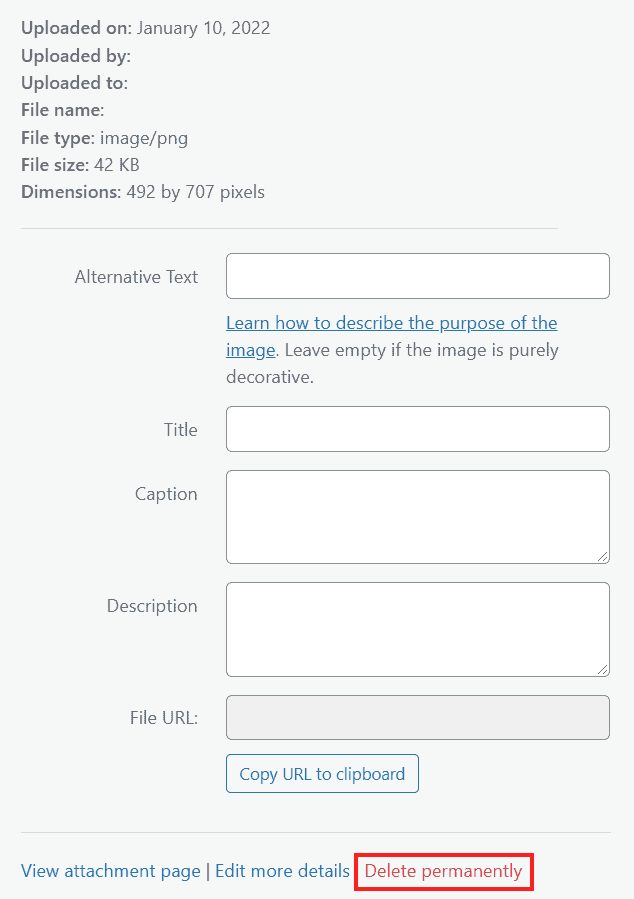
We can delete unused images one by one, by clicking on an image and then clicking Delete permanently.
If, on the other hand, we want to delete more than one file at a time, click on Bulk select.

Then click on the images we want to delete and finally on the button at the top Delete permanently.

In a site with hundreds or thousands of images, it is unimaginable to proceed by manually deleting unused images and it also becomes difficult to identify any duplicate images.
Moreover, to follow this method it is presumed that you already know which images are used and which are not within the posts and pages of the site. If, however, you want to be sure to delete only unused media, without having to search for them one by one, the best solution is to proceed with a plugin.
In this guide, we’ll see how to use Media Cleaner to locate unused images on WordPress. We will then see how to use Media Deduper to find duplicated images and free up space on WordPress.
Use Media Cleaner to delete unused images
Media Cleaner is available in a free and paid version.
The pro version not only detects and allows you to delete unused images among those in the WordPress library, but it also analyzes the files allowing you to remove even those that do not appear in the library. In this case, we will use the free version of the plugin to delete unused images.
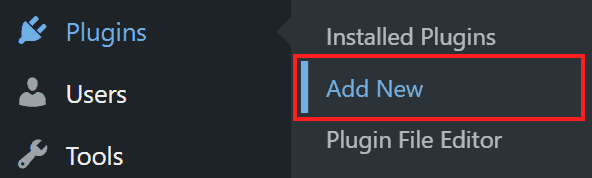
First, we need to install the Media Cleaner plugin. From the WordPress dashboard, we click on Plugin → Add New.
Let’s search for the plugin, then install and activate it.

Remember that the plugin deletes files permanently, so before using it make sure you have a backup of your site to avoid problems.
Media Cleaner: settings
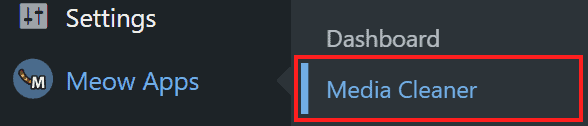
After activation a new item Meow Apps will appear in the left side menu, by clicking on Cleaner we can access the plugin settings.
From here we can check the settings for scanning the media library and all files (the latter will be accessible only in the pro version). By default, all media not in use are searched, but we can also narrow the field to images not in use by selecting the Images Only option in the filters.

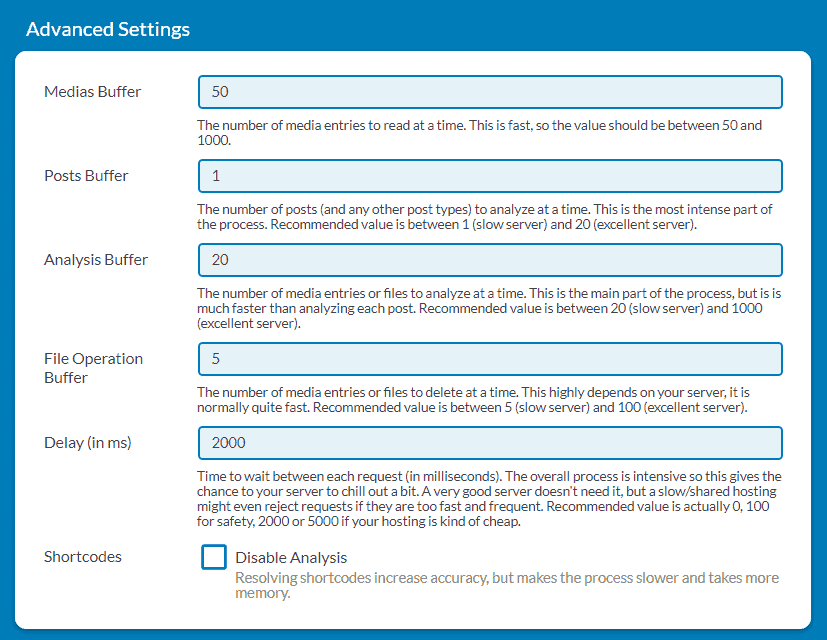
By clicking on the Advanced tab we can change the settings for scanning. These are just the default values:

Normally you shouldn’t need it, but if you find that the media scan is too slow, you should reduce the values so that fewer files are scanned at a time by using these values:
Find and delete unused images
Let’s click on Media → Cleaner to access the plugin’s dashboard from which you can start the scan that will analyze the WordPress media library.
As I mentioned before, if you’re using the free version of the plugin you’ll only be able to scan the media library. With the Pro version, you can start scanning all files by choosing from the Filesystem options.
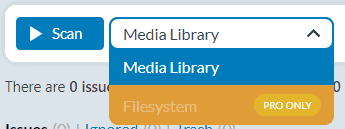
In our case, we have the possibility to analyze only the media so we click directly on Scan to start the analysis of the library files.

After that, we wait for the scan to complete, depending on the number of files in the library it may take some time. Once the analysis is finished, the plugin returns a list of files that are not currently in use in any post or page.
Before going ahead and deleting unused images, it is better to make sure that there are no files in the list that we want to keep. If in the list we find one or more files we don’t want to delete we can check the boxes next to the files and click on Ignore entries.

We also have the possibility to delete only some files in the list, we just have to select them and then click on Delete entries.

If instead, we want to delete all the files in the list we click on the Delete All button.

The plugin reminds us that deleting the images is permanent. By default, in fact, WordPress does not use the recycle bin for media files but deletes them permanently. If you want to enable the trash function you can add this code to the wp-config.php file:
define( 'MEDIA_TRASH', true );
Be sure to add the text before closing.
Media Cleaner allows you to activate the trash automatically, just click on Automatically and write this line in the alert you’ll see when you access the plugin dashboard (Media → Cleaner).

After doing this it reloads the page. At this point, if we delete the scan result files, instead of being permanently deleted they will be moved to the recycle bin.
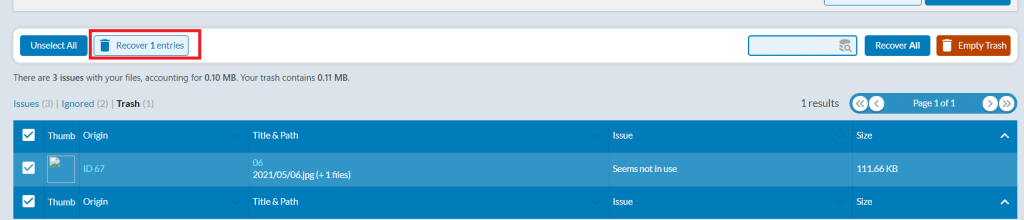
This gives us the possibility to check the site and verify that no important images have been deleted. After checking for errors we can click on Trash and then delete the files in the trash by clicking on the Empty Trash button.

If, however, we realize that we have deleted an important file, we can restore it. Select the image you are interested in and click on Recover entries.
When you want to delete unused images, it can happen that you accidentally delete important images such as site logos. To prevent this from happening it is useful to activate the recycle bin and always do a check before deleting everything.
In the worst-case scenario, you will have to resort to restoring a backup.
Delete duplicate images with Media Deduper
Media Deduper is a WordPress plugin that allows us to identify duplicate images in our WordPress library.
Often it can happen to upload the same image two or more times, maybe even renaming it differently from the first time.
The advantage of this plugin is to find duplicates without taking into account the file names or date of upload, but comparing the different images with each other by comparing the unique hashes of each image. This way, the disk space limit on your WordPress hosting or shared hosting will no longer be an issue!
You can use the free version of Media Deduper or the premium version.
Media Deduper Pro alerts us in case we are deleting images in posts and pages so that there is no missing media. The free version prevents this from happening only with featured images.
First, we need to install the plugin. From the bulletin board of our WordPress site, we click on Plugin → Add New and look for “media deduper”. Then we install and activate the plugin.

As soon as we activate the plugin a warning tells us that we need to generate the media list.

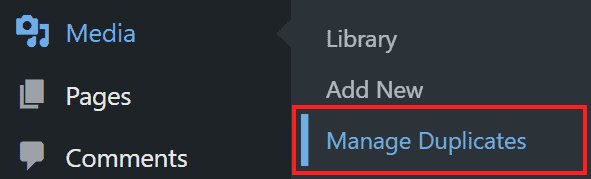
We can click directly on the alert or go to Media → Manage Duplicates.
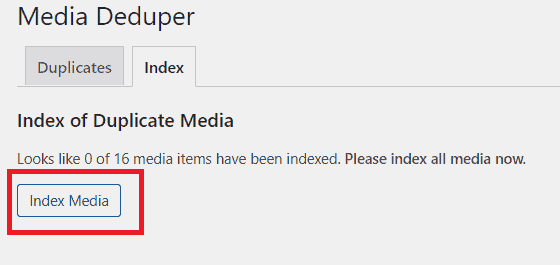
Click on Index Media to analyze all media in the library.
Let’s click on the Duplicates tab to examine the list of duplicate media identified by the plugin.
When Media Deduper identifies more than one copy of the same image it reports all of them in the list. It is up to you to identify which of the different copies you have uploaded do you want to keep.
Remember that all copies of an image are present in the list, if you delete all of them you will no longer have the image in your library and your posts or pages will be left without the image.
Luckily the Smart Delete feature of the plugin allows us to avoid deleting all copies of the same image.
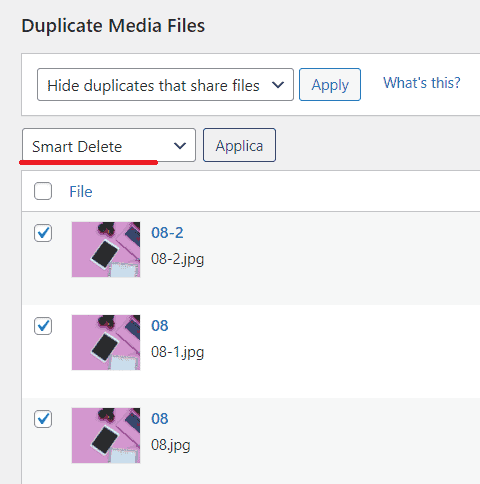
In our case we have three copies of the same image, let’s see what happens if we try to delete all of them by choosing the Smart Delete option from the Group Actions menu.
In this case, after confirming that we want to delete the files, the plugin warns us that two items have been deleted and one has been ignored.

Since the deletion is final, this feature prevents accidental deletion of all copies of the image.
Which copies were deleted?
If a copy of the image was used in an article or page, after deleting the duplicates you may no longer see the image in the posts. To avoid duplicate removal causing the problem of missing images you should use the pro version of the plugin. This way you’ll be sure to delete the unused images and keep the ones attached to the posts.
Alternatively, when you go to select the images to be deleted you can make sure that the media are not attached to the posts. For each file, you’ll see the heading Uploaded which indicates the post in which that image is present.

In our case, however, I noticed that by uploading files directly to the library and then inserting them later in the articles, the images are not attached to any post. In this case, we just have to delete the duplicates and then check by hand the posts to see if images are missing.
If the number of posts and media to check is high, we should buy the Pro version to simplify things.
Benefits of Media Deduper
In addition to allowing us to eliminate duplicates, Media Deduper prevents the same images from being uploaded multiple times. If we try to load an image that is already in the library, we are warned with a message like this one:
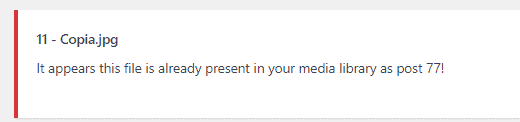
The system works even if the file does not have the same name as the one already in the library, this allows us to avoid unnecessary duplicates and save space.
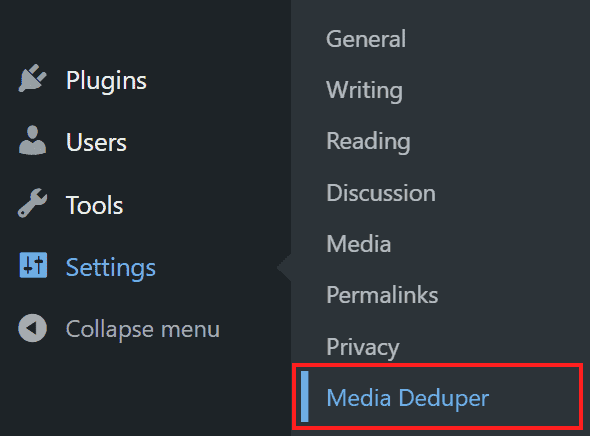
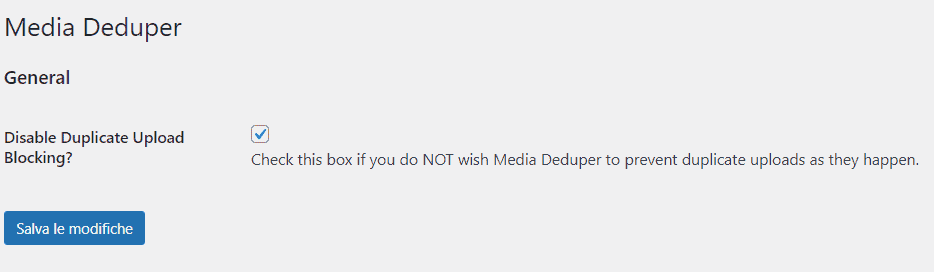
If we want to disable this option we can do it from plugin settings. Let’s click on Settings → Media Deduper.
Then check the Disable duplicate upload blocking box to disable the function that prevents uploading duplicate files.
Reduce additional disk space
Deleting unused or duplicate images in your library is a great way to clean up your disk, but it’s not the only way to save space on your server. You should know, in fact, that WordPress automatically creates copies of the images you upload to the site, but there is a way to avoid doing so, which I’ll show you in a moment.
Another effective way to reduce the space occupied by the images is to pay attention when uploading, that is, optimize the images before uploading them to the site.
You can follow our guide on how to optimize WordPress images and on Optimizilla to understand how to get the most out of compression but without losing the quality. Optimizing images doesn’t just help you save occupied space, it also allows you to have a fast site.
WordPress and image management
When you upload an image to WordPress, the system automatically creates several versions of the same image, generating multiple copies of the same image. Specifically, versions are created in different sizes: thumbnail, medium and large. Versions that are added to the file in the original size.
Each of these versions is created in standard sizes that generally correspond to these:

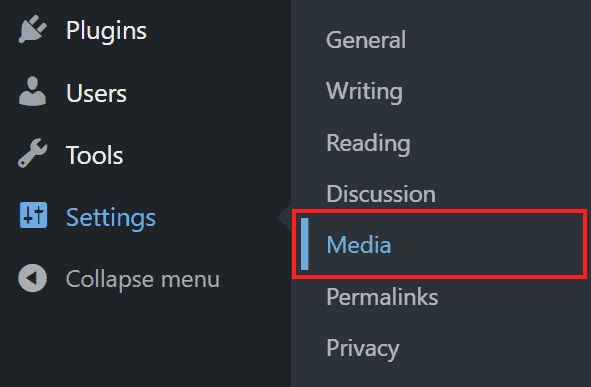
You can see the exact size or change it by going to Settings → Media.
If you haven’t changed the default settings the dimensions will be as follows:
- Thumbnail: 150 px x 150 px
- Medium image: 300 px x 300 px
- Large Image: 1024 px x 1024 px.
This means that each uploaded image will correspond to at least 4 files on the server.
If we access the uploads folder inside wp-content, we find the original image, the 3 resized image files according to the dimensions as seen and the fifth file with a fixed width of 768px, which is an intermediate dimension between the medium and the large format.

These files are automatically generated and as long as there are only hundreds of images they do not affect the amount of disk space occupied.
If the amount of images increases, it may become necessary to prevent the creation of these multiple versions. Let’s see how to prevent WordPress from automatically generating multiple copies of the same images.
Prevent WordPress from creating duplicate images
We can prevent WordPress from creating files in different sizes of the same image. Before doing this you should make sure that the theme you are using does not use images in these sizes.
Let’s access the Dashboard and go to Settings → Media.
Now let’s set the width and height values for each of the versions (thumbnail, medium and large) to 0 as seen below and click Save Changes.

Let’s load a new image in the library and see what happens. If we go to check the folder where WordPress media files are uploaded (wp-content/uploads) we find the original file and only one resize, the one at 768 px.
In this way, we avoided creating the other three versions of the image: thumbnail, medium and large.
After version 4.4 WordPress also generates a 768 px wide version for each uploaded image. Keep in mind that the different versions are to ensure that the images are responsive, so depending on the device the page is being viewed on, the most appropriate version of the image will be downloaded.
Conclusion
In this article,Unused images:how to cleanup WordPress, we have seen how to clean up WordPress by going to delete unused images. The elimination of unused media in the site can be done manually or using plugins that allow us to automate operations and save time. In addition to unused images on the site, we can also delete duplicates and free up space on WordPress, again with the help of a plugin.
Were you able to delete unused images on your site by following this guide of ours? How much space did you save by deleting duplicates and unnecessary files? Let me know the results you got.
Ready to build your WordPress site?
Try our service free for 14 days. No obligation, no credit card required.


