
By default, the databases you set up on your hosting account can only be accessed locally. If you need to connect to one from a different server, you’ll first have to grant permission to the external IP addresses involved.
Here’s a step-by-step guide on how to manage those permissions.
Table of Contents
Granting remote access to an IP address
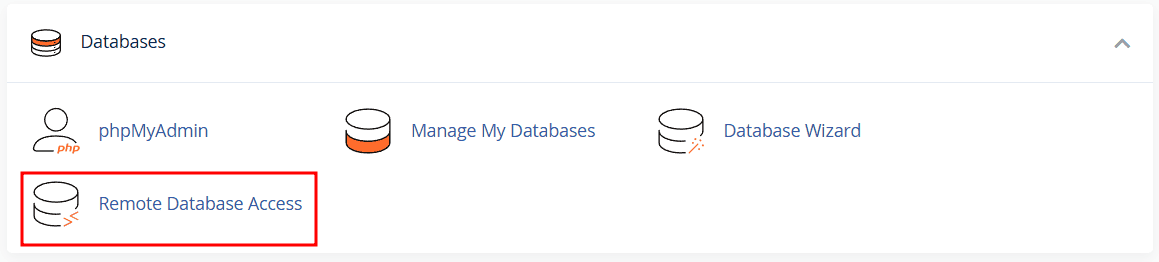
Start by logging into your cPanel dashboard, then look for the Remote Database Access feature.
You’ll find two input fields waiting for you:
- Host: Enter the IP address (or a hostname) you want to grant access to.
- Comment: This is optional, but useful for keeping track of which IPs you’ve added and why.
Once you’ve filled those out, click Add Host.
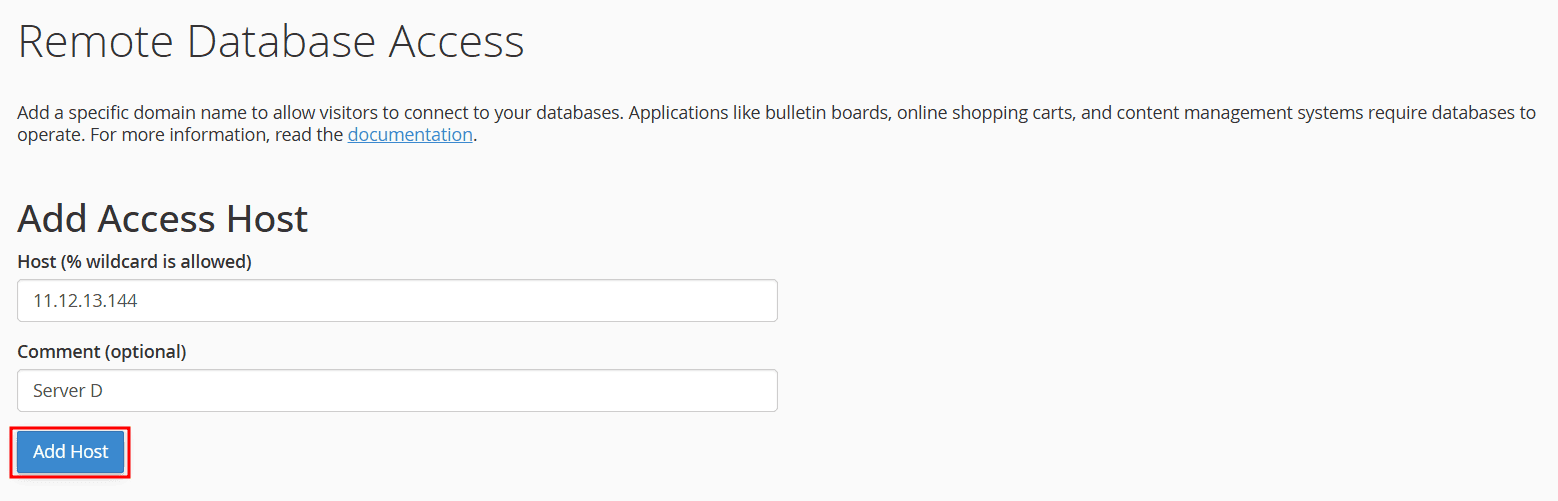
A confirmation message will appear if everything goes smoothly.

Want to authorize more than one IP? Just repeat the same process for each.
One thing to note: if you’re using a shared hosting plan with SupportHost, wildcard characters like (%) aren’t supported for remote access. To use wildcards, you’ll need a more advanced plan—like a cloud-based or dedicated server.
Viewing authorized IP addresses
Open up the Remote Database Access tool again. Under Manage Access Hosts, you’ll see the list of IPs that currently have access to your databases.
You can also update the comments associated with each IP here. To do that, just
- modify the text in the relevant row
- hit Update

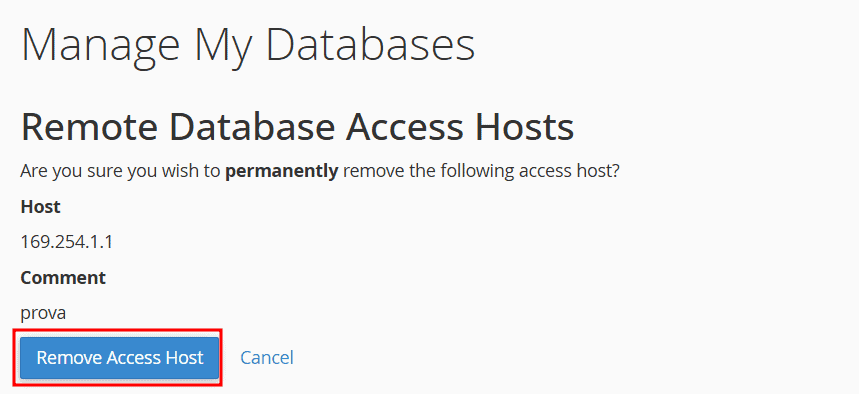
Revoking access from an IP
If you ever need to remove access for an IP you previously approved, head back into the Remote Database Access tool and scroll to the list of authorized hosts.
Find the IP you want to remove and click Delete next to it.

To confirm the action, hit Remove Access Host on the next screen.
Connecting to your MySQL database remotely
Once an IP is authorized, you can access your MySQL database from outside the hosting environment.
Using the command line, for example, you can run the following:
mysql -h [ip-host] -u [username] [database-name] -P [port] -pHere’s what each database access data corresponds to:
- [ip-host]: The IP address of the server hosting your database
- [username]: The database user you want to log in as
- [database-name]: The name of your database
- [port]: Only needed if you’re not using the default (3306)
After executing the command, you’ll be asked to enter the password for the database user.
If you run into an error like this:
ERROR 2003 (HY000): Can't connect to MySQL server on 'XX.XXX.XX.XX:3306' (111)It usually means the IP you’re connecting from hasn’t been authorized. Double-check that you added the correct IP earlier in the setup process.
Ready to build your WordPress site?
Try our service free for 14 days. No obligation, no credit card required.


