
It often happens that you move a site, and want to check that it is working properly before making it public.
But how can I display my site if the domain points to another server?
In this article we will see what the hosts file is and what it is used for, and in what cases it saves our lives.
We’ll also see how to modify it according to our needs on the various operating systems.
Table of Contents
How domains work
Each website is hosted inside a remote computer (server) reachable by an IP address.
To navigate on a site, however, it was not convenient to write an IP address like 192.168.21.34, because it would be difficult to remember. That’s why an association (name resolution) was created between these numeric addresses and a word, like mysito.it, which is called domain.
They are called DNS servers those computers located around the world in which are present all the associations of billions of sites and make sure that, opening the browser, just write google.it to open Google or facebook.com to open Facebook.
This uses an easy-to-remember name to reach a specific numeric IP address that would be difficult to remember.
When we change the pointing of the domain we must be sure that the site on the new server works correctly, to avoid sending our visitors to a site that gives an error.
What it is for and why you should edit the hosts file
In this case the hosts file comes to our aid.
It is a file in our computer, which we can modify according to our needs and allows us to tell our computer to display the site on a specific IP when we visit it.
To give a concrete example.
We have the site supporthost.it visible to all, the server on which it resides has IP 111.111.111
The domain supporthost.it points to the IP 111.111.111.111, so when a visitor visits the site he sees the site staying on this server.
We want to make a change, and to do so we decide to create a copy of the account on another server, which has IP 222.222.222.222
Now we end up with two identical sites, but no one will know that the second one exists, since we haven’t changed the pointing of the domain. The domain still points to the first server.
We now want to work on the second site, make some changes and then decide whether to apply them to our main site or not. In practice we use a second server as staging, that is a test installation where we can do all the tests we want without risking to do damage.
In this case we tell our computer, by adding a line on the hosts file, that when we visit the site supporthost.it we want to see the site that is hosted on the server 222.222.222.222 instead of what the domain shows us hosted on 111.111.111.111
In this way only we see the site in staging, and we can do all the tests we want without creating problems to the site in production.
Once we understand what we need to edit this file on our computer for, let’s see in what cases it can come in handy.
Cases where the hosts files are used
There are some cases in which we cannot do without editing the local hosts file.
Thanks to this modification we can check that everything is working properly before we change the domain pointing and show our website to the world.
Transferring a site
When moving a site from one server to another basically what happens is a physical transfer of all files from one remote server to another, these servers are identified by unique IP addresses. Moving files can be done manually or through a plugin, such as Duplicator, that simplifies the process.
This is the case when you decide to change hosting or when you are transferring your site from Blogger to WordPress. For example, if we migrate your website, before we give you the confirmation we edit the hosts file on our computer to check that it works fine and there are no errors.
If we see problems we will solve them, if everything is ok we will give you the confirmation that we have completed the transfer of your site and we will change the nameservers of the domain.
At this point we are sure that the site works correctly on the new server and we can change the pointing of the domain, so that at the end of the DNS propagation process the whole world will see the site from the new server.
This change is usually not instantaneous and it may take up to 48 hours for this change to spread to all computers in the world connected to the Internet, this phenomenon is called propagation.
But what if we wanted to access our site immediately on the new server without waiting? The little known “hosts” file helps us with this problem. This is nothing more than a text file containing a list of IP addresses associated with names. When we type a site on the browser, our PC first of all consults this file, if it finds the name we typed then it reads the corresponding ip address and returns the site contained in the remote server that has that ip.
Staging environment on a different server
As in the example I gave earlier, in some cases we may need to create a staging environment on a different server.
This is something we do a lot for our site, we have two identical servers, one of them is used for staging and the other is the server in production.
Through a simple script we copy the site from production to staging, we make the necessary changes and at the end we send these changes to the site in production.
This way, we don’t risk an error in the code sending our website offline, a situation that would cause us to lose sales and credibility.
Development in localhost
In some cases you may want to develop a new site in localhost.
It is preferable to develop locally for speed reasons, but nothing prevents you from using a domain and have it point to your local server, as I explained in the guide to MAMP.
To do this you need to edit your local hosts file so that your computer knows that when you visit that domain you want to see your site locally.
Modifying the hosts file can also be useful if the site you are trying to reach is unavailable due to the DNS_PROBE_FINISHED_NXDOMAIN error. In this case you should check that the domain in question is not associated with an incorrect IP address.
How to edit the hosts file on your computer
Once we understand what the hosts file is for and how useful it can be, let’s see how to modify it for our needs.
Windows Vista and Windows 7
Vista and Windows 7 use User Account Control (UAC) so Notepad must be started as an Administrator.
1. Click Start → All Programs → Accessories
2. Right-click on Notepad and select Run as administrator
3. Click Continue on the window that appears requesting permissions.
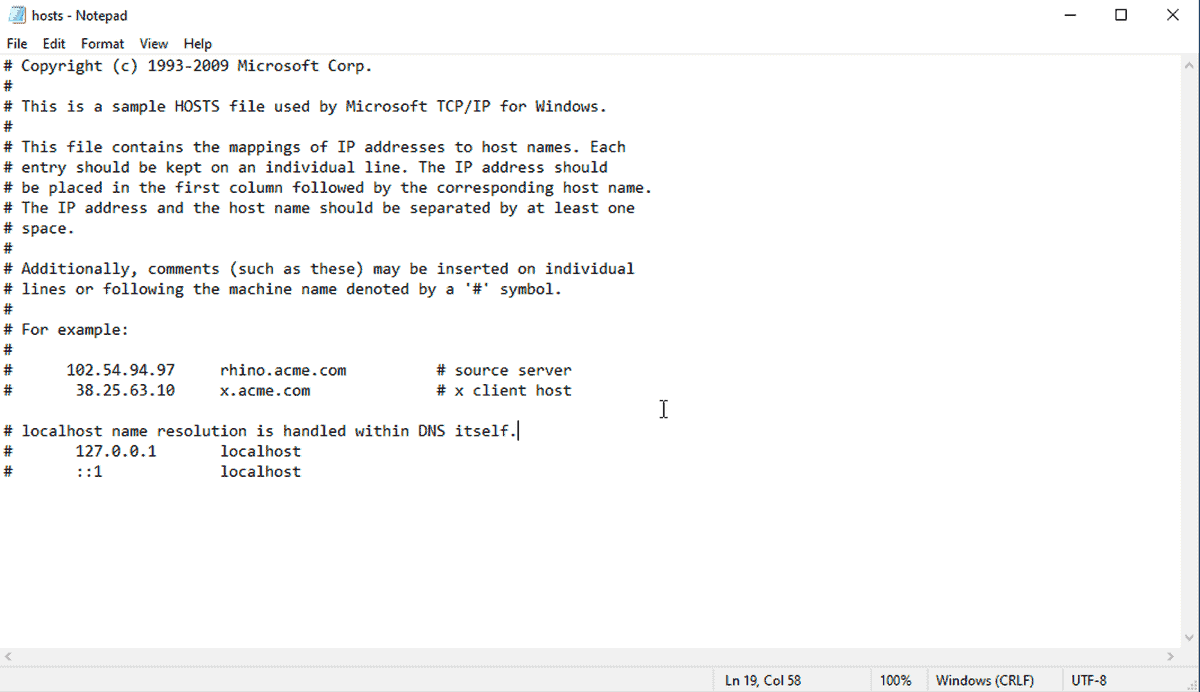
4. As soon as Notepad is open, click on File → Open
5. In the file name enter C:\Windows\System32\Drivers\etc\hosts
6. Click Open
Windows NT, Windows 2000, Windows XP
- Click on Start → All Programs → Accessories → Notepad NotePad
- Click on File → Open
- In the name field enter C:\Windows\System32\Drivers\etc\hosts
- Click on Open
- Edit the file
Linux
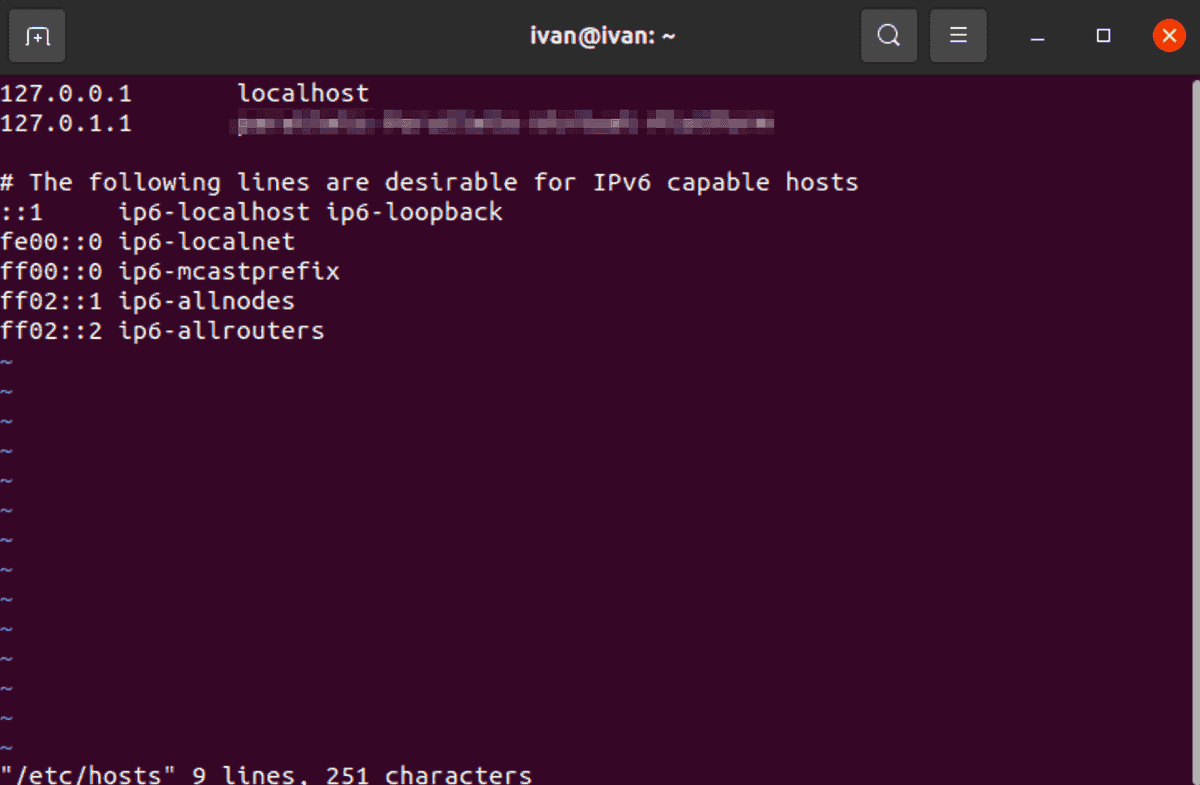
- Open a terminal
- Type: sudo vi /etc/hosts (you can use any other editor to edit the hosts file etc)
- Enter password
- Edit the file and then save
Mac OS X 10.6 – 10.1.8
To edit the hosts file on a Mac you can follow these steps:
1. Open Applications → Utilities → Terminal.
2. Open the hosts file by entering the following command:
sudo nano /private/etc/hosts
Enter your password when prompted.
3. Edit the Host file inserting ip and domain(s)
4. Save by pressing Control+x.
5. To make the changes effective, you must clear the DNS cache by typing the following command:
dscacheutil -flushcache
6. The new settings should be active.

Alternatively on Mac OSX operating system you can use “gas mask” a free and easy to use software that allows you to edit the hosts file via a graphical interface. It even allows you to create multiple files, and then decide in one click which one to use.

Android
To edit the hosts file on android devices you need root permissions. Then you can use a simple app like Hosts Editor.
Syntax
The format of the hosts file is the same on all platforms:
The syntax to use is:
IP domain_name
So if I had the domain SupportHost.net and server IP 192.196.159.12, I would have to put the following two lines in my hosts file:
Temporary Ip for SupportHost.net domain.
192.196.159.12 supporthost.net www.supporthost.net
On the same line you can add multiple domain names, subdomains, etc….
Anything followed by a hash # represents a comment within the hosts file, which are optional.
Considerations
This modification is valid only for the pc on which we operate and has priority over the DNS, moreover once saved the file the modification is immediately active, it is not necessary to restart the machine.
When the DNS of our domain will be completely propagated, you can delete the directive inserted in the hosts file.
Modifying the hosts file is easy, free, harmless and reversible.
Conclusions
In this guide we’ve seen how to view a site that’s on another server and make sure it works before changing the domain pointing and showing it to the world.
Are the functions of this file and how to use it clear? Have you had any problems? Let me know in a comment.
Ready to build your WordPress site?
Try our service free for 14 days. No obligation, no credit card required.

