At SupportHost we offer all our clients the possibility to create and manage multiple accounts simultaneously.
With this feature, you can share your client area with other people, such as employees.
Table of Contents
How do I create and manage multiple accounts?
The flexibility of our service allows all users of the platform to have easy access to multiple different accounts.
Our billing system recognizes 2 types of accounts: clientss and users.
The client, i.e. the account holder, holds the ownership rights to all purchased services, including domains.
The user, unlike the client, does not hold any property rights on services and domains but can access the client area.
From the client area you can invite new users and allow them to be able to manage your contacts, your domains, your hosting plans and your invoices.
Manage invitations
At any time, you can invite other users to access your client area.
Each time you invite a user you’ll be able to set the areas they can access, so you have complete control over all users.
Invite a new user
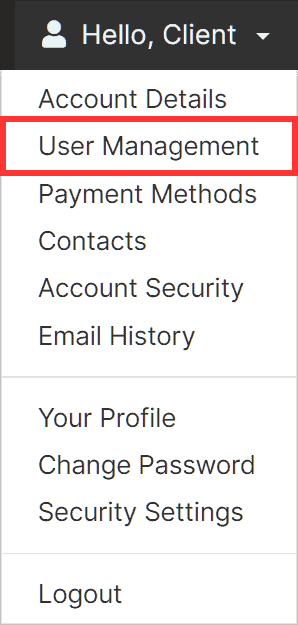
In order to invite a new user, log in to your client area and click on “User management” in the top menu.
To send the invitation to a user, just enter his email address in the empty field and click the button “Send Invite“.

Selecting “Choose Permissions” will allow you to manually set the accessible areas for the invited user.
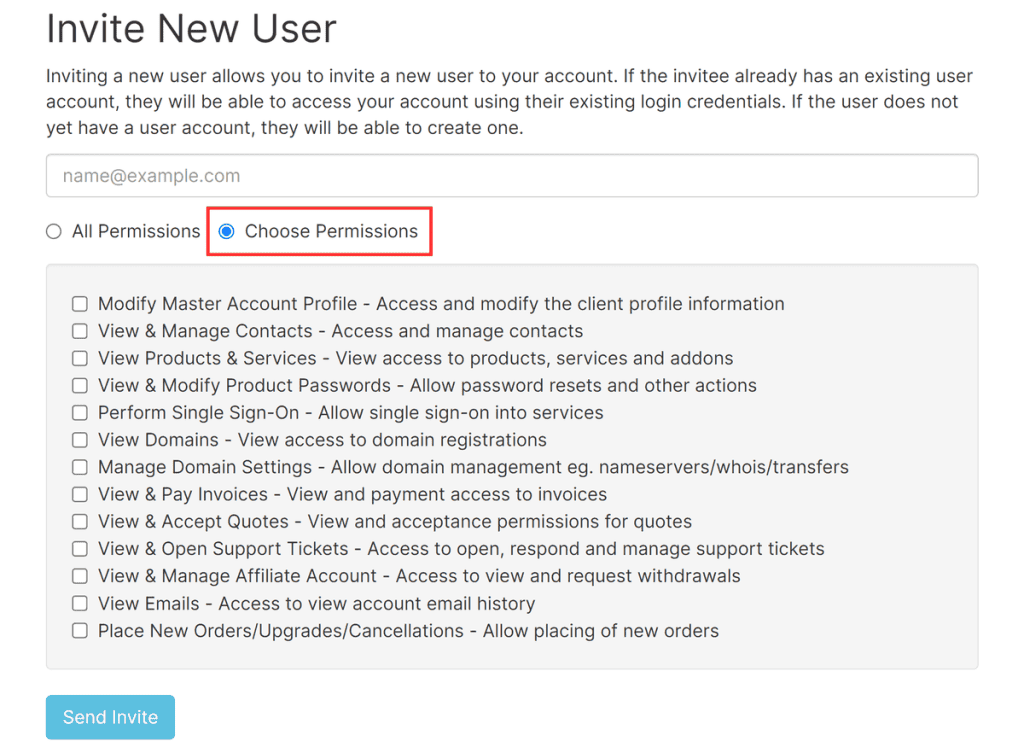
Selecting “All Permissions” will allow the newly invited account to be able to control every aspect of your control panel.
If the operation is successful, you will see a confirmation message.

Invitations are valid for 7 days, after which you will have to send a new link.
If the invitation was not received, you can resend the link by clicking on the “Resend Invite” button.

Cancel an invitation
If you have mistakenly typed in an incorrect email address or if you have simply changed your mind you can cancel your invitation at any time by clicking the “Cancel Invite” button.

Accepting an invitation
The invitation will be sent by email and by clicking on the link inside it will be possible to accept the invitation.
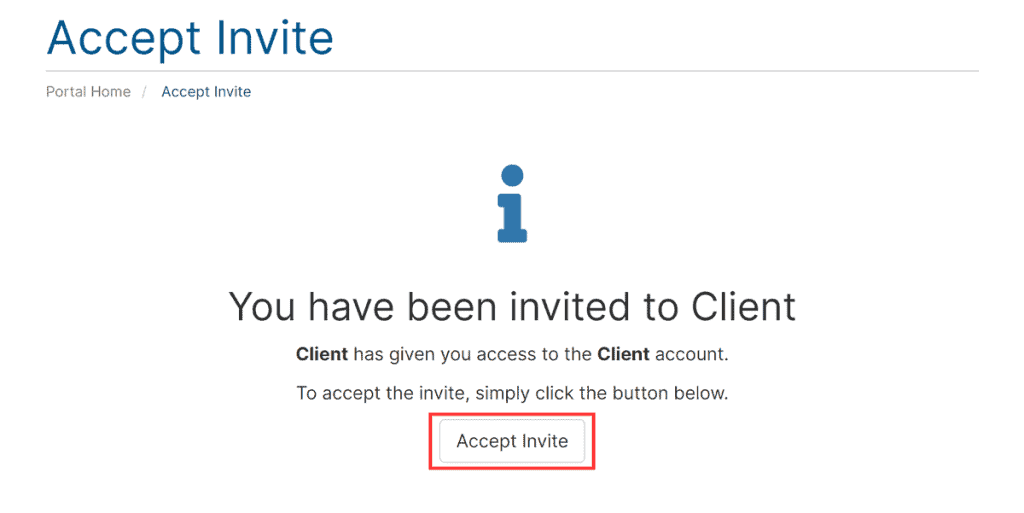
Once you click on the link, just click on “Accept Invite” to get access to the client area.
If you don’t receive the invitation, check your spam folder carefully as well, the message may have accidentally ended up there.
Manage users
When a user has accepted the invitation, from the “User Management” menu, it will be possible to configure his permissions or eventually remove him from the client area.
Manage user permissions
The account holder can change the permissions of other users at any time, either at the time of the invitation or later, through the “Manage Users” menu.
By selecting “Manage Permissions” you can manually choose the permissions for the selected user.
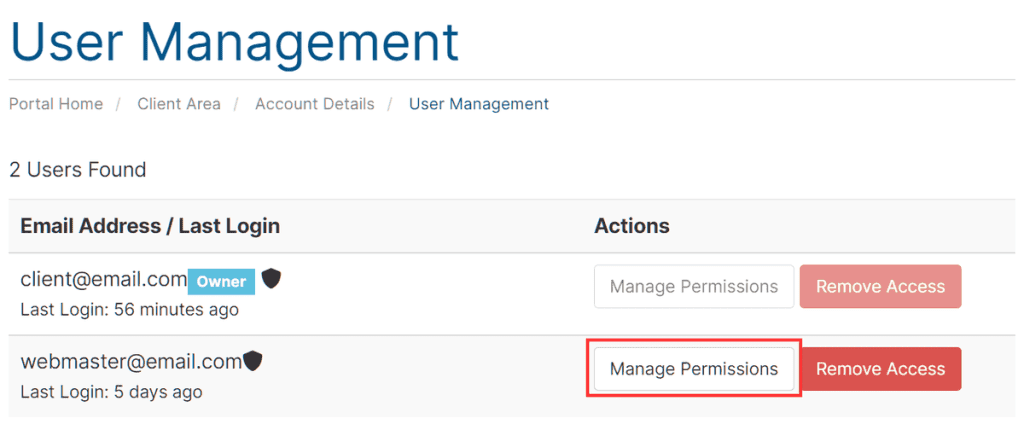
Enabling the “Make new orders/upgrades/disorders” option will allow the user to make purchases, including addon packages.
Remove a user
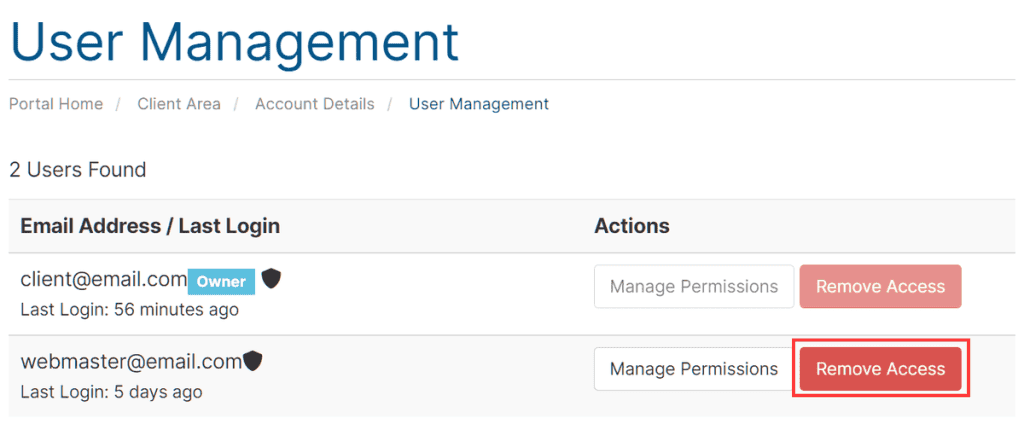
To remove access to a user just visit the “User Management” section and select the “Remove Access” button.
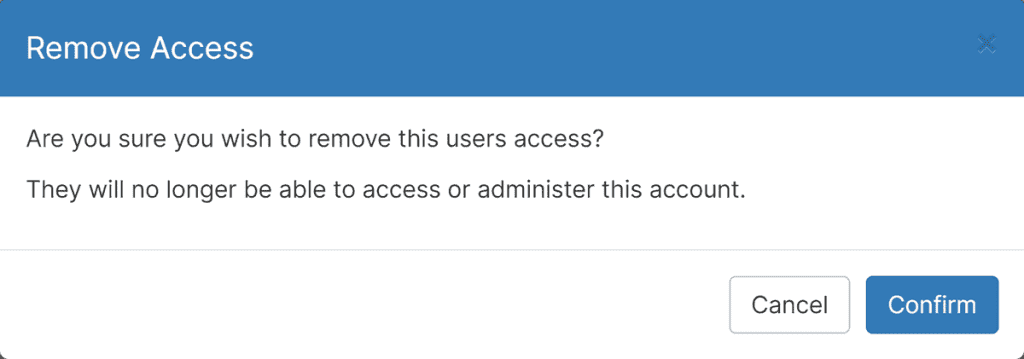
At this point, all you have to do is click “Confirm” to complete the operation.
Switching between accounts
When one or more invitations have been accepted by a user, you will be able to switch accounts and switch to another client.
Upon login, you will see a screen that will allow you to choose which account to use.
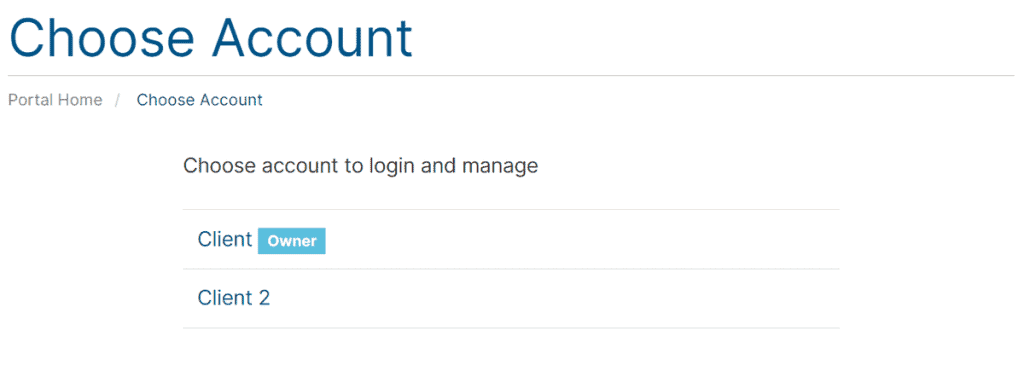
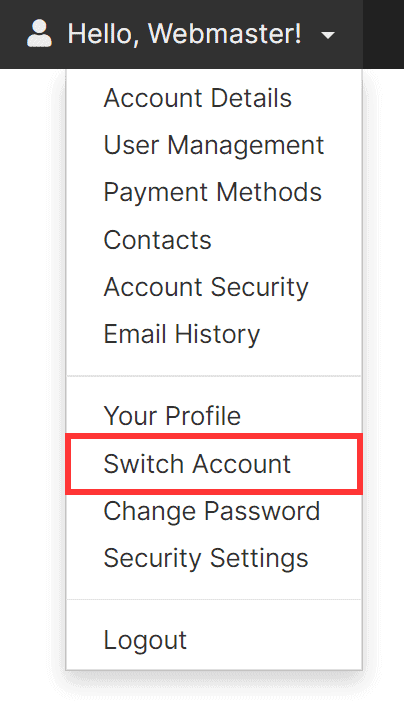
In order to switch between accounts, simply click on the “Switch Account” item in the top menu.
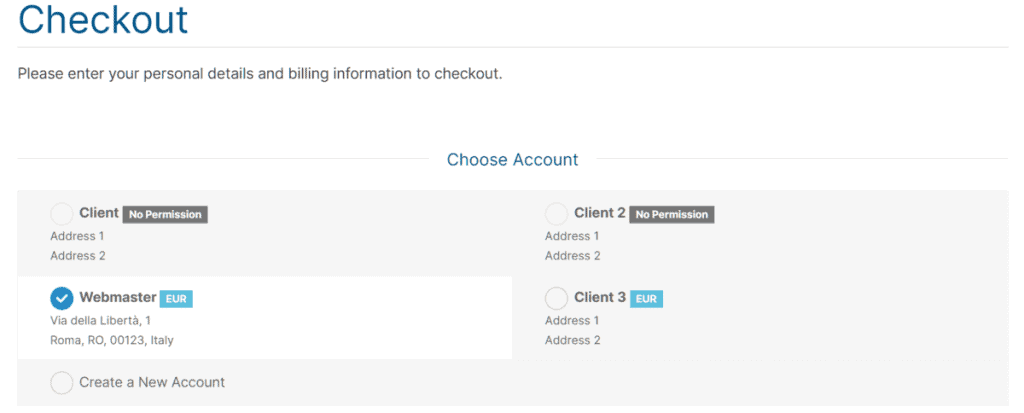
In addition, when you place an order for the purchase of one of our products, the system will allow you to choose which account to use at checkout.
