SupportHost offers a backup service for all hosting accounts. For each account, we create an incremental daily backup and keep it on an external server. These are full account backups, so you can recover any data within the hosting account and proceed with the email restore.
In this tutorial, we are going to see how to restore emails for a given email address. We also have a tutorial for the database restore and one to restore files from backup.
By following this tutorial, you can recover a complete email account after deleting its emails by mistake.
The data recovery process is super simple, let’s see how to do it.
Before proceeding, log in to cPanel and check which version of Jetbackup you have; the procedure changes if you have Jetbackup 5.
Table of Contents
Restore emails with JetBackup
First, we need to login to cPanel, and click on the “Email Backups” icon in the “JETBACKUP” section.

Here we see a list of the e-mail addresses on our account and the date of their backup. We can sort them by date or by e-mail account. If you have multiple e-mail accounts, you should enter your username in the search box above and sort by date to better filter the results.

Once you have identified the backup to restore, you can decide whether to download it or restore the email.
Restore an email account
With JetBackup, restoring the contents of an email account is easy. Once you have identified the backup you want to restore, all you have to do is click Restore.

The system will ask you for a confirmation, just click on Add to Restore Queue, and the operation will be added to the queue. Once the email restore is over, you will receive a confirmation email.
Download a backup of an e-mail account
If you want to download a file with all your inboxes, click on “Generate Download“. After clicking on the button, the system will ask for confirmation to insert the operation in the queue.

Once in the queue, your file for download will be generated, and you will receive an email as soon as it is available for download.
To download the generated file once ready, you can use the “Queue” tool in the “JETBACKUP” section.

At this point, we see two buttons next to the item of our interest, which allow us to download all our emails (Download) or to delete the file to free space on our account (Delete Download).

Email recovery: read the status of the operation
If you check the “Queue” tool right after starting the email recovery or file download, you will see 3 different statuses. If the status is indicated on Pending it means that the operation is pending and will be started as soon as possible.

If you read Processing in the “Status” column, it means that the operation is in progress, it usually takes a few minutes, but obviously, it depends on the size of the backup.

Once the operation is over, you will see the status set to Completed.

Restore emails with JetBackup 5
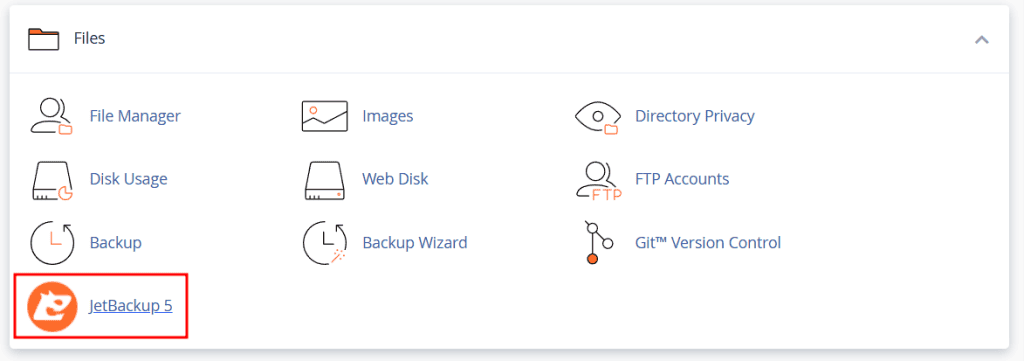
Log in to cPanel, and under the “Files” section, click on “JetBackup 5“.

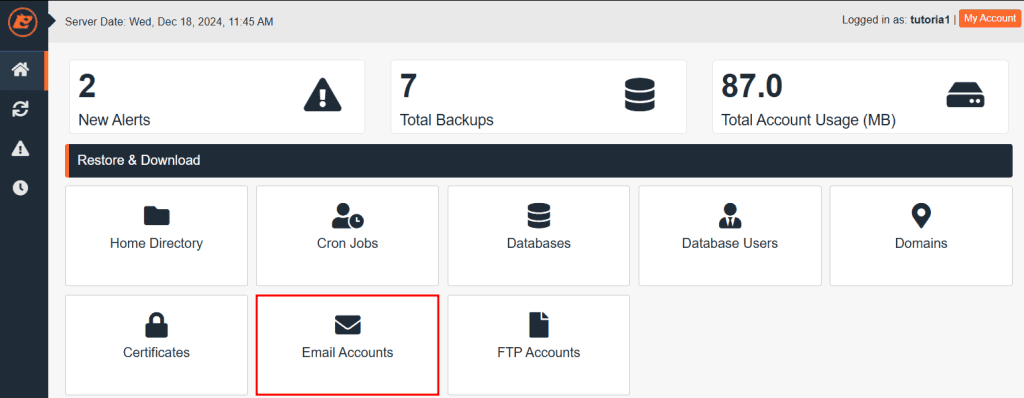
This will take you to the JetBackup 5 dashboard, where you can view the available backups.
To restore an email account, click on “Email Accounts” in the “Restore & Download” section.

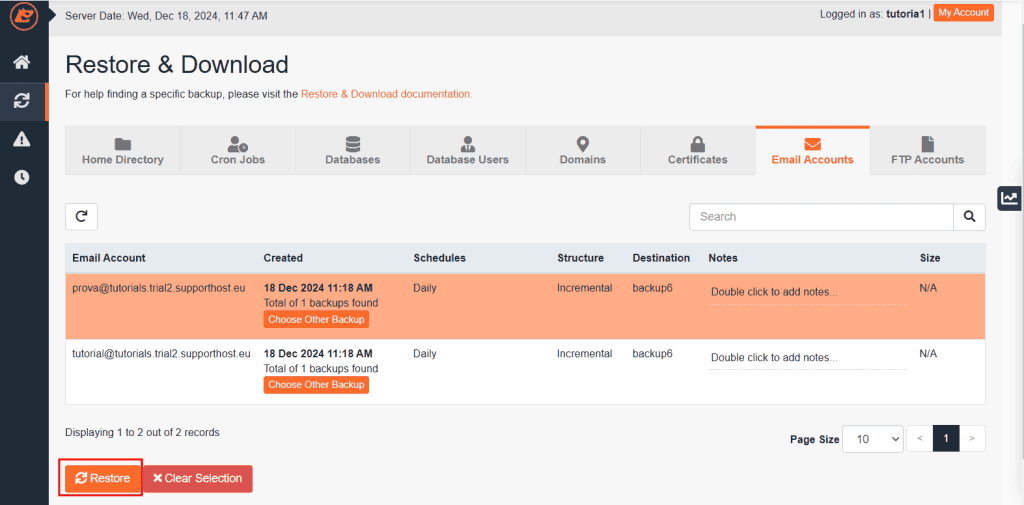
A list of available backups will appear. In the “Email Accounts” column, you can select the associated email account. You can choose one or more backups to restore based on their creation dates.
After selecting the desired items, click on the “Restore” button.

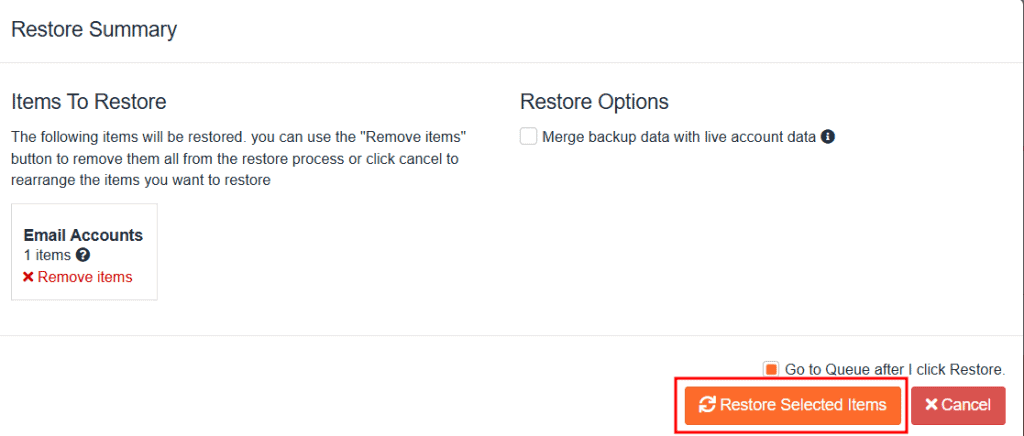
A window will open where you can review the selected items. To proceed, click “Restore Selected Items“.

You will be redirected to the queue, where you can track the restore progress. Once the status shows “Completed,” your email account data will have been restored.


