

Forwarding an email simply means transferring the mail to a recipient other than the original one.
In this tutorial, I will show you how to enable the email forwarding feature in two different ways.
First of all, I’ll show you how to perform the procedure starting from the user control panel, and then I’ll drive you through the email forwarding configuration using cPanel.
This feature will not only allow you to forward emails from one address to another, but it will also allow you to forward email of the whole domain to another domain or to your preferred email address, instead of having to use the webmail.
Table of Contents
Set up email forwarding from the client area
Note: only use this feature if you have a domain with no hosting. If you have a web hosting account linked to your domain you should perform this operation from the cPanel.
To set up the email forwarding function from the user panel, first, you must log in to the client area.
Once the page has loaded, click on the “Domains” section.

Now select a domain and press the button with a wrench, it will redirect you to the domain configuration area.

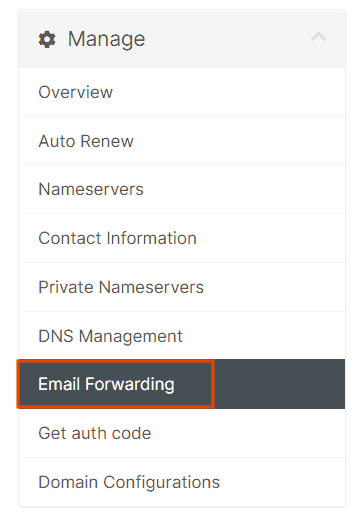
Now in the “Manage” panel, select “Email forwarding“.
An informational message will appear warning you about the risks you may incur. In the presence of errors, the site may become inaccessible.
If you are sure of the changes you are about to make, click on the blue button “I’m aware of the risks“.

In this screen, you have to fill in the fields as shown in the screenshot below:

Prefix: the name of the email account. You can use an * (asterisks) to forward all emails to a new email address.
Forward to: here you shouldenter the destination email address to which the mail will be delivered.
After filling in all the fields, to apply the changes you just made, click on “Save changes“.
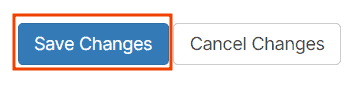
To be able to delete the new forwarding rule added, simply empty the fields previously filled in and press the “Save changes” button.
Set up email forwarding from cPanel
With cPanel, you can set up email forwarding for both a specific account and the entire domain.
To access cPanel, you need to go to the client area and click on the “Services” tab.

In the list of your available services, select the one you want to change.

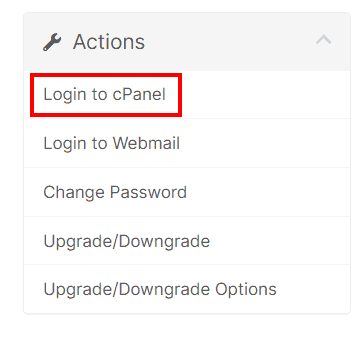
In the “Actions” tab, click on “Login to cPanel” to be redirected to the main dashboard of cPanel.
Now scroll down the page until you find the settings dedicated to emails and select the “Forwarders” tool.

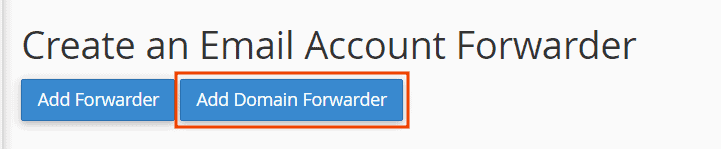
Now you will have to choose whether to add forwarder for a single email account or for the entire domain.
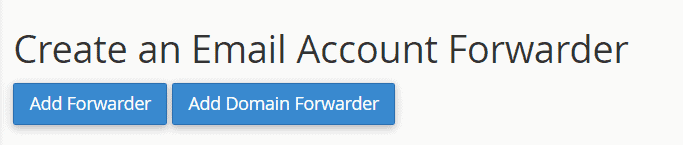
Add Forwarder
By selecting this option, you can forward emails from one address to another.

Forwarding address: it is a mandatory field in which the name of the email account for which we want to forward the emails must be entered.
Domain: if you have connected more than one domain or subdomain to your account, through this menu you can choose which one to create a forwarder for.
Forwarding email address: enter the email address to which you want the forwarded emails to be delivered here.
In the “advanced options“, you can choose whether to forward the emails to a system email account, direct emails to a specific program or discard them.

Once everything is set up, to make the changes you have to click on the “Add forwarder” button.
Add Domain Forwarder
If you prefer to forward emails from one domain to another, use the “Add domain forwarder” option.
Warning: this option will only redirect your email. If you are looking for a way to redirect users to another domain you own, visit our guide to create a domain redirect.
Select the domain you want to forward in the “Domain” selector.
In the remaining field instead, you need to type the domain name to which we want to deliver the emails.

Once you have filled in the fields, to add a new domain forwarding, you just have to click on the “Add domain forwarder” button.

Check the email forwarding settings
To verify that the forwarding procedure has been successful, you can check the routing of the email by clicking on the “Trace” button in the “Actions” column.

You will see a page on which any communication errors with the mailbox will be reported.
If the procedure was carried out correctly, the result should look something like this.

In case there is an error, however, the item “Mail routing error” will appear.

When an error occurs, check that you have filled all the fields correctly, making sure you have not made any typos.
Delete email forwarder
To delete a forwarder, go to the cPanel “Forwarders” screen and press the “Delete” button next to the item to be deleted.

A warning message will appear. To proceed, click on “Delete forwarder“.

If the deletion was successful, the following informational message will appear.
