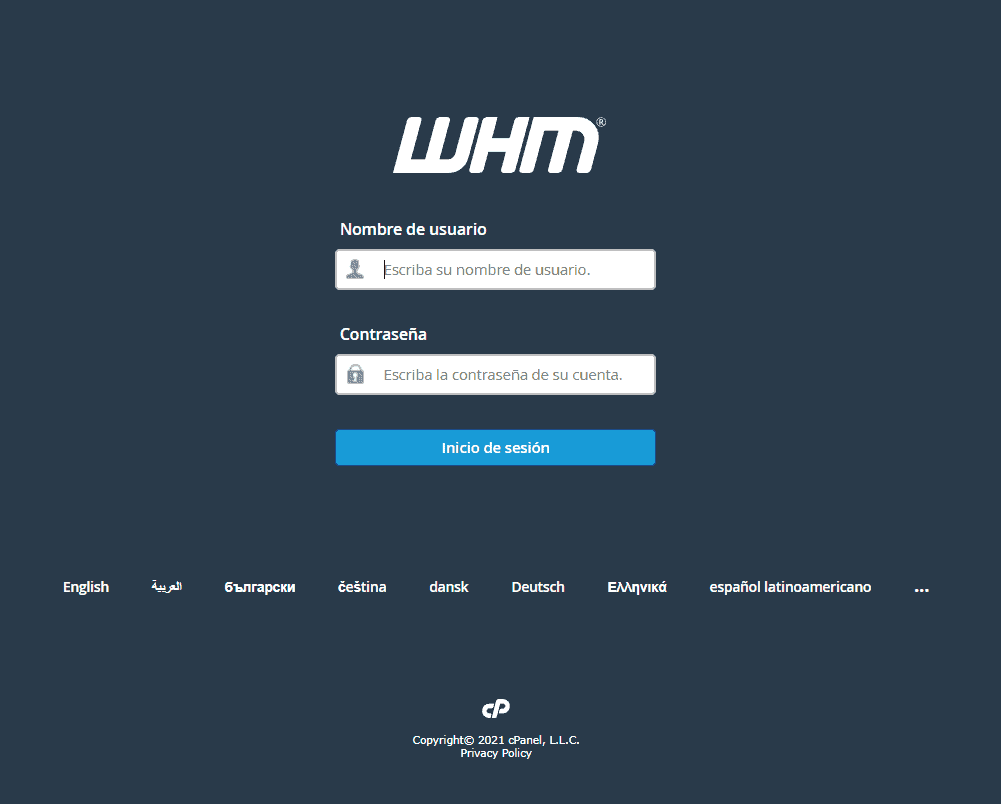
WHM is the control panel included within the reseller hosting plans, it allows you to create and manage your customers’ cPanel accounts. In this tutorial, we will see how to change the WHM language.
How to change WHM language
First thing first, login to cPanel using the login credentials you received with the reseller account activation email.
Then click on your username at the top right and then on Change language.
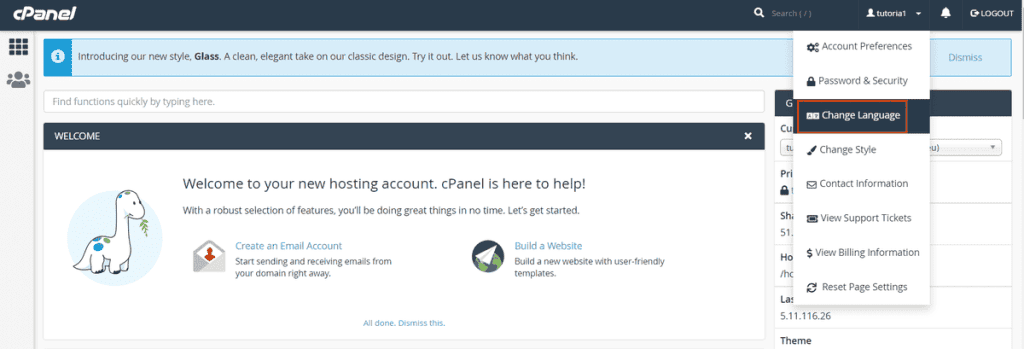
On this screen, you will see the language currently set, in our case English.
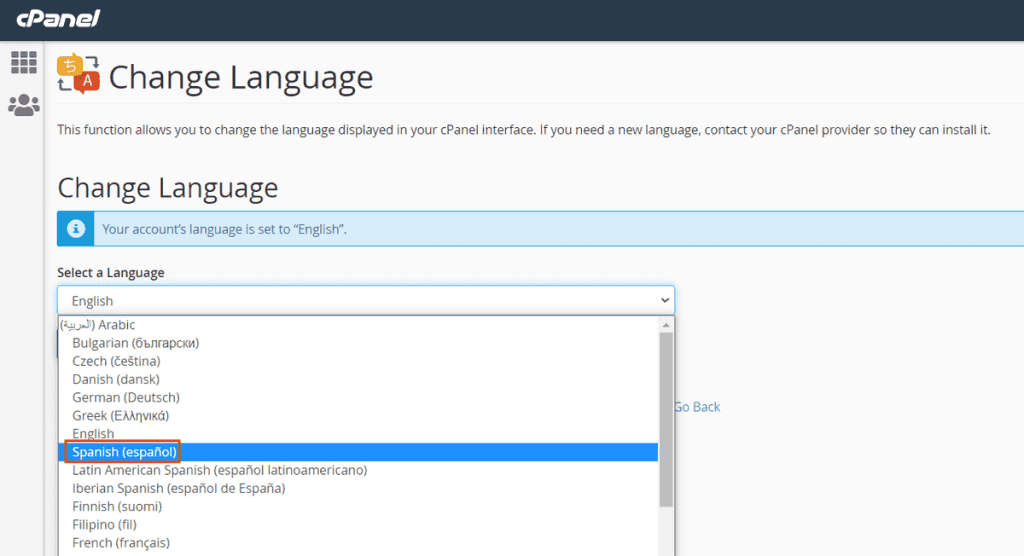
To change WHM language, you just have to click on the drop-down menu under “Select a Language” and choose the language you want to set, for example, Spanish.
Then click on Change to confirm the changes and set the new language.
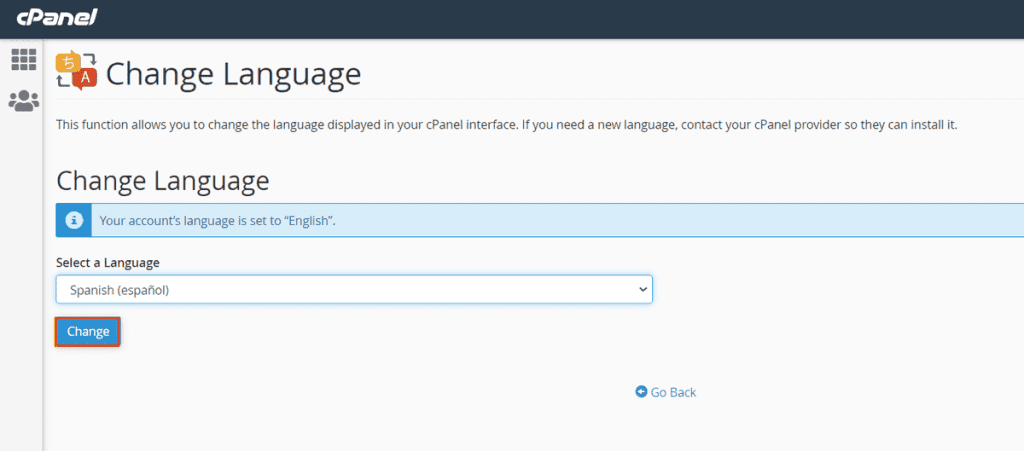
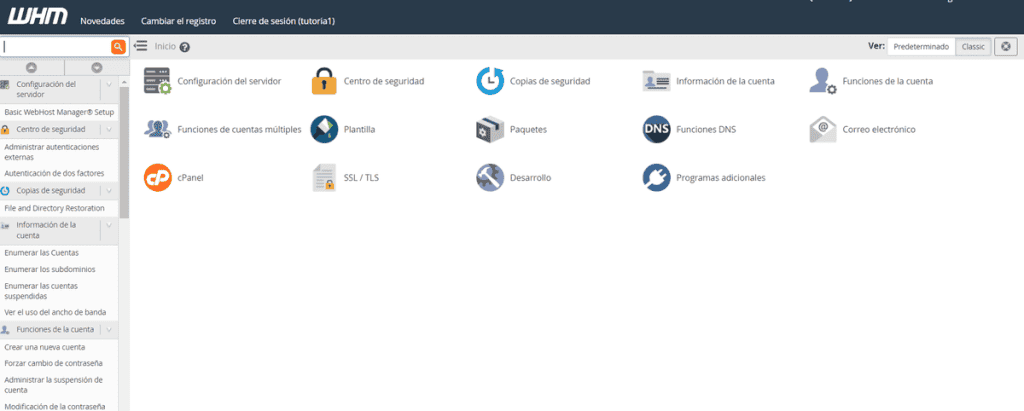
Now that you’ve set up cPanel in the new language, login to the reseller panel using your login credentials. You will see that the language changes are also applied on WHM.
When you log out, the language will also be different in the login interface, as shown in the following example.
