The speed of your website is important, whether you’re using WordPress or other CMS for your website.
That’s why, after showing you how to optimize images for WordPress and optimize images for SEO, today I want to focus on a tool that can be really useful: Optimizilla.
Optimizilla is an online image compressor, which means that by using it you can immediately start compressing images and later upload them to your site. In this article, we will see what advantages it offers and how to use it.

Firstly, I’d like to briefly explain why it’s so useful to have optimized images on your site.
Table of Contents
Why optimize images?
When you are about to reduce the size of a photo, don’t forget that the final quality of the image is essential.
Therefore, you should not just scale the image, but compress it. This means that after compression, the image will have a reduced weight, but its visual quality will still be suitable.
Although it may seem obvious to you, remember that nobody likes a blurred image. At the same time, however, images that are too heavy significantly slow down the loading speed of your site.
And, as you may know, a slow site doesn’t appeal to either users or search engines. That said, there’s no need to explain further why it’s important to have a fast site.
Compressing images, however, could serve you for other uses on the web as well. For example, when you need to send images via email and need to reduce file upload and download times.
Let’s see now how many ways you can compress images.
Types of image compression
Before we get into how to compress images, we should briefly mention the different types of compression.
Mainly you can compress an image losslessly (i.e. lossy), or lossy. What does this mean?
Since it is a compression, in both cases the final result will be a reduction of the image size. So what does it change?
As you can guess from the name of the two types of compression, in lossless compression the image quality remains unchanged at the end of the process. On the contrary, in lossy compression, the data that make up the image are partially eliminated and the quality is therefore reduced.
It should be noted that these two types of compression are only the two extremes. In fact, there are different degrees of compression and the secret is to find the right compromise according to your needs.
Compressing images: what do I use?
There are several ways to reduce the size of an image. If you want to compress a photo using your pc, you can use different programs. For example, you could use Photoshop to compress a lossless image to png.
If, on the other hand, you use WordPress, you probably already know that there are several plugins that allow you to automate image compression and optimization. One of them is ShortPixel which we’ve been using for years on our site. If you’re interested in learning more about it, I recommend checking out my guide, where I explain how to optimize WordPress images automatically. Otherwise, if you want to learn more about plugins, I suggest you take a look at my article on choosing reliable plugins and how to avoid plugins that slow down WordPress.
There are cases, however, where it can be useful to implement compression using an online image optimizer directly. This way, you won’t have to download any programs to your PC or install any plugins.
Among the online image compressor, today I want to show you Optimizilla, let’s see how this tool works and how it can help you compress photos with ease.
Optimizilla: what is it and how to use it
As I explained Optimizilla is a web application, which allows you to lighten images with simplicity.
The first thing to do will be, therefore, connect to the site imagecompressor.com. Once you reach the site you’ll just have to upload the image or more than one.
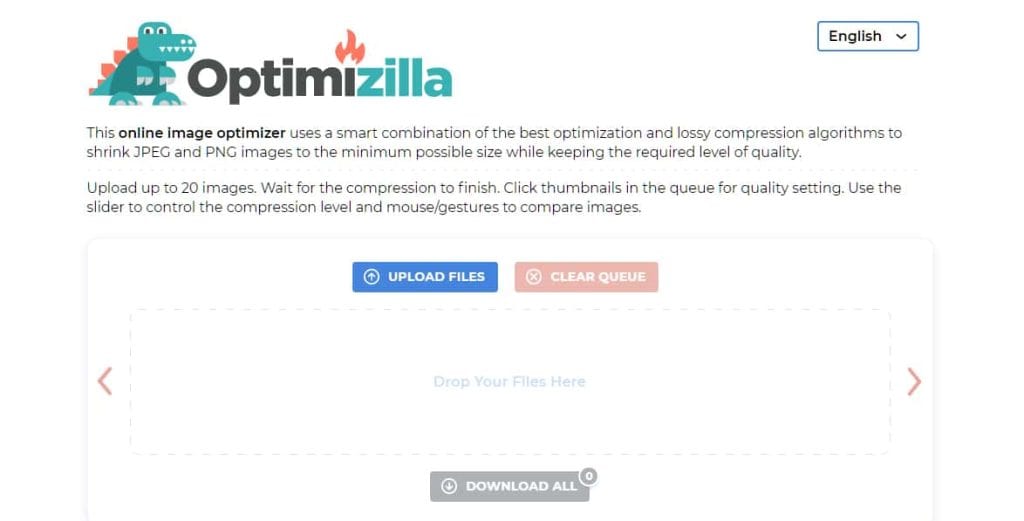
You can choose whether to do this by dragging the files directly on the page or through the ‘upload files’ button. In the latter case, you will then simply have to search on your PC for the photo or image files you want to compress.
Once the images have been uploaded the compression will start automatically.
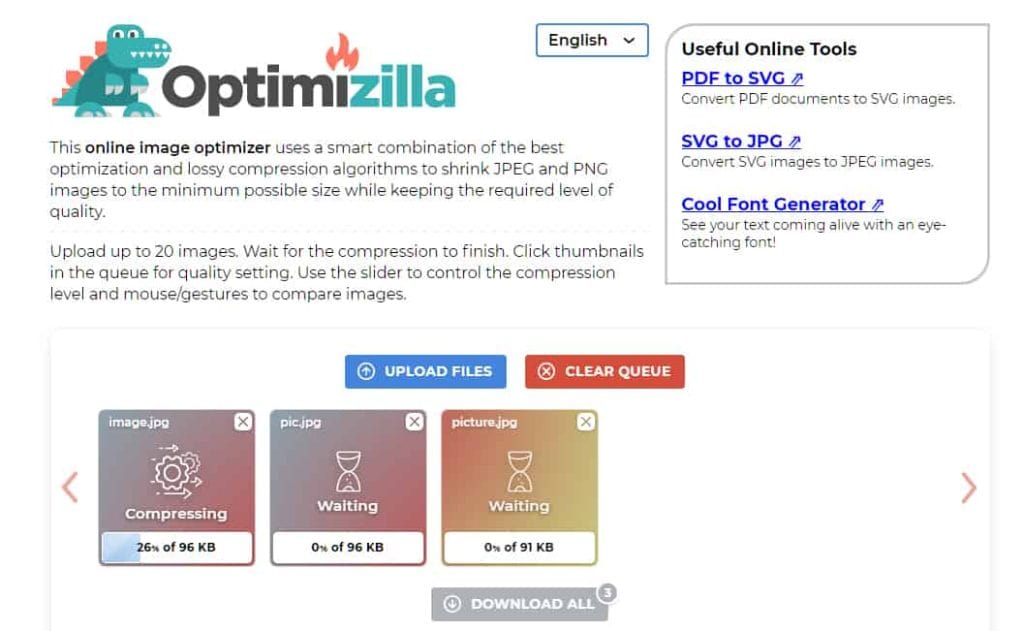
At this point, you’ll be able to see the quality of the photos you’ve compressed.
By selecting your images, one by one, in fact, you can compare the original image and the result of compression. As you can see in the screenshot below, on the left is the original image (2.7 MB) and on the right is the compressed image (2.3 MB).
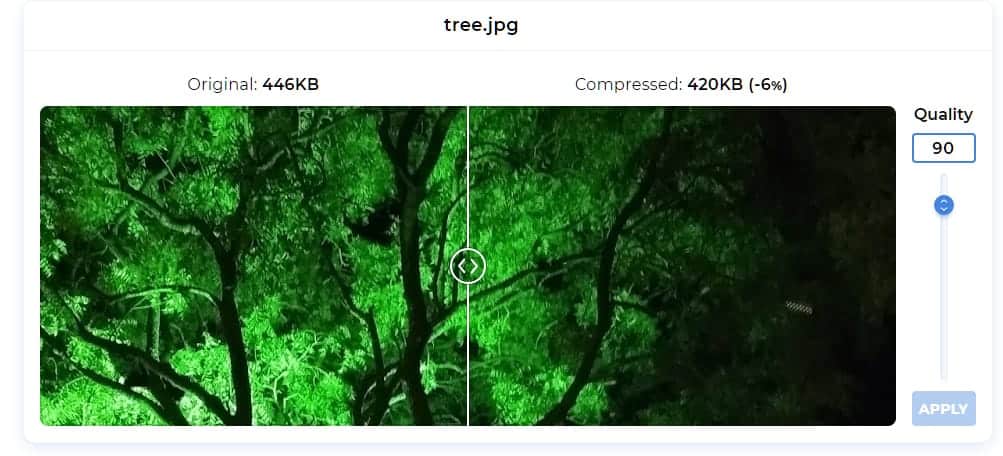
Optimizilla, in fact, performs an automatic compression based on the source image. At this point, you can choose to download the compressed image or intervene “manually” on the compression.
In the latter case, you just need to change the value in the Quality box. Obviously, a higher quality image will correspond to a larger size, and vice versa.
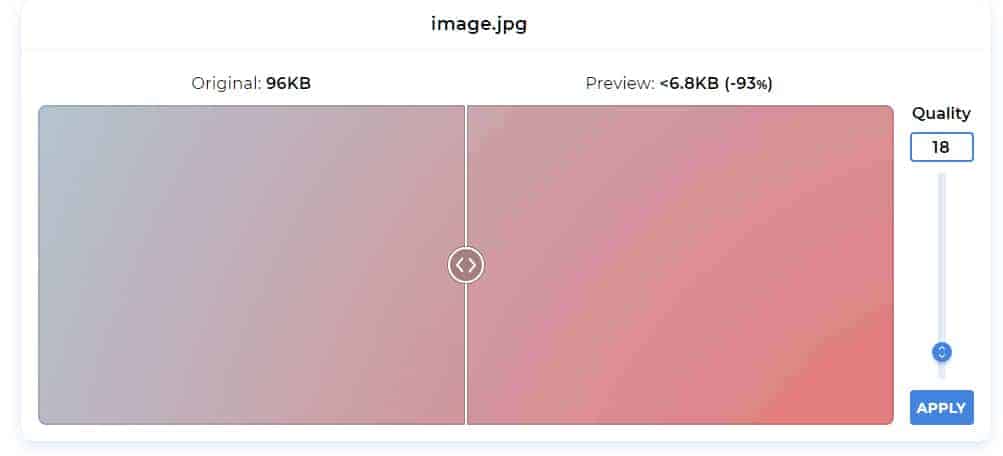
After changing this parameter, you’ll have to click on “Apply” and the photo will be compressed again. When finished, you can then download your image.
Another advantage, as I said, is the ability to compress multiple images at a time. Optimizilla allows you, in fact, to upload up to 20 images at once and download them in bulk after compression, in a single zipper file.
Although we are far from the automation that a WordPress plugin can offer you, it must be said that even this saves a lot of time.
What files can we compress with Optimizilla?
Optimizilla allows you to compress image files in JPEG or PNG format. In both cases, you will always choose the degree of compression of the image, according to your needs.
If, however, the images you need to compress are not in one of the two formats accepted by the tool, you must first save them in one of them. If this is not possible, you will have to use other tools.
Let me give you an example: you can’t use Optimizilla for PDF, but in this case, there are similar services that will allow you to compress files in this format as well. For example, you can compress your PDF files using Adobe Reader. To do this, however, you must have a license of Adobe Acrobat Pro DC.
Conclusion
In this article, we have seen when it can be useful to compress images and clarified how optimizing them can affect the performance of your site.
After looking at the different types of compression, we also covered what tools to use to compress images without losing quality. Specifically, in this guide, we saw how to use one of the best online image optimizers and compressors, Optimizilla.
What about you, what tools do you use to compress images for your site? Have you ever tried Optimizilla? Let me know about your experience in the comments below.


Leave a Reply