
Do you want to install Matomo on your WordPress site or web space so you can use it on multiple sites?
In this step-by-step guide, How to install Matomo, we will show you what you need to.
As you already know, Matomo is an alternative to Google Analytics.
Given the recent case Google Analytics and GDPR and according to our interview with Frida Del Din, apparently Google’s Analytics system is currently not considered adequate. Therefore, it is time to explore other options.
Table of Contents

Matomo as an alternative to Google Analytics
Alternatives to Google Analytics include Matomo (formerly known as Piwik). This tool can be installed directly on our server.
This means that you can install Matomo directly on your shared hosting or on dedicated solutions such as a dedicated server.
Since Matomo is self-hosted, data of our clients won’t be shared with U.S. companies, as is the case with Google Analytics.
With Matomo Cloud, it is possible to use the service on Matomo’s servers, a service that is offered by the company on a pay-as-you-go plan.
The Matomo Cloud plan is currently on sale for €19 per month. The cost also varies depending on the monthly incoming traffic to the site, for more details check out their website.
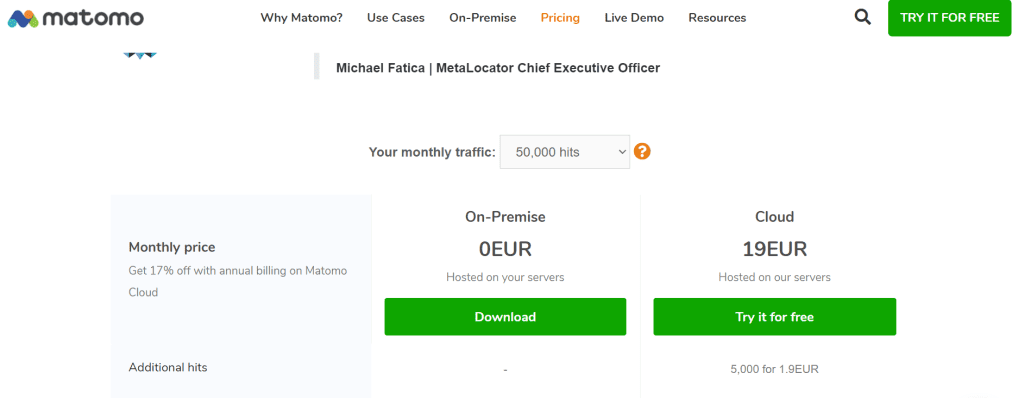
In this guide, we’re going to take a look at how to use Matomo On-Premise, which is the free version of this tool that can be installed directly on our hosting space.
How to install Matomo
Firstly, you need to log on to the site matomo.org.
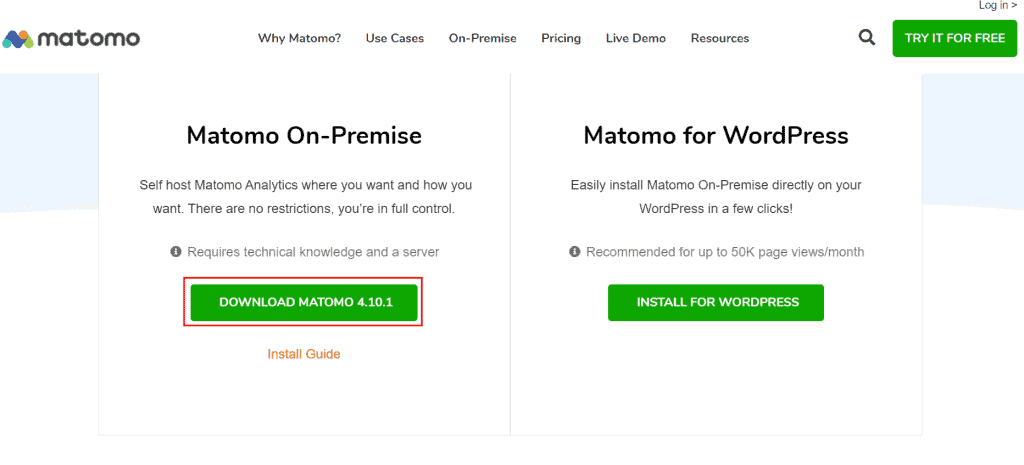
Directly on the home page you’ll find the Matomo On-Premise button, from which you can download the version of the tool to install it on your hosting space.

Then click on the green, Install Matomo On-Premise (Free) button to be redirected to the download page.

From this page you can see that there are two versions available: the On-Premise version which can be installed on a stand-alone basis, therefore in a stand-alone installation and the version for WordPress, i.e., a plugin.
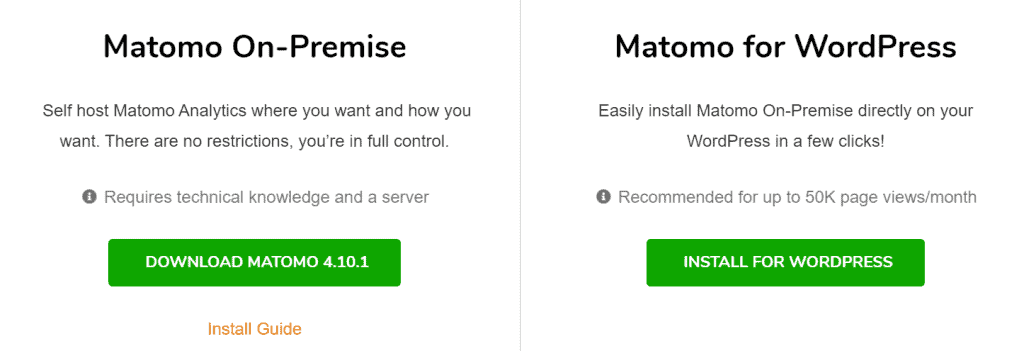
If you are undecided about which version to use on your site, check out our post on the performance of Matomo. We did some tests on the different versions of the tool to see what the impact is on site speed and performance.
Installation of Matomo On-Premise
In this guide, How to install Matomo, let’s start by seeing how to install Matomo On-Premise directly on our hosting space. Then we’ll see how to install and activate the WordPress plugin.
As for the manual installation of Matomo, we will see how to do it using cPanel, the control panel we use on all SupportHost hosting plans.
If, on the other hand, you want to avoid installing and configuring Matomo because you don’t know how or don’t want to deal with managing and updating it, you can take advantage of our service Matomo Analytics.
We have launched this service, based on Matomo, as a GDPR-compliant alternative to Google Analytics. In this way, you can activate the account and you will simply have to add the tracking code to your site.
It is as simple as Google Analytics, but also GDPR compliant.
Our service is available to everyone, to those who are our customers and to those who are not. It is practically free when you consider that we only ask for a symbolic fee of 1€ per year.
How to install Matomo in 3 different ways
Let’s now get into the core of our guide and see how to go about installing Matomo. There are several ways to complete the installation.
Specifically, we will see how to:
- Install Matomo with Softaculous;
- Install Matomo with a manual installation;
- Install and activate Matomo’s WordPress plugin.
Install Matomo On-Premise
Before proceeding with the installation, let’s go to create a subdomain.
Keep in mind that you can choose to use a subdomain or a subfolder (subdirectory) according to your needs.
In this case, we will use a subdomain.
Let’s log in to cPanel and create a subdomain, in our case we will call the subdomain “stat”, but you can choose any name you like.
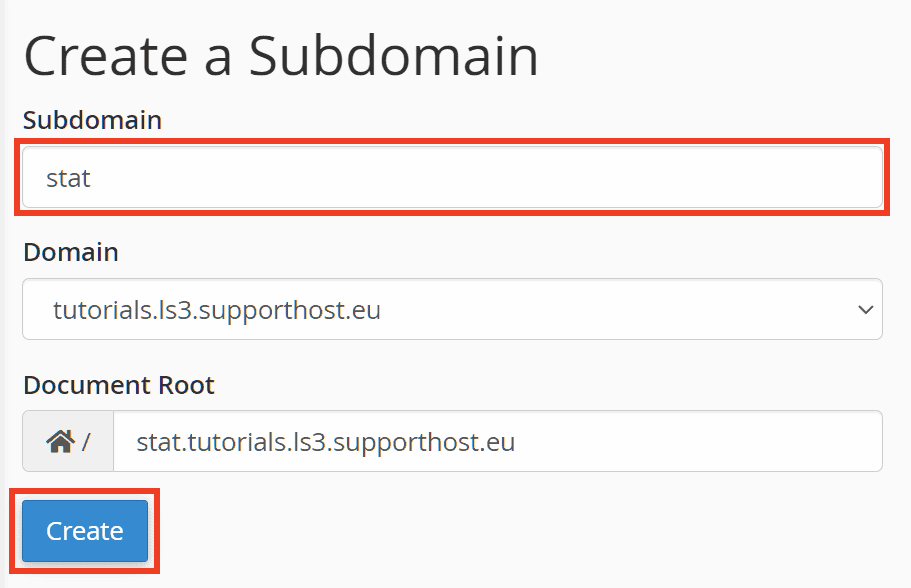
As you see in this screenshot, “stat” is the subdomain, while under Domain you find the domain name associated with the plan.
Click Create to create the subdomain.
The following message will alert you that the process has been completed and the new subdomain is ready.

Click Back and then from the list of subdomains, click on the link corresponding to the newly created subdomain, as shown below.

In this way, we will be redirected directly to the file manager.
At this point, after creating the subdomain, we have several ways to proceed:
- we can install Matomo using Softaculous;
- Or proceed with a manual installation.
Let’s see how to do it both ways, so you can choose the type of installation you prefer.
How to Install Matomo with Softaculous
It is definitely simpler to use Softaculous. Let’s open cPanel and search for Softaculous through the search bar. Then click on the Softaculous Apps installer to open the tool.

Use Softaculous’ search bar to look for Matomo and click on it.

Click directly on Install Now.

As protocol we select https in the domain choice, we then go to select the subdomain we created earlier. The field in the folder can remain empty.

In the lower section, Account admin, we can enter the administrator’s username, password and email.
From the other settings, we can change the name of the site and select the language.

According to advanced options we can leave them as they are presets.
Then click on Install to start the installation.

After the installation is complete, you will see a page like the one shown below. You just need to click on the link next to admin URL to get access.

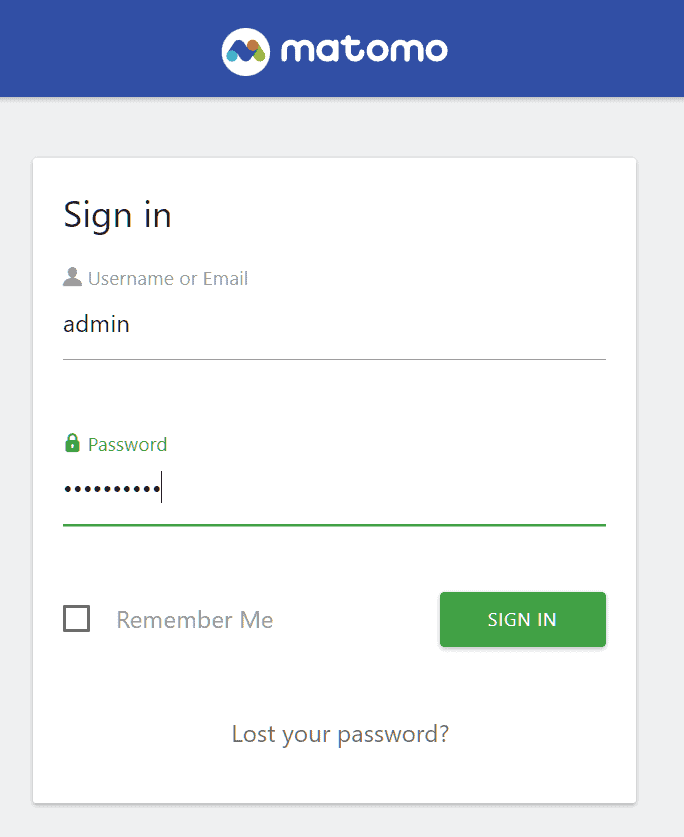
To log in we will need to use the username and password we just set up and click on Sign In.
Configure Matomo
At this point, we can simply copy into our site the tracking code that we see as soon as we log in to Matomo.
The procedure is similar to what you have to follow for the Google Analytics tracking code.
Install Matomo via the file manager.
Another way to install Matomo is to do it directly from the cPanel file manager.
First we need to download Matomo On-Premise from the home page of the site.
You just need to follow the steps we saw earlier (Matomo On-Preise>Install Matomo On-Premise(Free)) and click on Download Matomo 4.X.X.
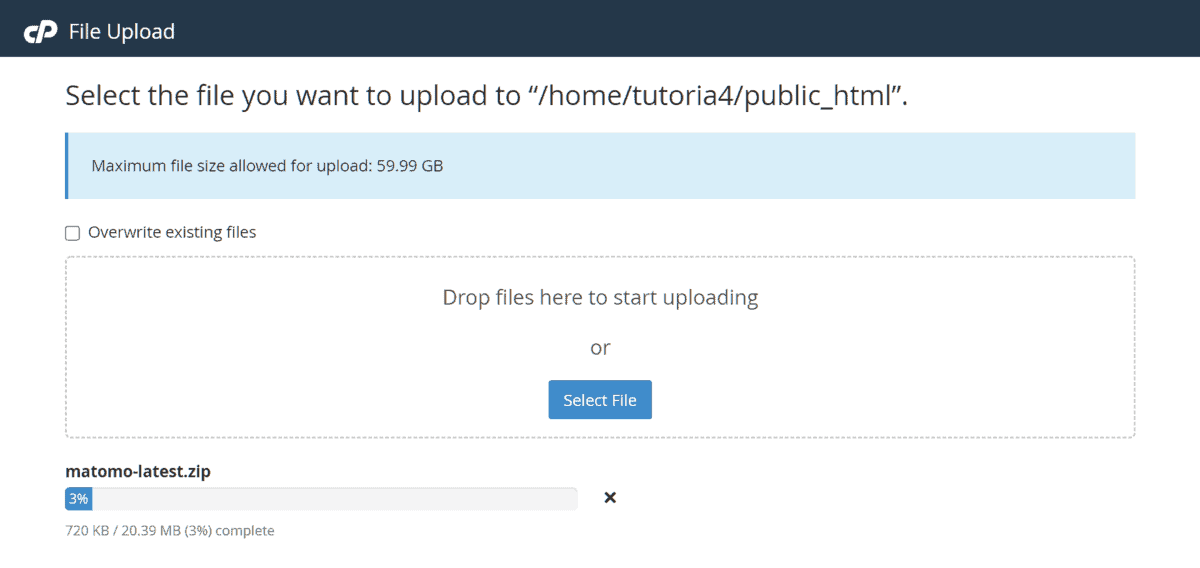
After downloading it, we can access the cPanel file manager and open the subdomain directory we created.
Then click on the Upload button from the top bar of the file manager.

Then upload the zipp file with the latest version of Matomo that we had just downloaded.
At this point, we can return to cPanel and open the MySQL Database Wizard tool (or MySQL database Wizard) to create a database.

Choose the name of the database, in our case it’ll be “mat.”

Remember that the database name is what will be shown at the top after the database has been created: “user_name_databasename”. In our example above, the database name is “tutorial1_mat”.
We choose a user name, in this case for convenience we’ve used the user name equal to the database name “mat”.
We generate a password with the generator and copy it, then enter it in both Password fields and click Create User.

Next, we have to set All privileges for the user and click on Make changes.
In this way we created a database with an associated username and password.
Let’s go back to the file manager and extract the zip file with the latest version of Matomo that we have uploaded to the server. To do this simply click on the zip file to select it and then click Extract.

This will extract the files into a subfolder called “matomo“. Next, open the folder, select all the files and move them to the root of the subdomain.

At this point, we go back and delete the “matomo” folder, which will now be empty.

Visiting the subdomain where we have just uploaded the files, we get the installation screen.
The installation of Matomo is done through an 8-step wizard process. First we simply click on Next.

A system requirements check is then carried out.
As we scroll down the page we can see in the optional step, a problem in the integrity of the files and we are, in fact, instructed to delete these two files:
- How to install Matomo.html – that is, the file with the installation instructions;
- matomo-latest.zipper – the zipper file we uploaded to the server.
Since they are not a security threat, we can go ahead and eliminate them later.
In our case, a problem with shell_exec was also showing up in Other Functions. To fix it we just have to open cPanel again and click on Select PHP version from the Software section.

We then open the Options tab and look to see if “shell_exec” is among the disabled functions at the disable_functions line.
We simply delete it, and to apply the changes we simply click out of the input field.

We then return to the installation procedure and reload the page, at which point we should see the shell_exec function with a green checkmark next to it, as in our case.

We can then proceed by clicking on the Next button at the bottom of the page.
The next step allows us to configure the database.
In the Database server field we can leave 127.0.0.1 or replace with localhost.
Under Login we enter the username associated with the database. We also enter the password and database name we created in the previous steps.
We can leave the table prefix field as set by default and leave the MySQL option.

Clicking Next will create our database tables and allow us to proceed to the next step.

At this point we can set up the Super User by choosing a user name, password and email address.

At step 6 we can configure the site, and we will need to set the site name, URL, time zone, and site type.

Proceeding to the next step will generate the tracking code for our site. We can then copy the JavaScript code we see on the page and place it in the head tag of our website.
By clicking Next again, we arrive at the installation summary page. At the bottom of the page we will find the Go to Matomo button that redirects us to the login page for the tool.

Install Matomo on WordPress
As we said, there is also the possibility to activate Matomo on WordPress using the plugin directly.
First we need to access the administration area of our WordPress site.
From here we simply install Matomo as any WordPress plugins.
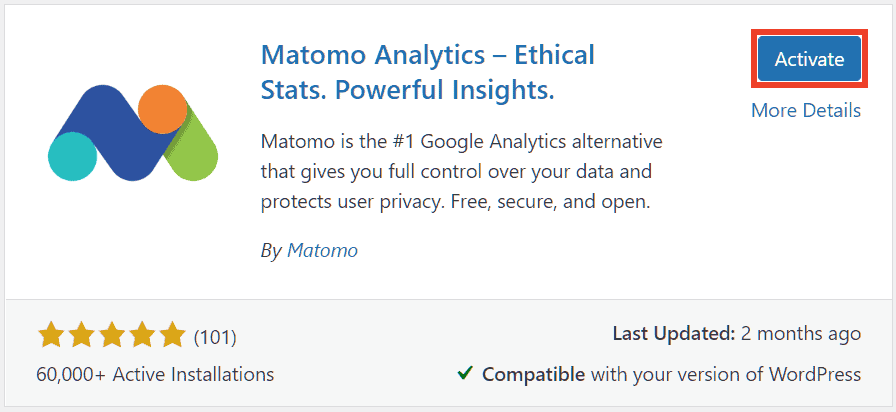
We click on Plugin > Add New and search for “Matomo” via the search bar and click on Install Now.

After the installation is complete, we can activate the plugin by clicking Activate.
We are then redirected to the plugin settings page. Firstly, we can enable tracking by clicking on Enable tracking now.
At this point to make sure tracking is active we can open the home page and view the page source. At the bottom of the page we will find the Matomo tracking code, as you see in this screen below.
If, after installing Matomo, you want to import data from Google Analytics, check out our guide on importing from Google Analytics to Matomo.
Conclusion
We have seen how to install Matomo in 3 different ways. If you have a WordPress site, the best (and easiest) option is to use the plugin directly.
However, if you use another CMS or for other needs, you can install Matomo directly on the server. In case you want to install Matomo manually or by using Softaculous, you now know the procedures to do so.
Do you have other doubts about how to install the tool on your site or were you able to follow all the steps? Let me know in the comments below.
Ready to build your WordPress site?
Try our service free for 14 days. No obligation, no credit card required.


