Have you heard of blacklists and think your IP may have ended up on one of these lists? This in-depth guide will tell you when to do a blacklist check and what tools to use.
We will talk about the reasons why you can end up on one of these lists, we will see what mistakes to avoid and how to request removal from one of the lists.
Let’s start in order and see what the blacklists are for.
Table of Contents
Why are we talking about blacklist checks? What is this check for?
When we talk about blacklist check or blacklist checking, we are referring to IP addresses, domains or emails that end up on blacklists.
Blacklists, sometimes also referred to as blocklists, are lists of domains, IP addresses, or emails linked to violations and spam activity.
This is why when we hear about IP addresses that have ended up on a blacklist or “blacklisted”, they are addresses inserted on these lists.
E-mail servers often rely on antispam programs. They can check these lists and mark emails from the senders included on the list as spam.
Let’s see an example to understand how email blacklist checking works.
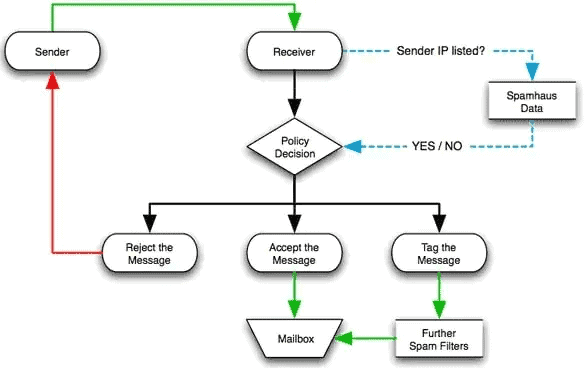
When an email is received, the email server consults one or more blacklists and checks if the IP address or domain is present.
If it finds a match on the blacklist, then it filters the email and can refuse to receive it or moves the message to the spam folder or in some cases, to the trash.
If no match is found, the email will arrive at its destination.
This diagram from one of the major blacklists, Spamhaus.org, graphically shows us what happens:
What are the consequences of ending up on one of these lists?
The so-called deliverability is compromised: the emails we send risk not reaching their destination or end up in junk mail.
Different types of blacklists
Blacklists can be divided into several types:
- DNSBL – lists that collect IP addresses;
- RHSBL – Domain Name Lists
- DNSBL URIs – lists of URIs.
Let’s see in detail what differences there are.
The most common type of blacklist is called DNSBL ie “Domain Name System blacklist”.
The name derives from the fact that the system is based on the DNS (Domain Name System), ie the mechanism by which domains are associated with IP addresses.
These blacklists are IP-based, meaning that the IP addresses used for spammer activity are stored on the list.
There are also the RHSBL “right-hand side blacklist” lists in which the domain is stored instead of the IP address.
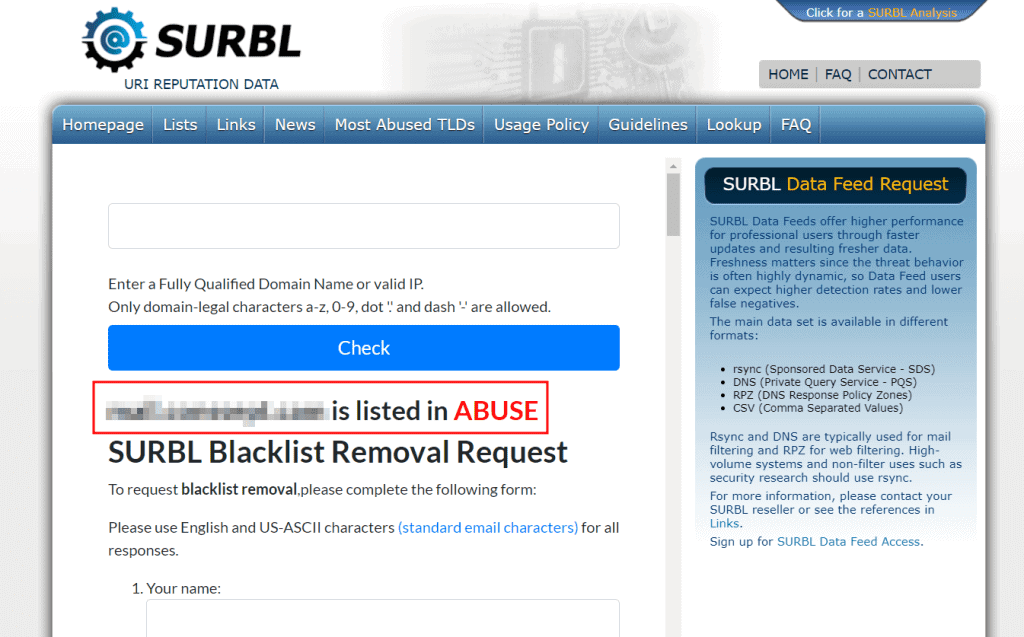
There is a third type of blacklist, called DNSBL URIs, which are used to check not the sender of the email, but its content. In particular, they search for spam strings or links within the body of the email.
Among these blacklists we find SURBL (Spam URI RBL) which, as you can see in this screenshot, also provides a control tool to test IPs and domains.
To the lists we have just seen you can also add other lists such as white lists which are, by definition, lists of non-spam IPs or domains, which can be trusted.
Main blacklists
Among the most popular public blacklist emails we find:
- Spamhaus DBL: reachable at this address, it is a list based on the domains.
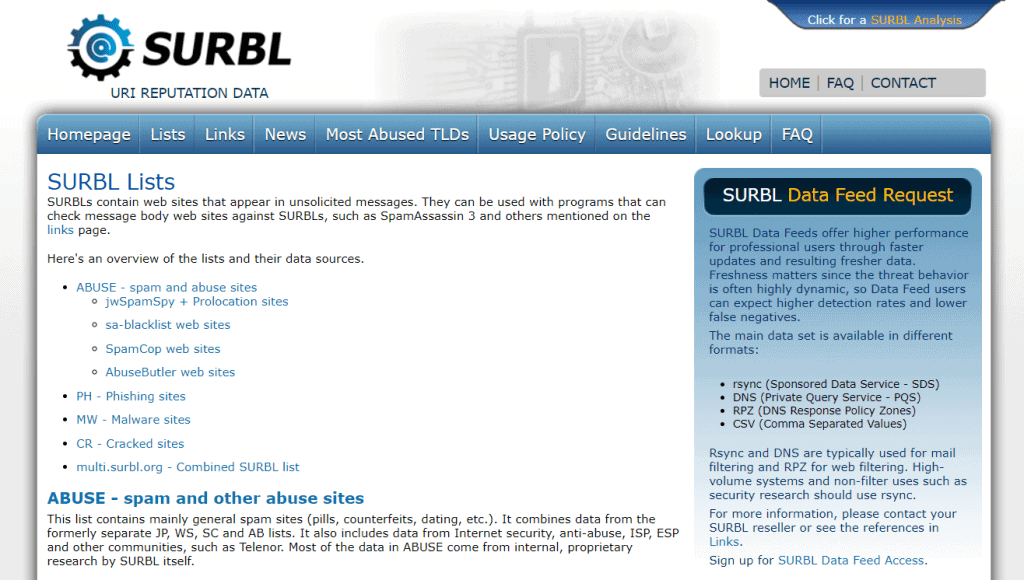
- SURBL: includes multiple lists that collect sites involved in spam, phishing, malware spreading and hacked sites.
How are black lists created?
Now that we have seen that there are different types of blacklists, you must know that for each type there are dozens of different databases.
Each of these lists can catalog lists of IP addresses related to spam activities, but also to sending malware or phishing attempts.
Why is my address on a blacklist?
As we have said, blacklists are used to collect the IP addresses or domain names of spammers or criminals, or suspected such.
This means that in some cases an IP address can accidentally end up on a blacklist. Before moving on to see how to solve, let’s start in order.
So let’s see what are the reasons why it is possible to end up on a blacklist.
One of the reasons why you can get blacklisted is when you get flagged for spam.
The specific reasons can be different and the reason does not always derive from the intentional sending of the emails.

Other problems could include:
- an incorrect configuration of the e-mail server that causes mass e-mails to be sent;
- a sudden increase in the number of emails sent or the frequency of sending, it is suspected that the email list has been purchased;
- too many emails sent and rejected (also called “bounced” emails from the server);
- an email account targeted by hackers who are using it to send spam emails;
- numerous reports as spam by users who receive your emails;
- reporting the IP as spam: the IP we are using has been previously used and reported as spam;
- e-mail servers infected with viruses or malware.
Let’s see some tricks that can help us.
What to do to avoid ending up on a blacklist (6 practical tips)
When carrying out email marketing activities and sending communications in large quantities, it is good to follow a few rules to avoid ending up in an email blacklist.
1. Pay attention to the content of the emails
One of the key points is to structure emails so that they are not accidentally detected by spam filters.
Try to avoid:
- the presence of suspicious internal links;
- excessive use of special characters (including in the subject of emails);
- the excess of capital letters.
Here is an example of an email that is immediately moved to junk mail:

Another thing not to do is to send emails that are completely devoid of text and that contain, for example, only one or more images.
2. Only send emails if you have explicit consent to do so
Remember that buying lists of email addresses to create mailing lists is not recommended. There are several reasons, one of them all:
Email addresses are not collected in compliance with the legislation and in particular with the GDPR.
This is one of those behavior that triggers the alarm and can activate a spam filter, so all the work you have done could be lost.
The only way to be safe is to use only the addresses of those who have given consent.
You could also send a confirmation request after the user has agreed to receive the communications. For example, an email confirming your subscription to a newsletter.
3. Remove users who are no longer active
With some frequency you could invite users to save your contact and thus avoid your emails ending up in the spam folder.
Also, you should remove recipients who are no longer active from your database, for example by deleting those who do not open emails for a certain period.
4. Make it easy to unsubscribe
One of the reasons users report emails as spam is because they can’t unsubscribe.
You can avoid this problem by inserting a clear and visible link to allow users to unsubscribe.

5. Choose the sender correctly
The mailing address from which emails are sent and the name you choose to use should be easily recognizable and not change frequently.
Try to use a professional looking address.
Among the signals that can be interpreted as spam are typos in the domain name, think for example of the case of a sender of this type:
noreply@goggle.com6. Reduce the number of emails
Even if you follow all the tips above, users may not want to receive the emails you send.
Our inboxes are bombarded with dozens of emails every day. One of the reasons why emails are marked as spam is their frequency. So, consider the amount of emails you send.
Keep in mind that services like Amazon SES can set a sending limit and, pay close attention to how we manage contact lists.
Now that we’ve seen what to do and what to avoid, let’s open a new chapter in this guide and focus on email blacklist checking. What tools can I use?
Blacklist check: how do I know if I’m on a blacklist?
There are several blacklists that catalog IP addresses and domains, luckily there are as many tools that allow us to check if our IP has ended up in one of these lists.
These tools allow us to do a blacklist check, i.e. a search between one or more lists.
Keep in mind that each list is based on different criteria, so there will be:
- email blacklist
- IP blacklist
- domain based lists.
Let’s see what tools we can use to carry out a blacklist check.
MxToolbox
Mxtoolbox.com allows us to check email blacklists and is based on over 100 DNSBL lists. On the site it is possible to consult the list of all the blacklists that are consulted in the control.
For the test, just enter the IP address or domain and click on Blacklist check. We will be shown a result like this with the list of verified blacklists.
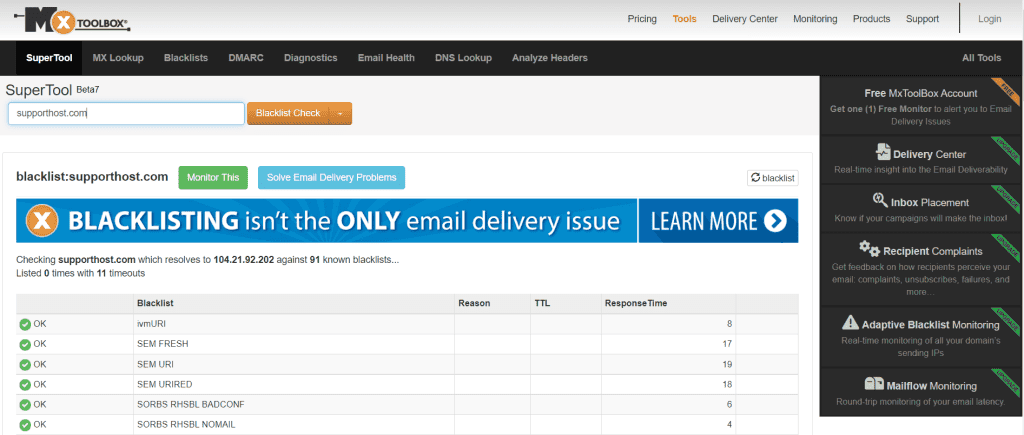
By registering and activating the free plan, you can also take advantage of other benefits such as periodic checking of blacklists every 7 days.
What Is My IP Address
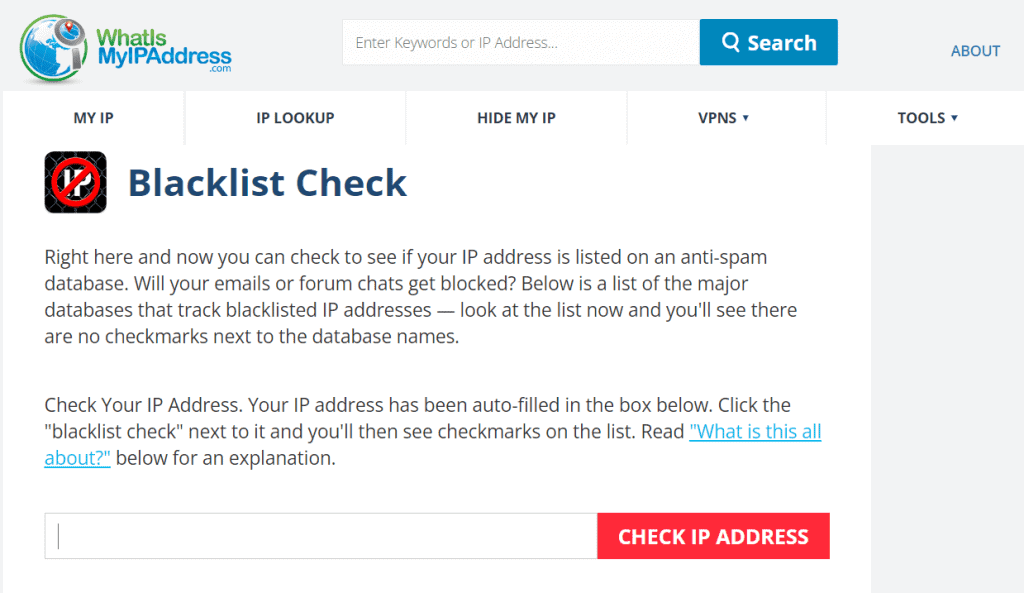
The What Is My IP Address “blacklist check” tool allows us to search by IP address on over 80 antispam databases.
Specifically, we just need to connect to the site and we can quickly check if our IP address is included on a blacklist. The verification field is, in fact, automatically populated with our IP address. If we want to test another IP, just enter it and then click on Check IP Address.
Site24x7
Here is another IP blacklist check tool that we can use to search over 10 databases.

Also in this case the verification can be carried out with a search based on the domain or the IP address.
What Is My IP
The Whatismyip site allows us to perform a search only by IP and check if the address entered is part of a blacklist.
DNS checker
So far we have seen tools that allow us to do an IP blacklist check or a domain search. To specifically check the email addresses we can use this tool.
Just enter the email address, domain or IP to search for and click on Check in Blacklist to check.
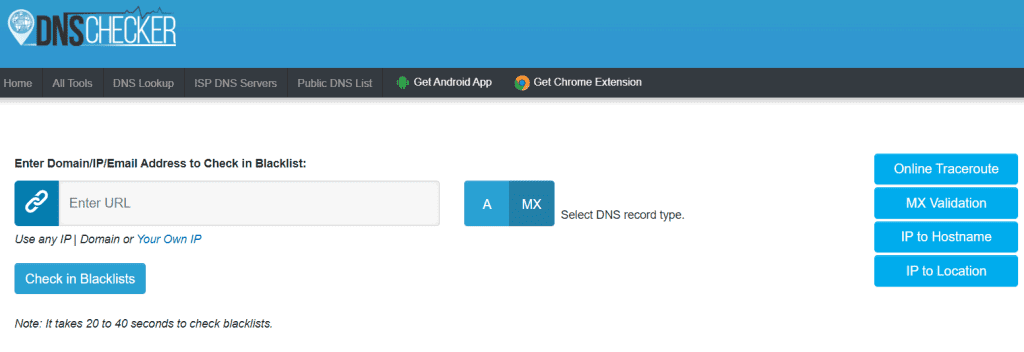
Note that in this case we can also do a direct verification of our IP without having to go to retrieve it elsewhere. Just click on the Your Own IP link.
If you want to know your public IP address you can find it by going to: ip.supporthost.com.
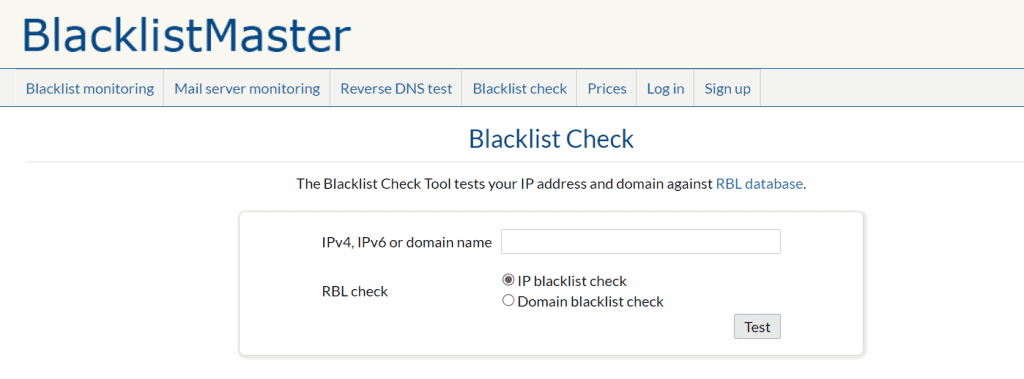
BlacklistMaster
Performing a blacklist check with this tool is super easy. We just need to enter the domain or IP address, choose the corresponding blacklist and click on Test.
Sitechecker
To check if our IP address or domain has been blacklisted for spam, we can also use the Sitechecker tool.
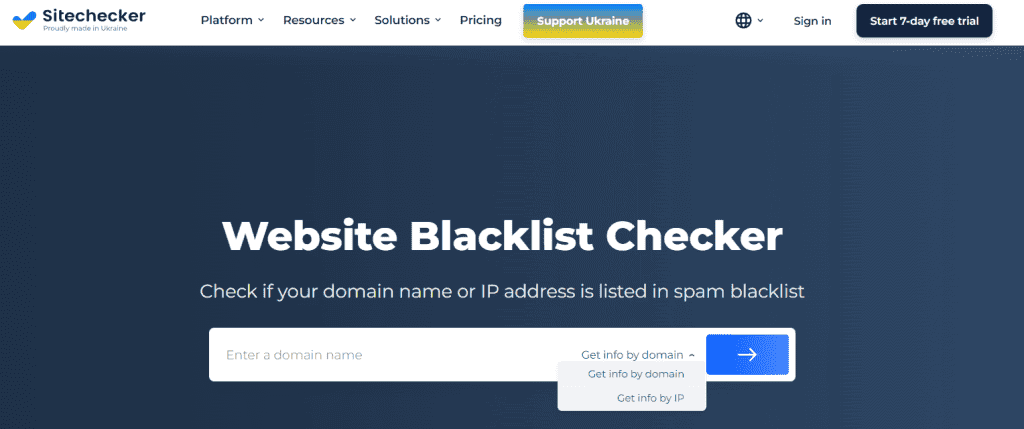
The process is similar to that of the other tools examined, we enter the domain or IP, choose the corresponding option and click on the arrow to proceed with the test.
Blacklist check, other useful tools
Here are a number of other tools that can be used to check IP, domain and email reputation.
- Spamhaus: allows us to search by domain or IP address.
- SURBL: we find a tool to do blacklist check and we can search by domain or IP.
- Emailacademy: Search over 160 blacklists. You can test single domains or enter lists of domains (or IP addresses).
- Barracuda: also in this case it checks the reputation of IPs or domains.
- Talos: the Cisco tool gives us information on the reputation of the domain or IP entered, on the mail server used and on any presence in the blacklist.

Request to be removed from a blacklist
If your IP has been blacklisted, the first thing you should do is understand why.
We have seen the main reasons why you can end up on a blacklist. Keep in mind, however, that each list will have its own rules so refer to the specific regulation of the blacklist or blacklists in which you have been inserted.
The most sensible thing to do is figure out which problem got you on the list and remove it.
Only then can you proceed to submit a removal request.
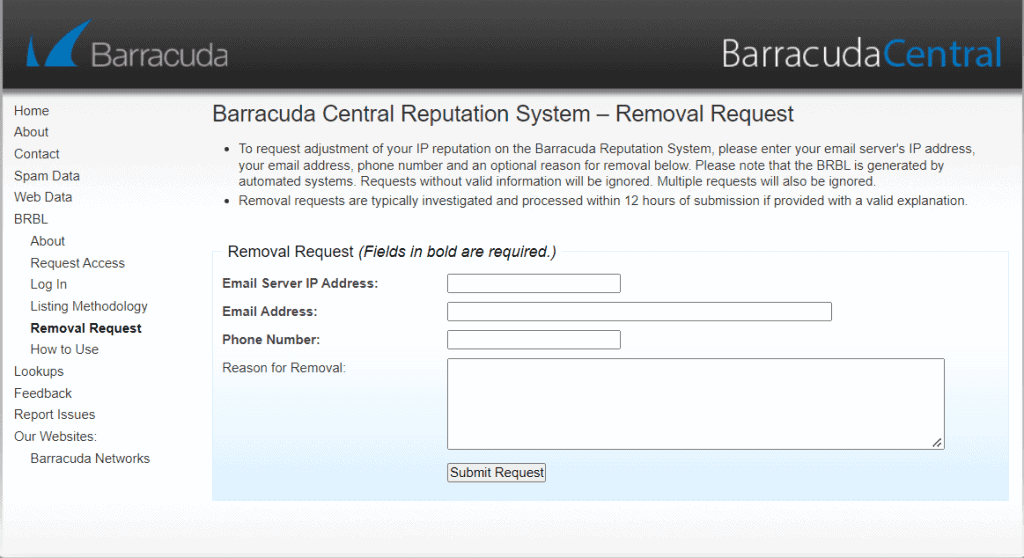
At this point you must always refer to the individual black lists, each of which will require different procedures for the request and will have different timing.
For example, as you can see below, Barracuda ensures that the request will be processed within 12 hours, but in other cases it may take longer.
Remember that you can request removal, but you need to make sure you don’t fall back if you don’t want to risk your IP being reported again.
Therefore, avoid all behaviors that can jeopardize the reputation of the domain or email account you are using. Before we listed the most common problems that can get us blacklisted. It is good to analyze these points one by one to rule out the causes.
If the problems that led to blacklisting are related to a vulnerability, you should review your security measures. Also check out our guide on how to improve WordPress security and our collection of tools on how to do a malware scan.
As we said, the removal process varies from one black list to another. By way of example, let’s see how to deal with a specific case.
How can I be removed from the Spamhaus blacklist?
In the case of Spamhaus, the first thing to do is to use the blacklist check tool to search for the domain or IP.
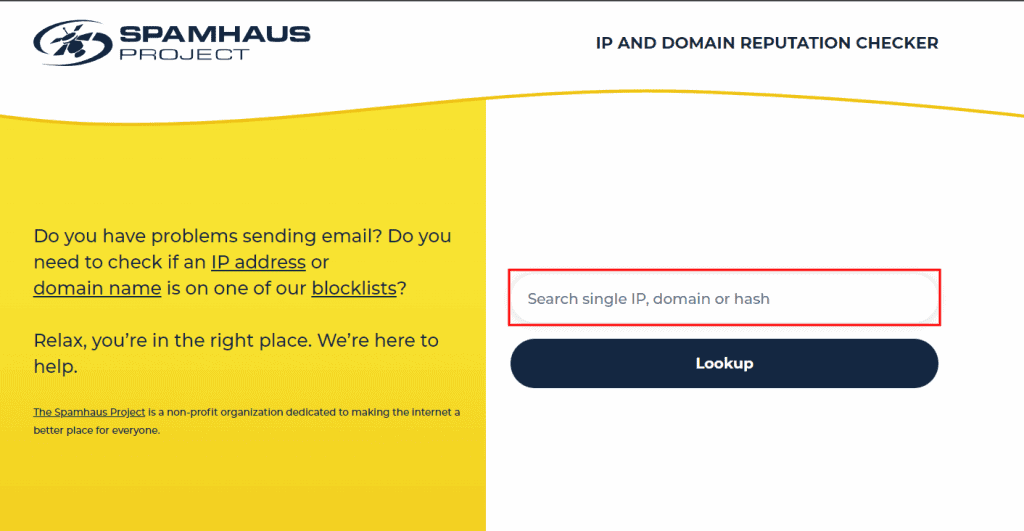
If a match is found on one or more blacklists, we will see a result like the one shown below.
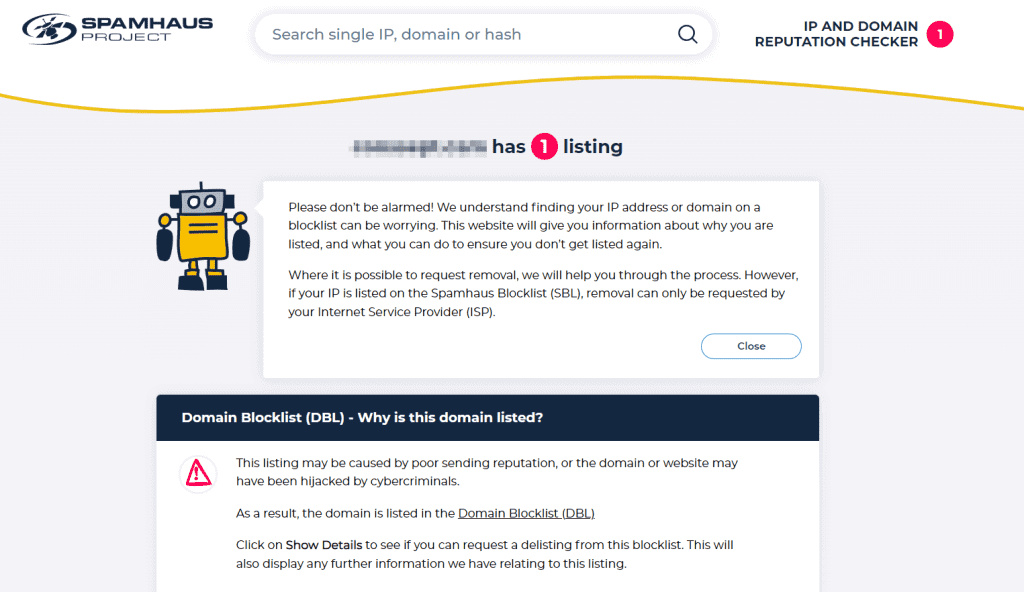
In this case the domain was found on a blacklist. The page gives us useful information that helps us investigate the causes of inclusion on the list.
Proceeding we can submit a removal request through this form:
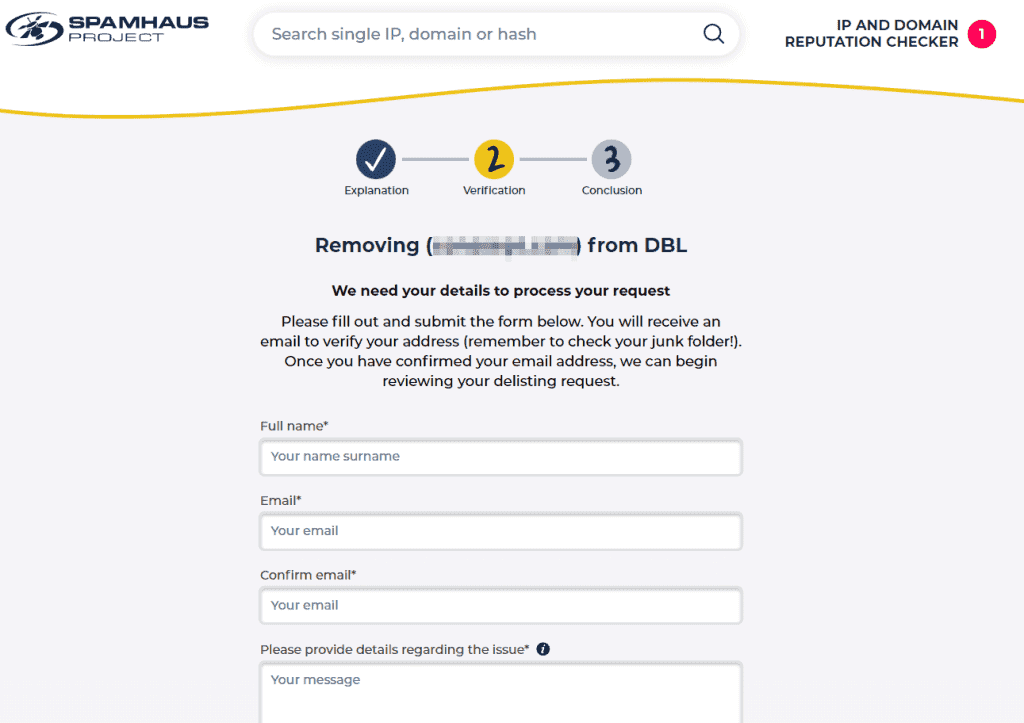
To request to be removed from Spamhaus blacklists these criteria must be met:
- The request must be sent by the owner of the domain or IP address.
- To send the request for removal from the list you must use the Blocklist Removal Center of the site and enter the requested data, it is not possible to send the request by email or in other ways.
- You have to specify: what caused the problem, what actions were taken to solve the problem, what will be the ways in which you intend to prevent the same problem from recurring.
Conclusion
If your emails aren’t reaching their destination, no need to despair, you may have been blacklisted. We have seen that there are more types of lists and that, with special tools, we can carry out a blacklist check and understand if our IP has been included on one of these.
It is important to understand why you are at risk of being reported as spam and avoid risky activities. Only then can you think about how to resolve this and request to be removed from the blacklists.
Have you ever had problems sending emails? Have you ever had to request removal from a blacklist? Share your experience in the comments or if you have any questions, feel free to write them here and we will try to clarify any doubts you may have.


Leave a Reply