
When you build a website, it’s important to consider security in order to protect your users, customers, and your reputation. WordPress 2-factor authentication is a big part of that.
2-factor authentication protects you from unauthorized people accessing your site. These malicious parties are looking to steal your data and install malware on your site. Fortunately, WordPress 2FA is easy to set up. You can boost your site’s security in less than five minutes.
In this article, we explain how WordPress 2-factor authentication works, why it’s important, and how to enable it on your website.
Table of Contents
What is WordPress 2-Factor Authentication?
WordPress 2-factor authentication (sometimes abbreviated as 2FA) is a method of securing your user account against unauthorized access. It adds an extra layer of security to your WordPress login. Instead of just entering a password, you also need a second code to log in. Here’s how it works:
First, you enter your username and password on the administration login page like you normally would.
Second, you have to identify yourself a second time (hence the name two-factor authentication). WordPress will send a code to an email account, mobile phone number, or authenticator app that you control.
Finally, you enter the code on the login page to verify your identity.
You can also verify your identity with USB tokens (which is a physical device that you insert into a USB port) and fingerprint or retinal scans. These methods are less common, but they add additional security.
WordPress 2-factor authentication goes by several other names, such as 2FA, two-factor identification, or dual authentication.
Why Should You Enable 2-Factor Authentication on WordPress?
Passwords alone aren’t enough to keep your site safe. Hackers use stolen passwords, brute-force attacks, and phishing scams to break in. If they get your password, they can take control of your site, steal data, or install malware.
WordPress 2-factor authentication helps to block these attacks. Even if someone gets your password, they still need a second code to log in. That extra step makes it much harder for hackers to access your site.
Enabling 2FA is one of the easiest ways to protect your WordPress site from unauthorized access. It takes just a few minutes to set up but adds a big layer of security.
At this point, you’ve probably used two-factor authentication many times, especially if you use popular sites like Facebook or Google, or if you use online banking.

How to Enable WordPress 2-factor Authentication
(WordPress 2FA requires a WordPress installation on your web host. Learn more about WordPress hosting.)
WordPress core doesn’t offer two-factor authorization, so you’ll need to use a WordPress plugin. Fortunately, there are a lot of options for this:
- WP 2FA – Two-Factor Authentication for WordPress (70K installations)
- Two-Factor (80K installations)
- Google Authenticator (30K installations)
- miniOrange’s Google Authenticator (10K installations)
- Duo Two-Factor Authentication (5K installations)
- Two Factor Authentication (20K installations)
If you want something with more security features beyond 2FA, consider using an all-inclusive security plugin, such as Wordfence, Cloudflare, Sucuri, or MalCare. These tools do a lot more than just 2FA, but you may not need all of their features.
Any of these plugins are simple to set up and use, but for the purposes of this guide, we’ll use the WP 2FA plugin. I like this plugin because it’s highly rated, updated often, and offers several methods of second authentication. It’s also developed by a company that specializes in WordPress security.
Before you get started with WordPress 2-factor authentication, we always recommend backing up your WordPress website in case something unfortunate happens.
Step 1: Install and Activate the WP 2FA Plugin

Your first step is to install and activate the plugin. Visit Plugins > Add New and search for “2FA.” Click Install and then Activate.

If you need more help installing, check out our guide on installing WordPress plugins.
Step 2: Configure Your 2FA Options
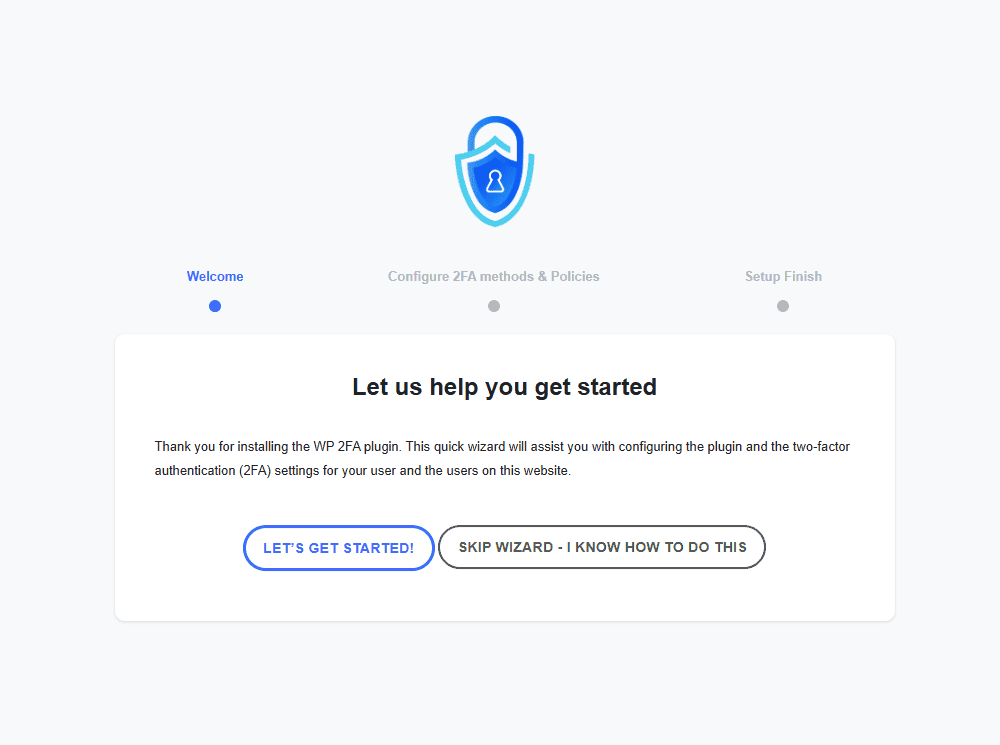
Once the plugin activates, you will be redirected to a setup wizard. Click the Let’s Get Started! button to launch the wizard.
You’ll be prompted to choose WordPress 2-factor authentication methods for your users. There are two options:
- Authenticator apps. Users will get their 2FA code from a separate app. The following apps are supported: Authy, Google Authenticator, Microsoft Authenticator, Duo Security, Lastpass, FreeOTP, and Okta Verify. If your users use this method, they must use one of these apps.
- Email codes. Users will get their 2FA code in an email sent by WordPress. If you want this option, WP 2FA recommends activating the WP Mail SMTP plugin (or other SMTP plugins) to improve your email deliverability. (WordPress isn’t configured to be an email server, so it needs some tweaks.)
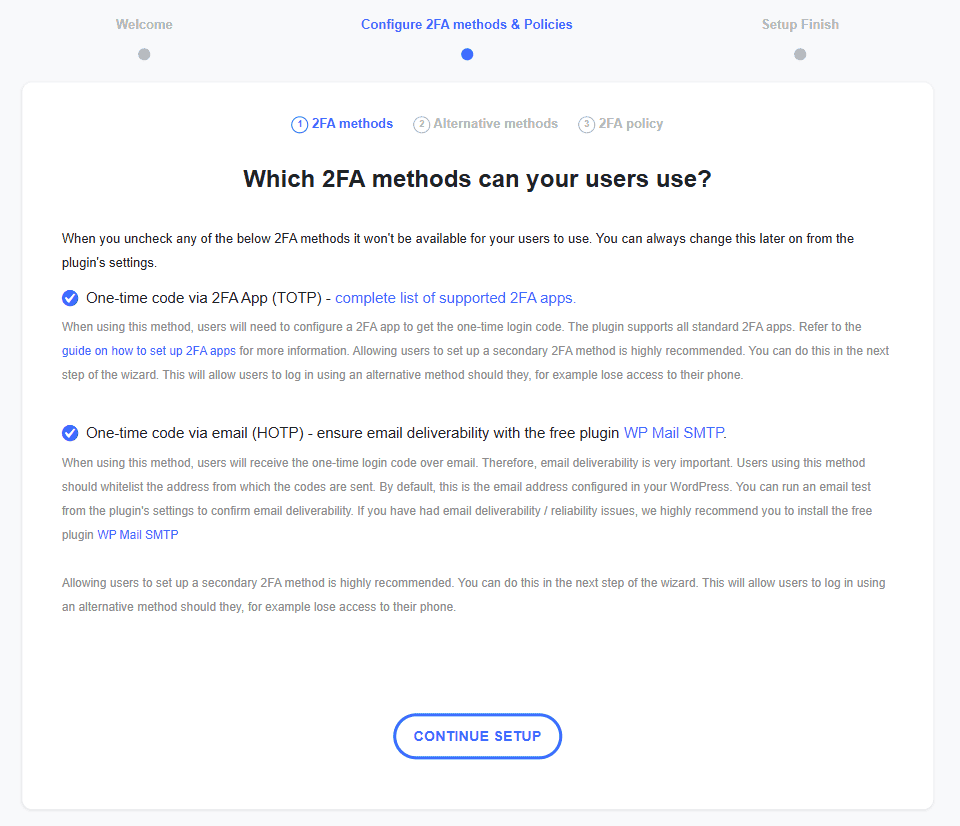
Personally, I recommend leaving both options checked. This will allow your users to use whichever WordPress 2-factor authentication method they prefer. Letting them choose their preferred method increases the chances that they’ll use it. Otherwise, uncheck the option you don’t want to use.
Click Continue Setup to move on.
Step 3: Set Up Alternative 2FA Method
Next, choose whether to allow an alternative 2FA method that users can use if the primary 2FA method fails. For instance, if they lose access to their email account, they wouldn’t be able to receive the code from WP 2FA, so they would need another way.
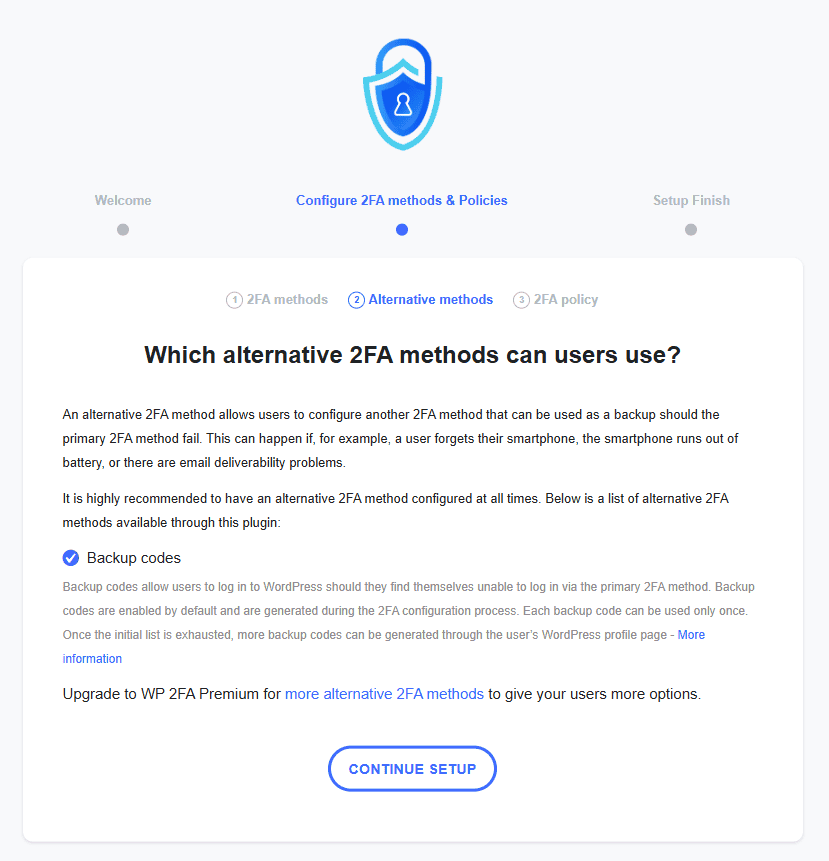
To use this option, leave the “Backup codes” box checked, then click on Continue Setup.
If you want more alternative methods, you’ll need to upgrade to WP 2FA Premium, which includes other great features, like one-time code via text message, one-click 2FA login over email (users get logged in simply by clicking a link in their email), WooCommerce integration, and reports and statistics.
Step 4: Decide Which User Roles Will Use 2FA on WordPress
In this step, you’ll need to choose which users will use the WordPress 2-factor authentication feature on your WordPress website. WP 2FA gives you three options:
- All users regardless of their role. This is the safest option.
- Only specific users and roles. You can restrict it to specific users and roles.
- Not enforced on any users. Each user can decide if they’ll use it or not.

Why would you use this? You may want extra security for users who have higher access to your WordPress website. For instance, the editor role has the ability to delete content, so that account deserves stronger security.
If you choose “only for specific users and rules,” you’ll have to enter those in the field provided.
After choosing, click Continue Setup.
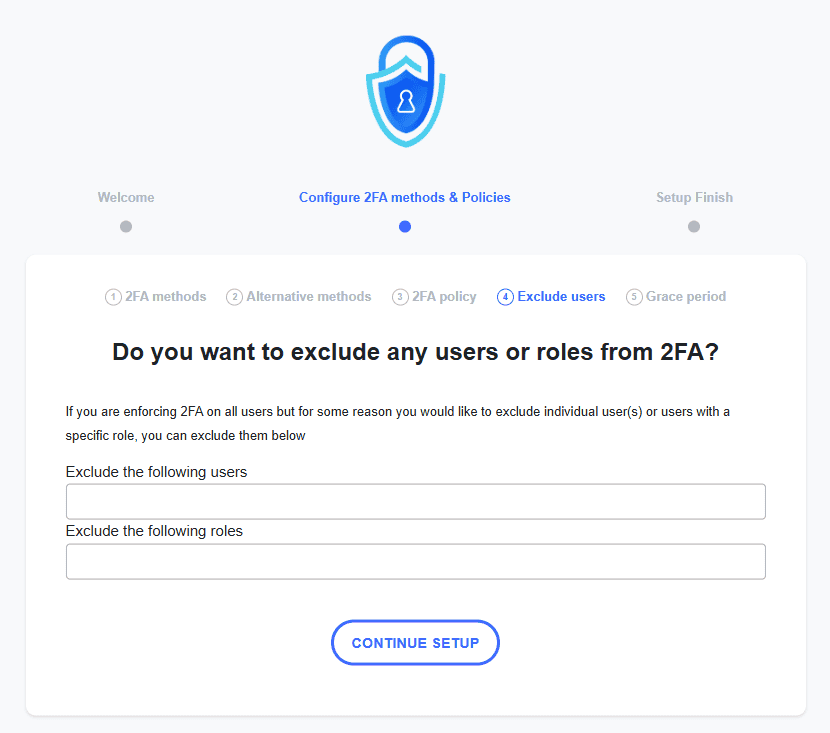
Step 5: Exclude Specific Users or Roles
This step gives you the option to exclude specific users or roles from your new WordPress 2-factor authentication. Enter them in the field provided if you have any, then click Continue Setup.
Step 5: Configure a Grace Period
This step prompts you to decide when the plugin should force users to enable two-factor authentication. You have two options here:
- Force all users to configure 2FA immediately on their next login.
- Give users a grace period to configure 2FA at their leisure.
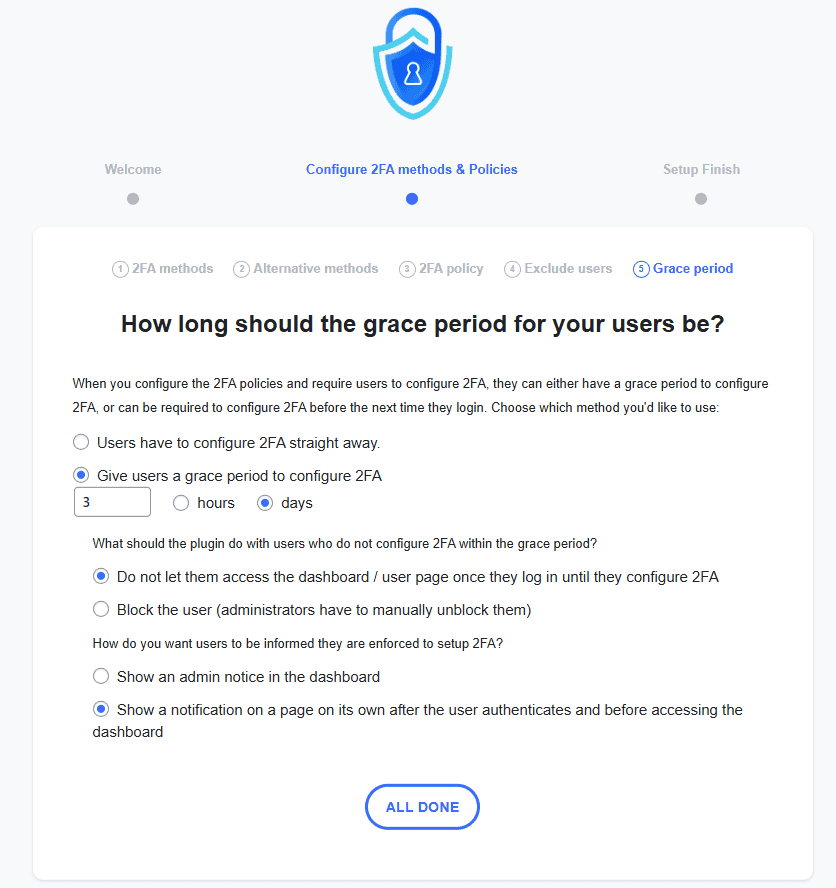
If you opt for a grace period, you then have to decide what WP 2FA should do if users fail to configure their two-factor authentication. You can restrict them from accessing the dashboard until they set it up or you can block them entirely.
Finally, decide how WP 2FA will inform users of the new policy. You can show a notice in the admin panel or show a notification page before accessing the dashboard.
Once you’ve made those decisions, finish the setup by clicking All Done.
Step 6: Configure Your Own 2FA
Before you can move on, you have to configure your own WP 2-factor authentication. Click Configure 2FA Now to set it up.

Choose your 2FA method from the options you set up earlier.
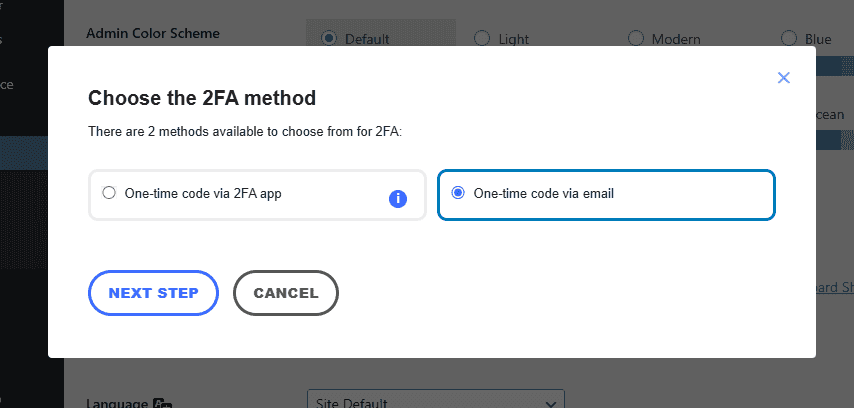
To complete the process, you’ll be sent a one-time code to the email address or authenticator app (whichever method you chose).
If you decide to enable 2FA via an authenticator app, you’ll see this screen. Download your preferred authenticator app and then scan the QR code from the app. Use the QR code to download and start your preferred application OR enter the on-screen code manually.
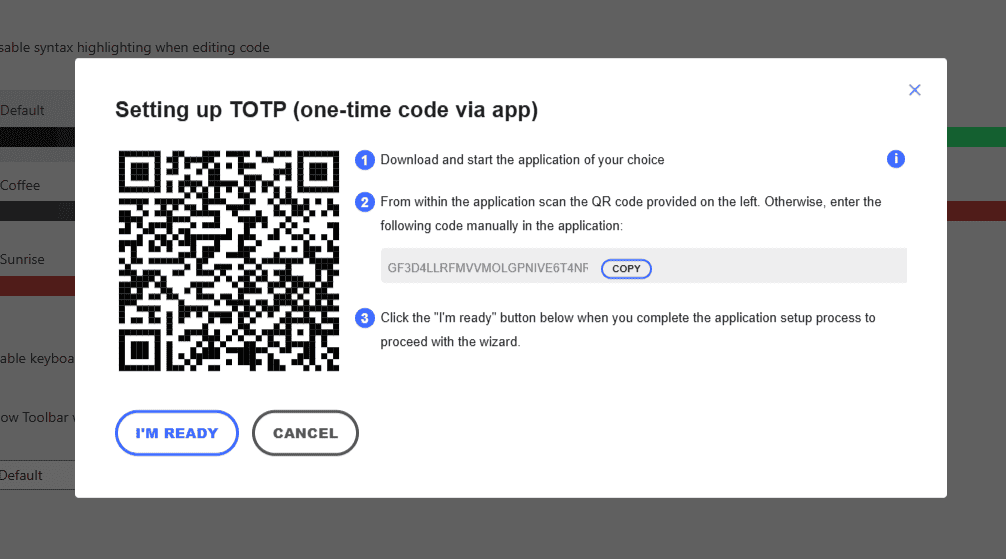
Click I’m Ready when you’re ready to receive the code.
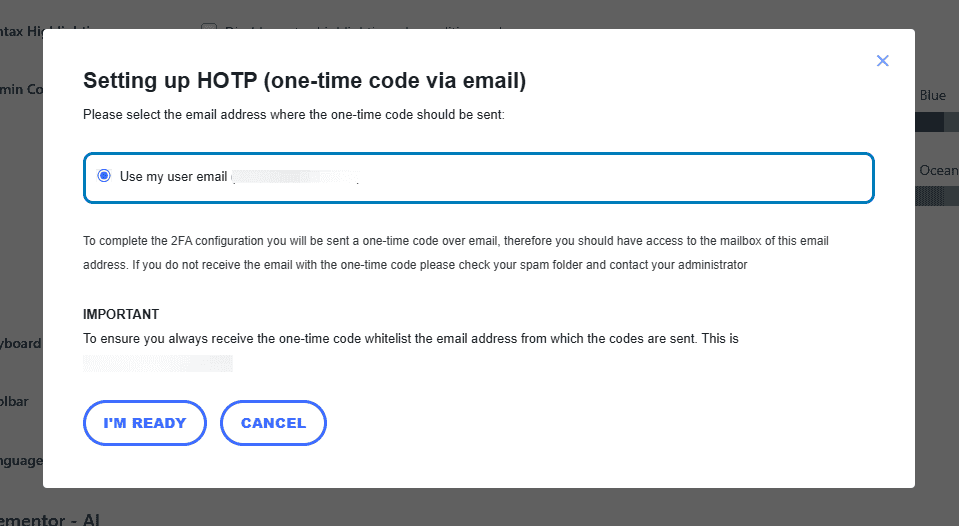
If you chose to receive the code by email, you’ll get a message like this:

And here’s what it looks like in an authenticator app.

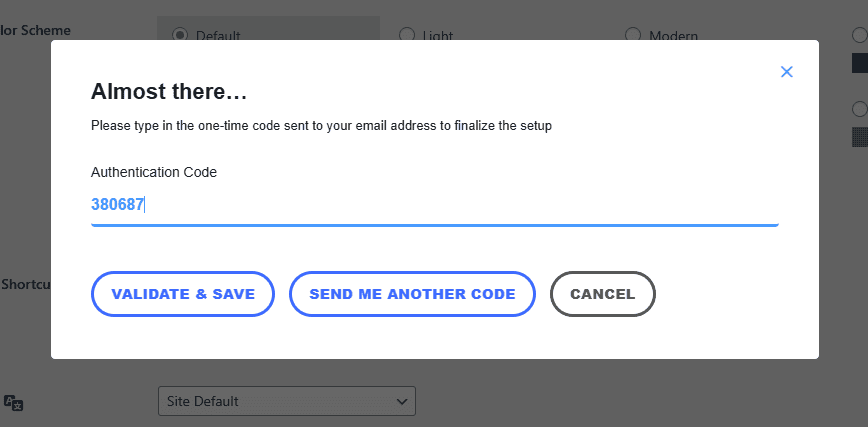
Once Simply paste the code you received (whether by email or authenticator app) into the empty field to finalize setup. Then click Validate & Save.
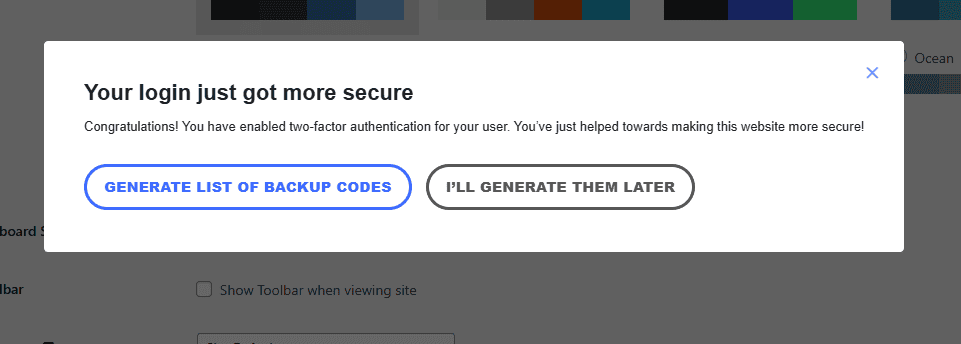
Your login is now much more secure!
Step 7: Verify That WordPress 2-Factor Authentication Works
Your last step is to make sure everything works properly. Log out of your WordPress account and attempt to log back in. You should be asked to enter a one-time 2FA code.
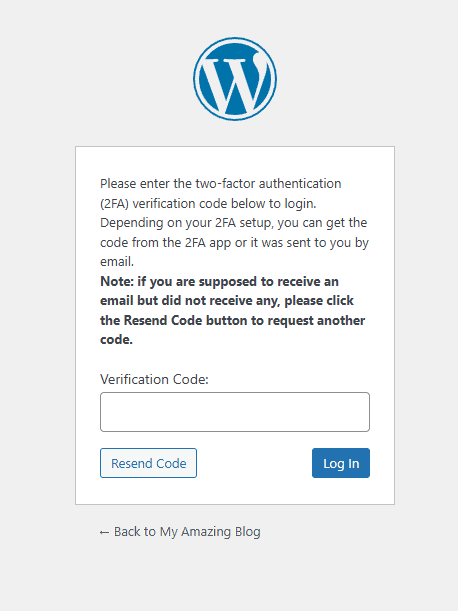
Visit your email or authenticator app to find the code. Paste it into the field and click Log In.
(Optional) Step 8: Changing Your WP 2FA Settings
If you want to change your WordPress 2FA policies at any time, visit WP 2FA > 2FA Policies. You’ll see all of the options from the setup wizard on this page.

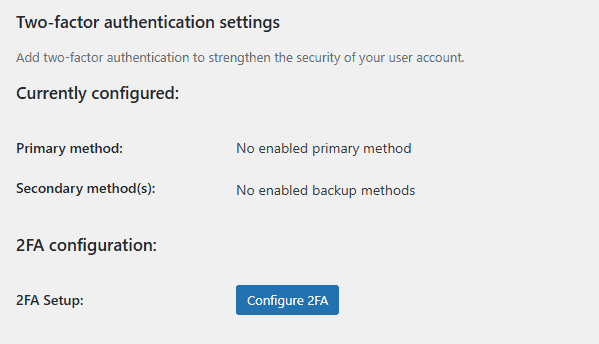
You can configure 2FA for your account by visiting Users > Profile and scrolling to the bottom.
Furthermore, you can customize the text of the emails that WP 2FA sends out with authentication codes in WP 2FA > Settings > Emails & Templates.

FAQs About Two-Factor Authentication (2FA) in WordPress
What is an Authenticator App?
An authenticator app is an app on your smartphone that generates a temporary code for any of the accounts that you save in it. Think of it like a one-time, secret key that serves as a second layer of protection for your WordPress website.
Google Authenticator is the most popular app, but it has a big limitation. There’s no way to recover your accounts if you lose your phone, unless you create a backup copy in advance.
Authy is another popular choice. It’s easy and free to use. It saves your accounts on the cloud in an encrypted format. This means if you lose your device you can enter a master password to restore everything.
Password managers like LastPass and 1Password also come with their own authenticators.
How do I log in with 2FA if I don’t have access to my phone?
Most 2FA plugins let you use backup codes or an email verification option. If you don’t have those, you may need to disable 2FA through your hosting provider or database.
Does 2FA slow down the login process?
It adds one extra step, but it only takes a few seconds to enter the code. The added security is worth the small delay.
Can I use 2FA with WooCommerce?
Yes, most WordPress 2FA plugins work with WooCommerce, allowing you to secure customer and admin logins.
Is email-based 2FA safe?
It’s better than no 2FA, but it’s not the most secure option. Hackers can access your email if it’s not well-protected, so app-based 2FA is safer.
How do I log in without any codes from my authenticator app?
Try using a backup code or an alternative 2FA method like email verification. If that doesn’t work, you may need to reset 2FA through your hosting account or database.
Do I need to password-protect the WordPress admin folder?
It’s not required, but adding a password to the wp-admin folder adds extra security. It blocks unauthorized access before hackers even reach the login page.
Can I use 2FA for multiple WordPress users?
Yes, most 2FA plugins let you enable it for all users or specific roles. This makes it so admins, editors, and other users follow the same security steps.
What happens if I lose all access to my 2FA codes?
You’ll need to reset 2FA through your hosting provider, database, or a recovery email if your plugin supports it. Some plugins also allow site admins to disable 2FA for users who are locked out.
Ready to build your WordPress site?
Try our service free for 14 days. No obligation, no credit card required.


