
The webmail allows you to access your mailboxes without the need to use a mail client on your device. This is particularly useful if you are using a computer that is not your own and want to quickly access your emails directly from the browser.
Let’s learn how to use webmail.
Table of Contents
The webmail client puts at your disposal all the tools you would have with any email client directly from a browser. You will then be able to read the emails, delete them, forward them, reply and perform all the operations you would do with a standard email client.
This way, you can use any computer to check your mail, for example, if you are traveling you can connect and check your mail from any browser.
It also has an address book function, and the addresses it contains are available when you write a new email.
You can also manage multiple signatures and include other essential information in the messages you send.
As in any other email client, you can send emails to multiple recipients and enter recipients in cc or bcc. However, keep in mind that mass mailing is not allowed. In this case, you will need to use a professional service.
WebMail functions
- Ability to access POP3 /IMAP4 via any browser.
- You can read your emails, send new ones, forward them, forward them as attachments, delete them, and perform all the operations you can do with a standard email client.
- Read, send, forward, forward as an email attachment.
- Send attachments.
- Ability to organize emails in folders and subfolders that you can customize to your liking.
- Ability to keep an address book of contacts.
- Preferences management via an intuitive control panel.
How to access the WebMail
The webmail service is available for all our hosting services and is easily accessible using your domain name. To access the webmail, you need to visit the following URL:
- https://yourdomain.com/webmail
Note: yourdomain.com is your domain name
Once the page is loaded, you will be prompted for a username and password. If you haven’t done it yet, the first step is to create an email account.
- Username– is your full email address ( user@yourdomain.com )
- Password– The password you chose when you created your email account
Once you’ve logged in, you’ll be able to use the default email client: Roundcube.
Accessing webmail
Right after logging in, you’ll see a dashboard where you can manage all the features of your email account.
To access Roundcube, simply click the “Open” button.
If you do not want to make this choice every time, select the item “Open my inbox when I log in” before clicking on “Open”. This way, as soon as you log in, you will be redirected to the webmail page that shows you all your emails.

From here, you can perform a series of operations related to your email account:
- Create email filters
- Create your autoresponders
- Create and manage email forwards
- Change your email account password
- Set up spam filters
How to create a preset signature
In Roundcube’s settings, you can set up a personalized email signature so you don’t have to enter it manually each time you send an email.
To do this, log into your webmail (as described above), then click on Settings (the gear icon). Next, click on “Identity” and select the appropriate profile.
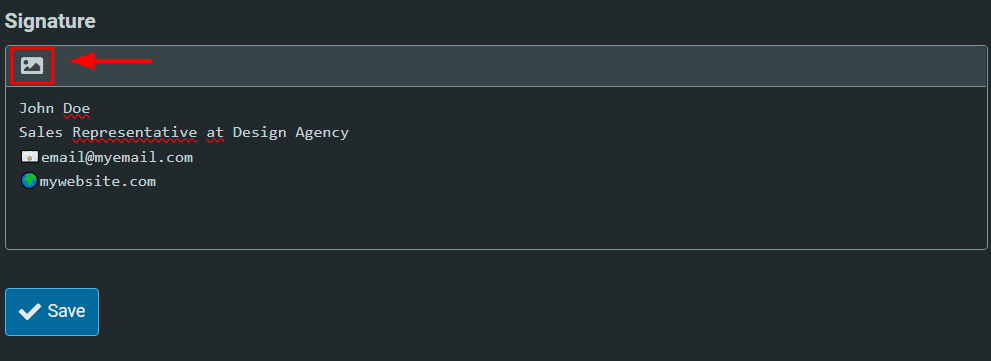
Scroll down to the “Signature” box, where you can enter your custom signature.

To create a plain-text version without any formatting, just enter your signature in the box and click “Save.”
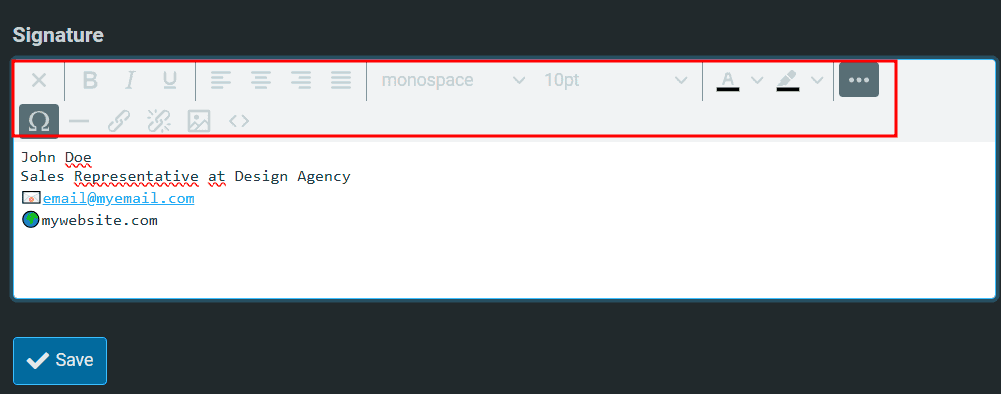
If you want to add formatting, click the image icon to switch to the HTML editor:
Now, you can use the editor to format your text (bold, italics, underline), change alignment, font, size, and colors. By clicking the icon with three horizontal dots, you can also insert links and images. Once you’re done, don’t forget to save your changes by clicking “Save.”
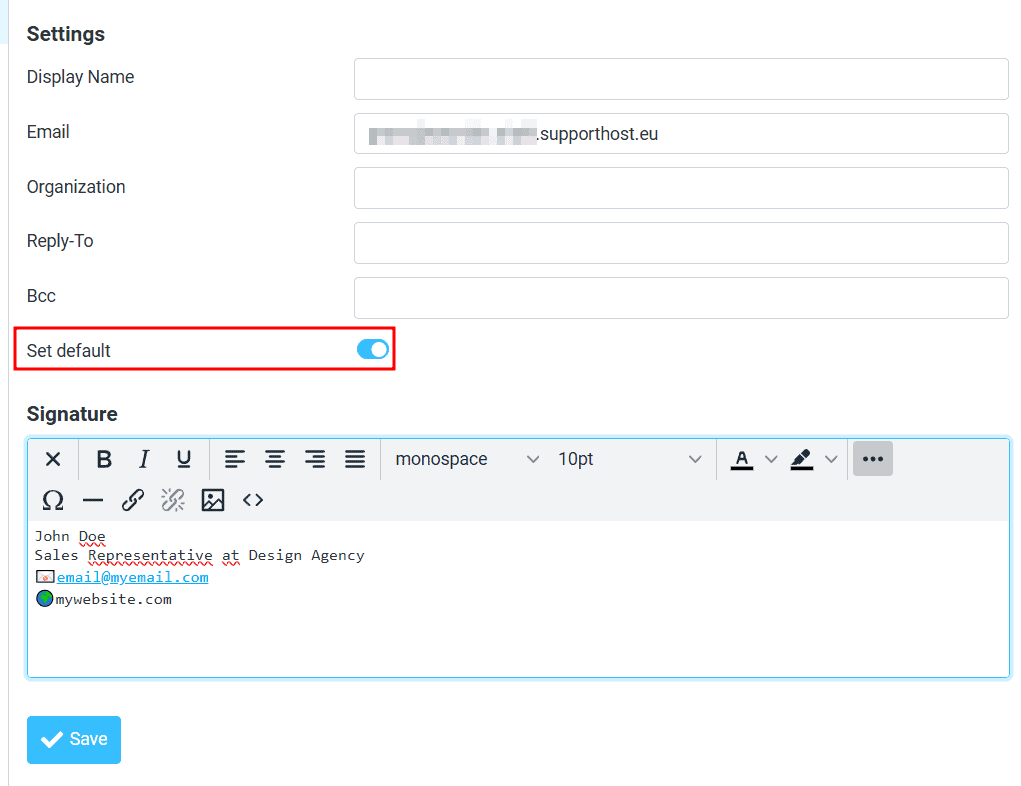
After creating your signature, you can choose whether to automatically include it in every email. To do this, just enable the “Set default” option—your signature will then appear at the bottom of every new email you compose.
If you prefer to insert your signature manually, leave this option turned off. When composing an email in Roundcube, you can simply click the “Signature” button at the top, as shown here:

Did you have trouble following this tutorial? Let us know in a comment, and we will improve it.
Ready to build your WordPress site?
Try our service free for 14 days. No obligation, no credit card required.