
Are you trying to find an easy way to promote events on your WordPress site? Whether you’re organizing workshops, hosting sporting events, running live courses, or something else, you need an easy way to communicate with your members and students.
One of the easiest ways to do this is by using The Events Calendar WordPress plugin. This plugin handles virtually every aspect of the event registration process. And will easily integrate into your existing site.
Below, we’ll take a detailed look at The Events Calendar plugin, show you its features, and highlight what’s different between the free and pro versions, so you can make the best decision for your site.
Table of Contents
What is The Events Calendar WordPress Plugin?
The Events Calendar is a feature-rich WordPress events plugin with over 700,000 active installs. It allows you to easily create and manage both virtual and in-person events directly on your WordPress site. It provides an intuitive interface for creating events with details like dates, times, locations, organizers, and more. And offers multiple ways to display events on your site.
It was originally launched in 2009 by Modern Tribe. The Events Calendar is now part of the StellarWP brand (acquired by Liquid Web hosting company). It’s the most popular event management plugin in the WordPress ecosystem, with both free and premium versions available.
With the free version, you can create basic events, categorize them, add venues and organizers, integrate with Google Maps, and let visitors export events to their personal calendars.
The premium version packs even more features, like:
- Recurring events
- Advanced widgets
- Shortcodes
- Additional view types
- And more.
How to Create an Event with The Events Calendar WordPress Plugin
We’ll do a deeper comparison of the free and pro versions below. But, first we’ll show you how to use the Event Calendar plugin in WordPress to create an event for free.
1. Install The Events Calendar WordPress Plugin
The first thing you need to do is install and activate the plugin on your WordPress site. To do this, navigate to Plugins > Add Plugin.
In the search bar, type The Events Calendar and look for the plugin by The Events Calendar. Click Install Now and then Activate.

Once activated, you’ll notice a new Events menu in your WordPress admin sidebar. This is where you’ll manage all your events and calendar settings.
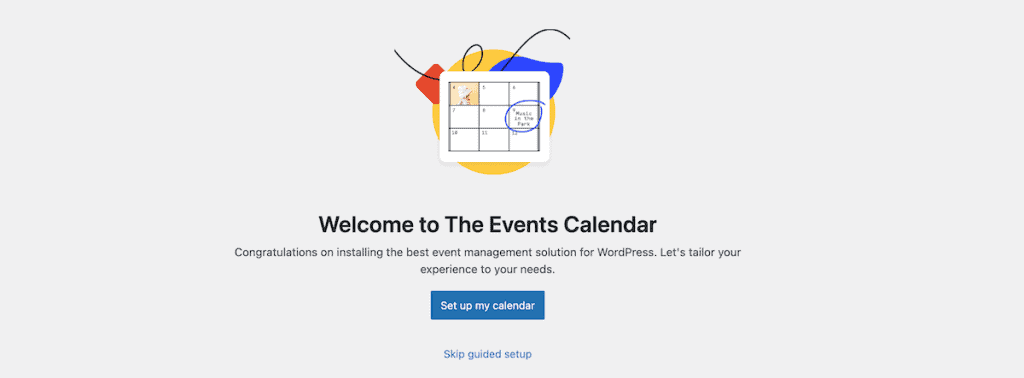
When you click on this for the first time, you’ll be taken to the setup wizard. Here, the plugin will guide you through creating your first event and learning some of the ins and outs of the plugin. We’ll walk you through every step below, but some readers might prefer getting a bit more context from the setup wizard first.
2. Create Your First Event
Now that you have the plugin installed, let’s create your first event.
In your WordPress dashboard, go to Events > Add New Event. Enter a title for your event at the top and add a description of your event in the main content area.

You’ll notice that the plugin uses the classic editor by default for WordPress 5.0 and above. Those who have been using WordPress for a long time might prefer this editor.
However, we will enable the block editor, since most users will prefer this and find it more natural. To do this, go to Events>Settings and then in the General tab, click on Editing After that, you can check the Activate Block Editor for Events checkbox.

Once you’ve done that, you can head back to the event you created earlier. You’ll notice that the interface is a little different, and it looks more modern.
3. Customize Your Event Details In-Depth
Now we’ll go over each event detail in-depth. There are several important details you’ll need to set for every event.

For the date and time, find the Time & Date block. Click on the existing block to bring up the block options. Set the start date and time for your event, then set the end date and time. If it’s an all-day event, then simply select the All Day option.
You can also turn on the Multi-Day toggle if the event spans multiple days.

For the venue, look for the Venue block. You can select an existing venue or create a new one. To create a new venue, simply add the venue title, then you can add additional event information like the event address, phone number, and website.

After you enter the address, the plugin will pull the address from Google Maps, and it’ll show you a map and a Google Maps link. When the user clicks this, it’ll take them to the event location.

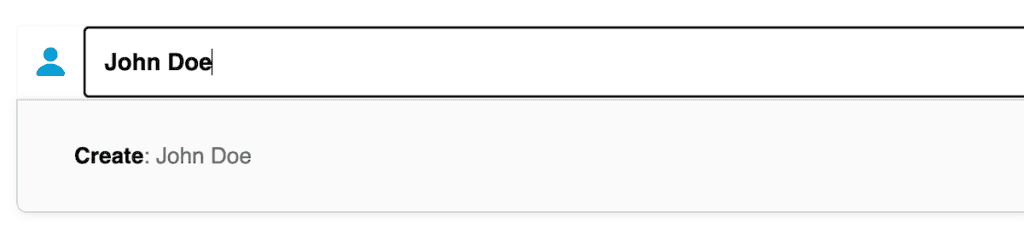
To set the organizer for the event, go to the Organizer block. Similar to venues, you can select an existing organizer or create a new one. When you add a new organizer, you can add their name, phone number, website, and email.
If you’re running a paid event, then you’ll want to set the price. You can set a fixed price or a range for the event, and also add a description. If it’s a free event, then just enter 0 into the box.

If your event has a dedicated website or registration page, you can add this URL in the Website block. However, if your main event site is on your current site, then don’t worry about this block.
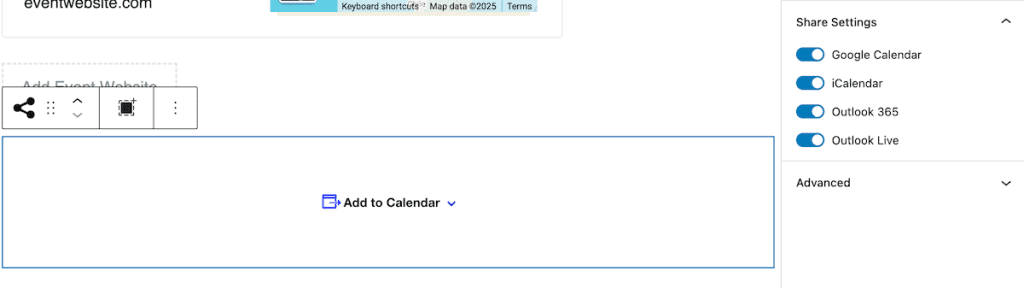
Below that, there’s an Add to Calendar button. This makes it easy for your members to add the event to their calendar so they don’t forget. Currently, the plugin integrates with Google Calendar, iCalendar, Outlook 365, and Outlook Live. To remove any of the calendar options, simple turn the toggle off.
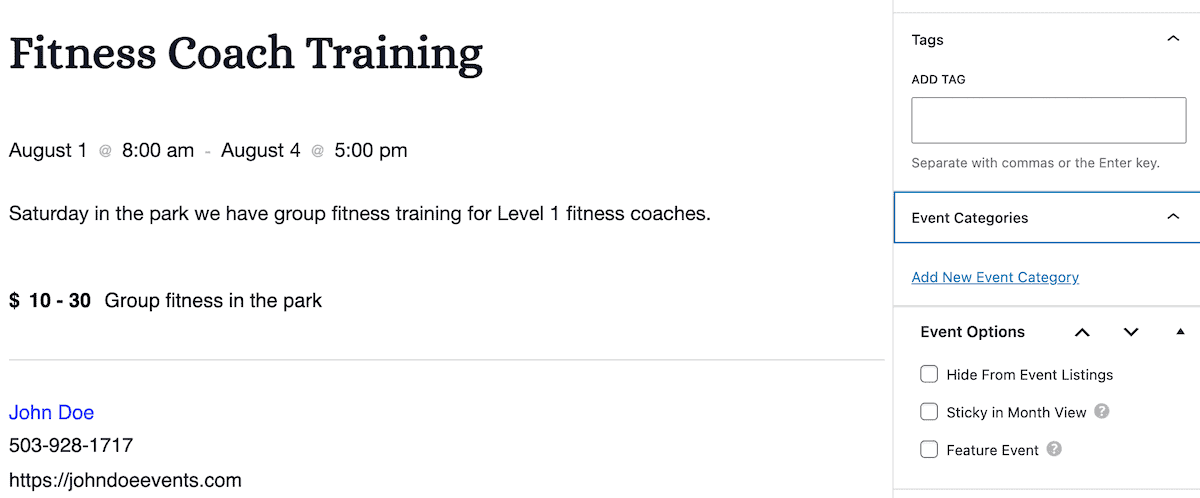
Add Categories and Tags to Your Event
If you’re going to be adding multiple events to your site, then you’ll probably want a way to keep track of and organize your events.
One easy way to do this is to use categories and tags. This is similar to how you’d organize any of your WordPress blog content. In the right-hand sidebar for Event Categories and Event Tags panels. Click Add New Category to create event categories. You can also add tags to further organize your events.
You can also choose to hide your events, pin events to the top of your event feed, and make an event sticky when in month view.
When you’re done setting up your event, click the Publish button to make it live on your site.
4. View Your Live Events Calendar
After creating one or more events, you can view your calendar (and how it looks to your visitors) at: yourdomain.com/events/.

The Events Calendar provides three main views for your visitors:
- List View (Default). Displays events in a chronological list format, making it easy to see upcoming events at a glance.
- Month View. Shows a traditional calendar layout with events marked on their respective days. Clicking on a day shows the events for that day.
- Day View. Shows a detailed schedule for a specific day, useful for events with multiple sessions or time slots.
You can switch between these views using the tabs at the top of the calendar page.
5. Customize Your Event Calendar Settings
Once you know how to create and publish your events, there are a few other tweaks you can make in the overall plugin settings. Go to Events>Settings in your WordPress dashboard. You’ll see several tabs for different setting categories.
General Settings
In the General tab, make sure Viewing is selected. Here you can change the events page URL and the URL for viewing single events. If you’re calling the events something different on your site, like Classes, Sessions, Services, or something else, then you can change this so the URL makes more sense.
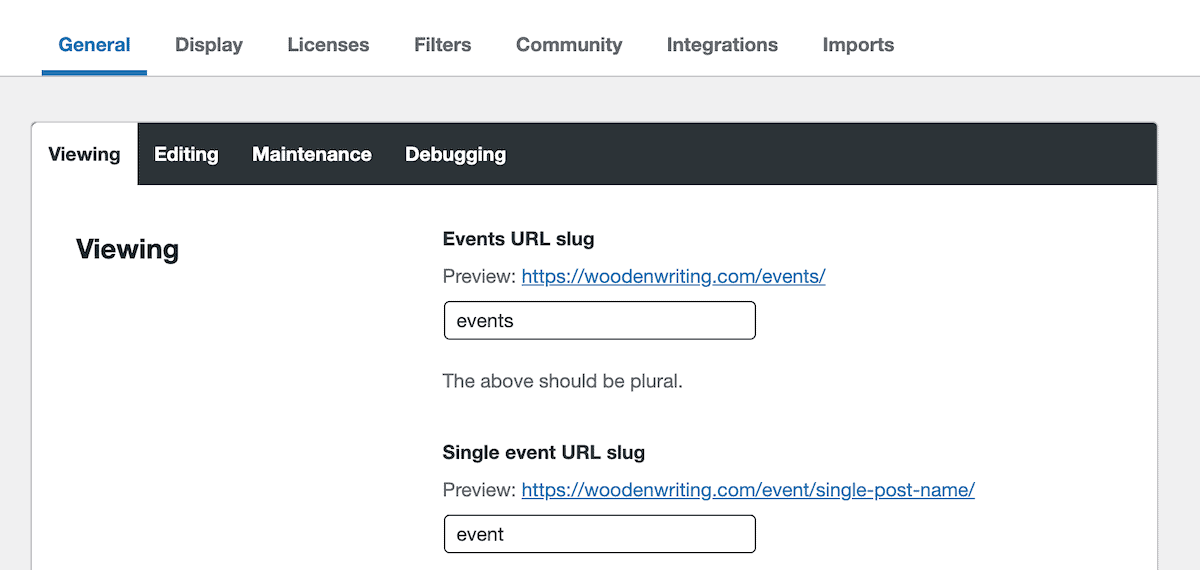
You can also decide to show your events inside your list of blog posts by checking the Include events in the main blog loop box. You’ll also want to leave the Enable the Month View Cache box checked, since this can improve website speed.
Once you’re done making changes, make sure to click the Save Changes button at the bottom of the screen.
Display Settings That Actually Matter
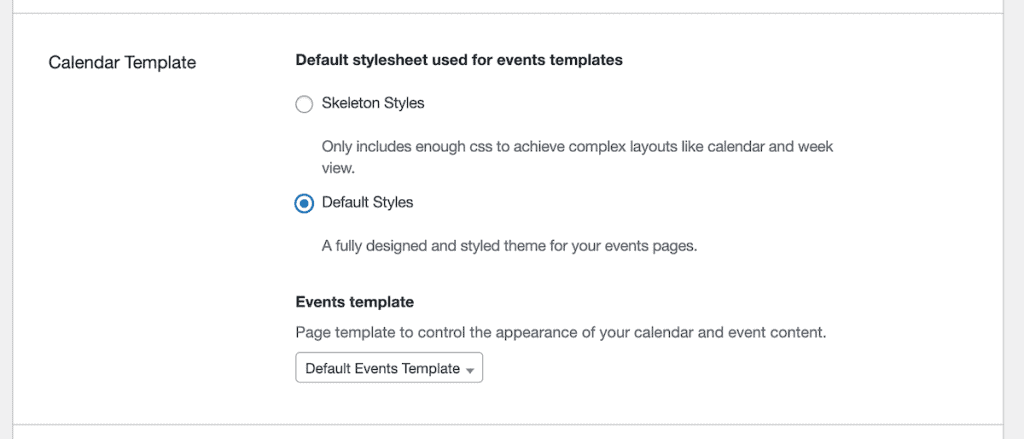
Next, we’ll look at a few of the main settings that control how your events calendar looks by default. Click the Display menu option at the top of the page. Your Calendar display settings will be the first screen you see.
Here, you can control how your event calendar displays. For a lot of users, the default settings will work. However, you can add custom CSS for a fully unique look by choosing the Skeleton Styles option.
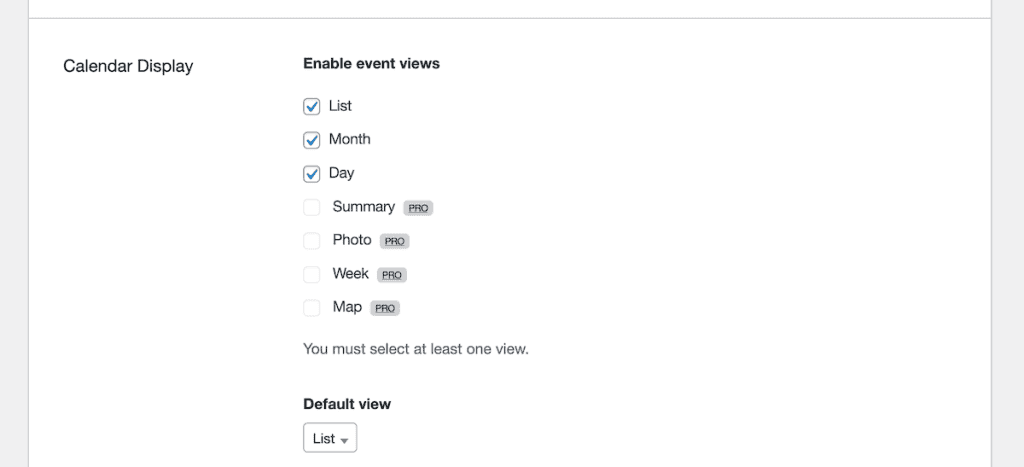
Below that, you can set which list views will be the default for your viewers and the types of list views you want to be available.
Next, click on the Maps section. Here, you can add your own Google Maps API key. By default, the plugin has basic Google Maps integration. But, if you want access to advanced features or have a lot of site traffic, then you can click the link to get your own API key.

If you do choose to upgrade your API, after you get your new API, then click on the Integrations tab and add your new Google Maps API key.

In this section, you can also change how your date and time displays, your default currency, add additional content before and after your events, and specify colors for certain event categories.
Styling Your Calendar to Match Your Brand
The default calendar looks pretty good right out of the box. However, you can customize your events calendar even more to better match the design of your site.
The easiest way to customize your events calendar is by using the built-in customizer.
To do this, go to Appearance > Customize in your WordPress dashboard, then click on The Events Calendar section.
Then, you have a few different options of what to customize: global elements, events bar, month view, and single view.

Clicking on any of the options gives you different customization options. For example, the Global Elements section lets you change your font family, font size, colors, background colors, and more.
Feel free to play around with all of these settings, so your events can better match your current WordPress theme.
Calendar and Event Images
One thing worth mentioning is that you can also add featured images to your events. It’s the same process as adding a featured image to your pages and posts.
Here’s how they’ll display depending on your view:
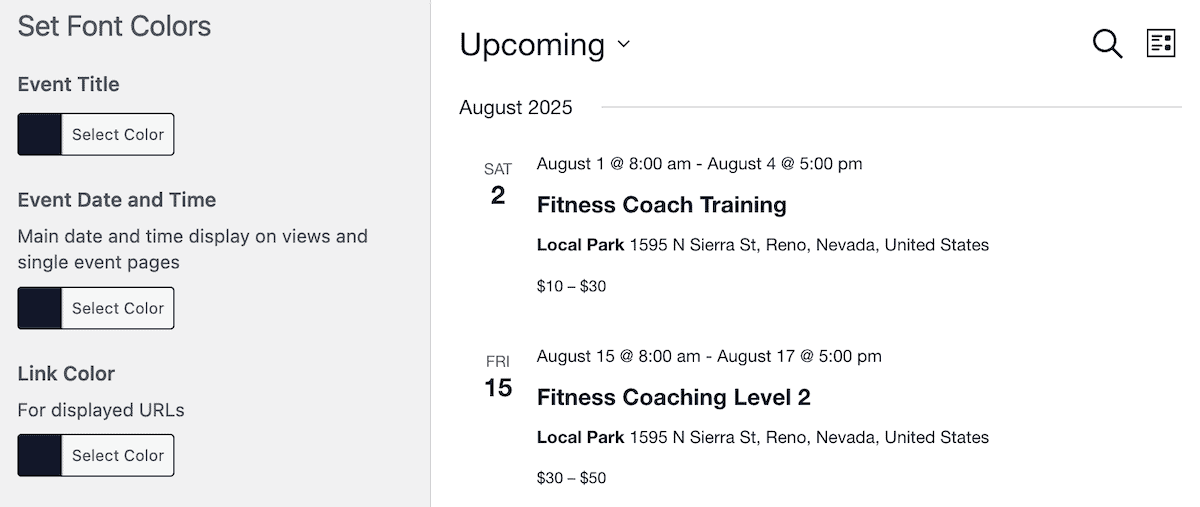
- In list view, they appear as thumbnails next to the event info
- In the month view, they’re hidden by default
- In day view, they appear at the top of the event details
Here’s what it looks like in the list event view:

The Events Calendar Free vs. Pro: What’s the Difference?
Everything that we covered above is in the free version of the plugin. As you can see, it’s powerful enough for basic event management. However, the pro version offers even more advanced features that might be a necessity for your site.
Let’s take a look at how the two versions compare below.
Features in the Free Version
- Create and manage events with dates, times, venues, and organizers
- Display events in Month, List, and Day views
- Categorize events with tags and categories
- Google Maps integration
- Export events to Google Calendar, iCal, and other calendar apps
- Mobile-responsive design
- Widget for upcoming events
- Event search functionality.
Additional Features in the Pro Version
The Pro version (starting at $99/year for a single site) adds:
- Schedule events that repeat automatically on daily, weekly, or monthly intervals
- Create virtual events like online classes
- Additional events in Photo, Week, or Map views
- Group related events together in an organized series
- Add multiple venues to a single event
- More customization options for venue and organizer pages
- Add custom fields to events for specialized information
- Place event calendars anywhere on your site with simple shortcodes
- Display events in widget areas with enhanced formatting options
- Find nearby events with location-based search functionality.
Extending The Events Calendar with Add-ons
Beyond the Pro version, The Events Calendar offers several specialized add-ons. But when should you actually invest in each add-on?
Here’s a breakdown or each one:
Event Tickets (Free basic version, Plus at $149/year)
If you need to sell tickets for your event. Then you can use the free event tickets plugin and connect to Stripe or PayPal for payment processing. The Plus version offers additional payment options like Apple Pay and Google Pay and integrates directly with WooCommerce.
Community Submissions ($129/year)
If you want to create an event directory that lets your users submit events, then you’ll need the Community Submissions add-on. If you’ve been doing this manually, then it can save you a lot of time. You have full control over event approval, user registration, ticketing, and more.
Event Aggregator ($89/year)
If you need to import events from external sources like Eventbrite, Meetup, Google Calendar, or iCal, the Event Aggregator is your answer. It lets you run automatic or manual imports, with pricing based on how many daily imports you need. This can save countless hours of manual event creation if you’re running a community calendar.
Filter Bar ($89/year)
If your calendar features lots of events across multiple categories or venues, then Filter Bar helps visitors find exactly what they’re looking for. It adds customizable filter options to your calendar, letting users search by category, tag, venue, cost, and more.
Eventbrite Tickets ($89/year)
If you want to create and manage Eventbrite events directly from your WordPress site, then the Eventbrite Tickets add-on is essential. It connects your calendar to Eventbrite’s platform, letting you sell tickets, display Eventbrite ticket widgets, and even automate imports from your Eventbrite account to keep everything in sync.
Promoter ($89/year)
If email marketing is a key part of your event promotion strategy, Promoter streamlines the entire process. It lets you create automated email campaigns specifically for your events, sending reminders, updates, and promotional messages to attendees.
Event Schedule Manager ($69/year)
If you’re running complex events like conferences or festivals with multiple schedules or sessions, the Event Schedule Manager add-on helps you create and display detailed schedules. It supports simultaneous tracks, speaker highlighting, and works on any post type, not just events.
Seating ($129/year)
If you need assigned seating for your events, the Seating add-on lets you create interactive seating maps for venues. You can designate different seat types (VIP, general admission, etc.), set pricing by seat type, and let attendees choose their exact seats during checkout. Perfect for theaters, conferences, and any event with reserved seating.
The Events Calendar WordPress Plugin FAQs
How much does The Events Calendar plugin cost?
The basic version of The Events Calendar is completely free. The Pro version starts at $99/year for a single site, with higher tiers available for multiple sites.
Can I import events from other platforms?
Yes, with the Event Aggregator service (included with Pro or available separately), you can import events from Google Calendar, iCalendar, Meetup, and other sources.
Does The Events Calendar work with my theme?
The plugin is designed to work with most WordPress themes. It’s been tested with popular frameworks like the free default WordPress themes, Kadence, Avada, Divi, Genesis, and many more.
Can visitors submit their own events?
Not with the free version. You’ll need the Community Events add-on ($99/year) to allow front-end event submissions.
Is The Events Calendar compatible with page builders?
Yes, it works with the most popular page builders, including Beaver Builder and Divi Builder. For Elementor blocks, you’ll need the Pro version of the plugin.
Closing Thoughts: Is The Events Calendar WordPress Plugin Right for You?
The Events Calendar is an excellent event and calendar plugin for anyone who needs to manage and display events. The free version provides a ton of features for basic event management, while the Pro version and add-ons offer advanced functionality for more specific needs.
If you only need to display a few simple events and manage a basic events calendar, the free version should be good enough. However, if you host recurring events, need ticketing functionality, or want more display options, the Pro version or specific add-ons are worth considering.
The best course of action is to try the free version on your site, max out it’s features, and if you need the advanced functionality, then go for the Pro version. Or, if you need a very specific feature, like adding assigned seating, then opt for an add-on.
Have you used The Events Calendar on your site? What features did you like the most? Please share your experience in the comments below.
Ready to build your WordPress site?
Try our service free for 14 days. No obligation, no credit card required.


