Setting up an out of office message for emails is a great way to manage your relationship with your customers and website users.
With an “out of office” message, you’ll have the ability to send an instant reply to incoming emails in case you’re currently unavailable.
For example, you could create an email account to receive contact requests and set up an automatic response, so that you can provide your customers with everything they need in a timely manner.
Table of Contents
Add an out of office auto reply message to your email account
To create a new out of office associated with your domain, the first step is to log in to the client area.
You can access the “out of office” section by clicking on the “Services” tab from your control panel and selecting the website to which you wish to apply the out of office message.
From the “Quick Shortcuts” section you can click on the “Autoresponders” item, so you can quickly access your control panel.

Alternatively, you can login to cPanel and select the “Autoresponders” item.

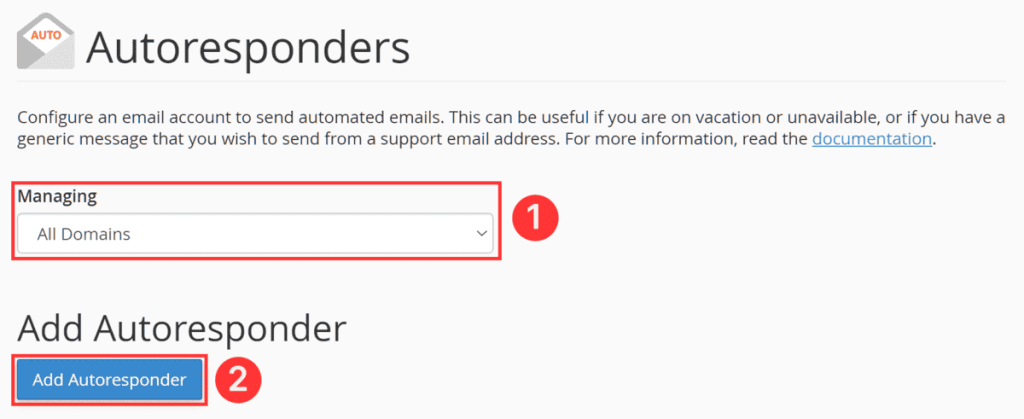
From the “Managing” drop-down menu, select the domain to which you want to apply your out of office and click the “Add Autoresponder” button.

From this page, you’ll be able to configure your new out of office by filling in all the fields.
- Character set: indicates the encoding of the characters used within your message.
- Interval: allows you to adjust the time that must elapse before the server can send replies to the same email address. Setting the value 0 will allow the server to reply to an email account without any time constraints.
- Email: enter the name of the email account to which you want to set the automatic response.
- Domain: allows you to choose to which domain the new automatic response should be applied.
- From: enter the name of the sender here.
- Subject: enter the name of the subject of the email.
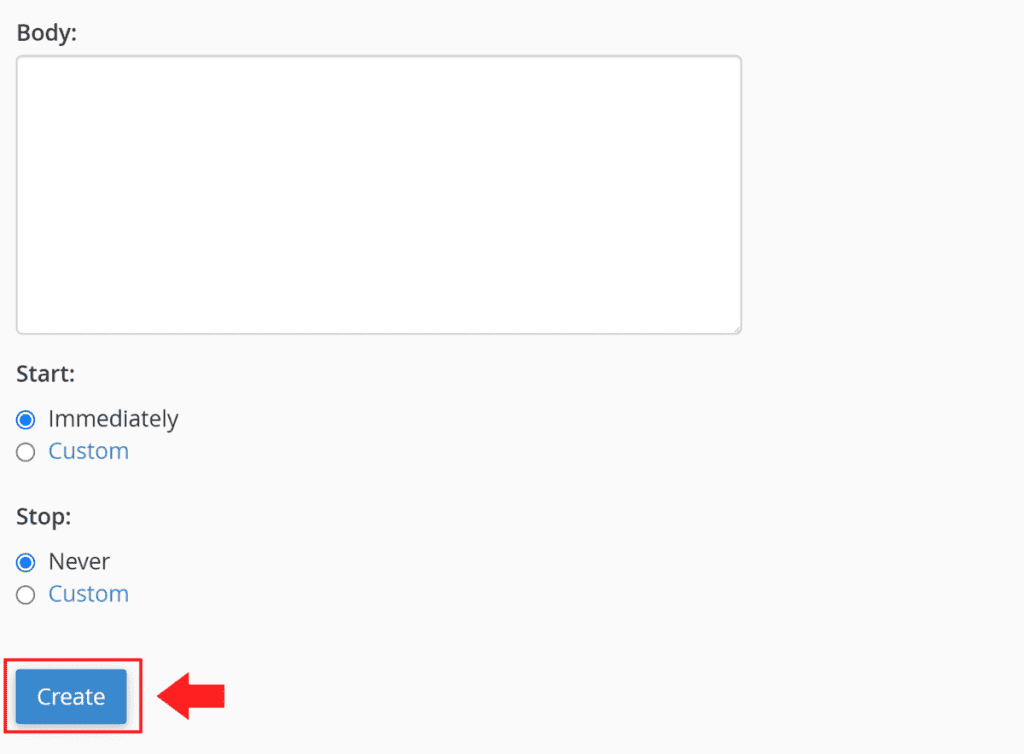
- Body: write the body of your email, in text or HTML format.
- Start/Stop: you can set the time frame in which the automatic reply will be active or you can decide to deactivate it.
In the body of the message, you can insert HTML elements in order to create a more visually uncluttered and eye-catching email. You can also insert some special elements that will call out a particular field, as you can see below.
- %subject%: inserts in the body of the email the subject of the message.
- %from%: insert the sender of the message you are replying to.
- %email%: insert the email address of the sender you are replying to.
If you decide to insert HTML code within the body of the email, remember to enable the checkbox “This message contains HTML“.
Once you’ve filled everything out correctly, all you have to do is click the “Create” button at the bottom.

If the operation was successful you will see an informative message.

Delete an out of office auto reply message
You can delete an automated response by simply clicking the “Delete” button.

On the confirmation dialog that appears, click the “Delete Autoresponder” button to permanently delete it from your domain.

If you have performed this step correctly, you will see a success message.


