With a reseller hosting account you can customize cPanel by adding your logo and changing the appearance of the control panel. Let’s see how to do it in this step-by-step tutorial.
Table of Contents
Customize cPanel
With WHM we can customize our customers’ cPanel by adding our logo, changing the default theme, and adding the business contact information.
The first thing to do is login to the reseller panel and click Customization from the cPanel section as you see in this screenshot below.

In this section you will see three tabs: Customize Branding, Customize Style and Public Contact. Let’s see one by one which settings we can change.
Please note that this tutorial is based on the English version, if you have the reseller panel set in another language you can see the tutorial to change WHM language.
Customize Branding
From this section we can customize the appearance of the interface of the control panel and the Webmail.
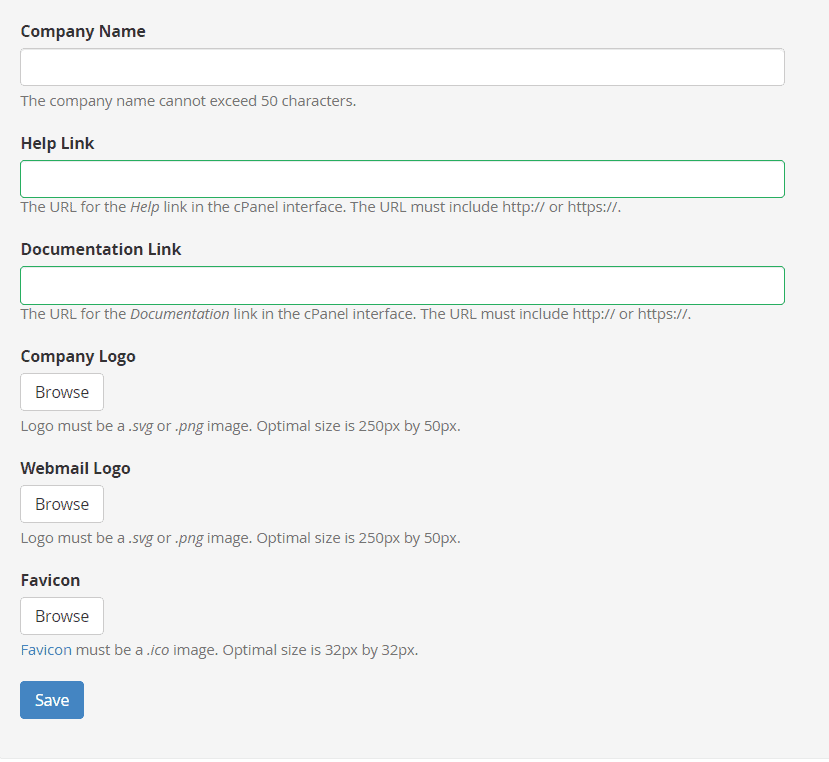
To customize the interface of cPanel we can choose if we want to show the name of the company, filling the field Company Name or if we want to upload a logo. Let’s see both cases and what other options we find in this section.
Company Name
In the Company Name field we can enter the name of our company. As you see in the example below the company name will appear instead of the cPanel logo in the control panel of our clients. If you choose to use the logo you don’t need to fill this field.

Help Link
This field can be filled with the address to a page on your site from which users can request support.

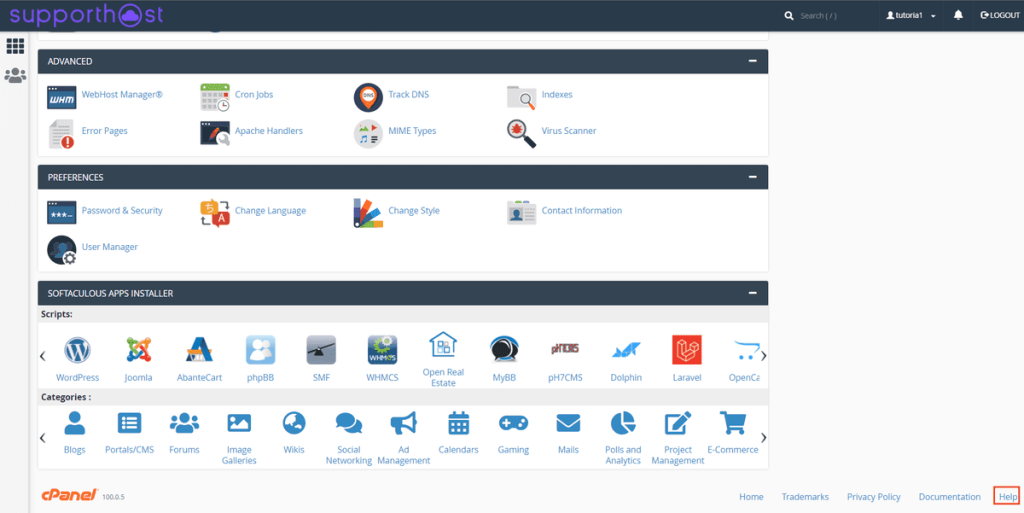
The link will appear in the control panel under Help. Please note that this link does not appear by default. This link, in fact, appears only when you fill in the Help link field.
Documentation Link
By default, the Documentation link refers to the cPanel documentation. The link appears at the bottom right of the control panel, as you see in the example below.
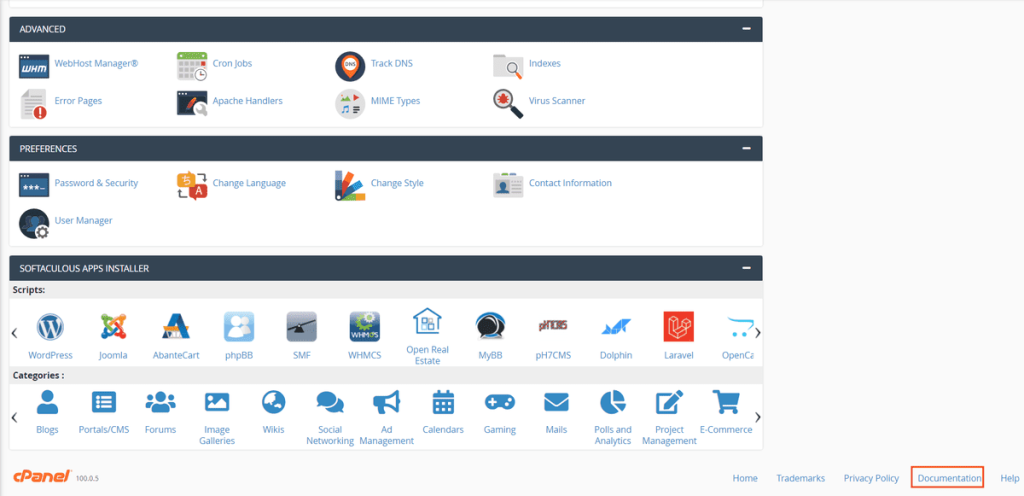
If you want to link to an internal page of your site, for example the tutorials category, just enter the link in this field, as you see in this example below.

Company logo
From this section, by clicking on Browse, you can insert an image in png or svg with the logo of your company.

The custom logo will appear instead of the cPanel logo.

Webmail Logo
From this section we can upload the logo (png or svg) that will be shown in the webmail login page. The standard logo is the one from cPanel.

Favicon
From this section you can upload the favicon, that is an icon that is a smaller version of your logo and that will be shown in the address bar of the browser. Keep in mind that the favicon file must be a .ico image.

Removing logos and favicons
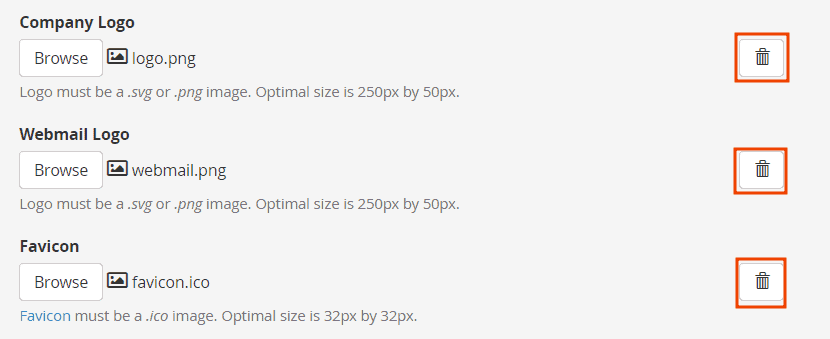
To return to the default logos, simply delete the ones you have uploaded by clicking on the trash icon next to the logo and favicon.
Customize Style
From this section we can choose one of the available themes. The default theme is the one with a star icon next to it, to choose another theme just click on Set as Default.
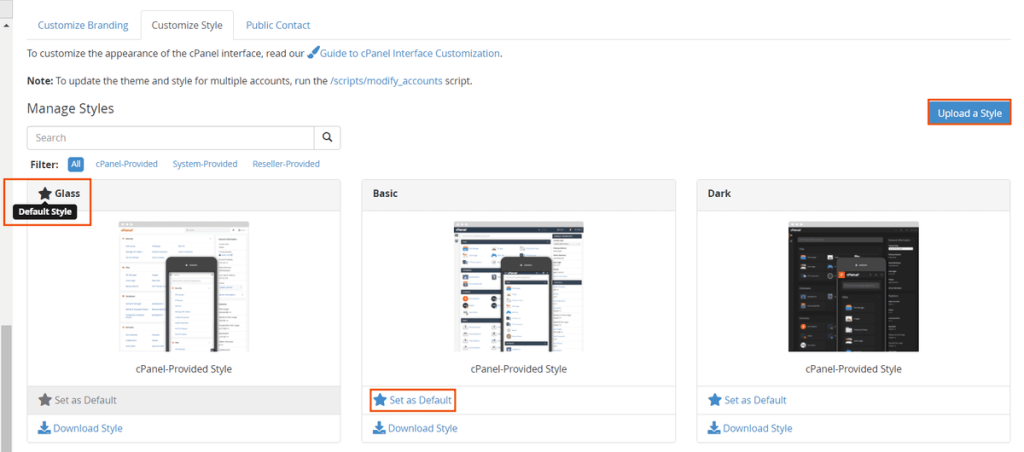
You can also choose to load a custom theme, in this case you can consult the documentation of cPanel on customizing themes.
Public Contact
In this section you can enter the information about your company, that is the name and a link to the contact page.

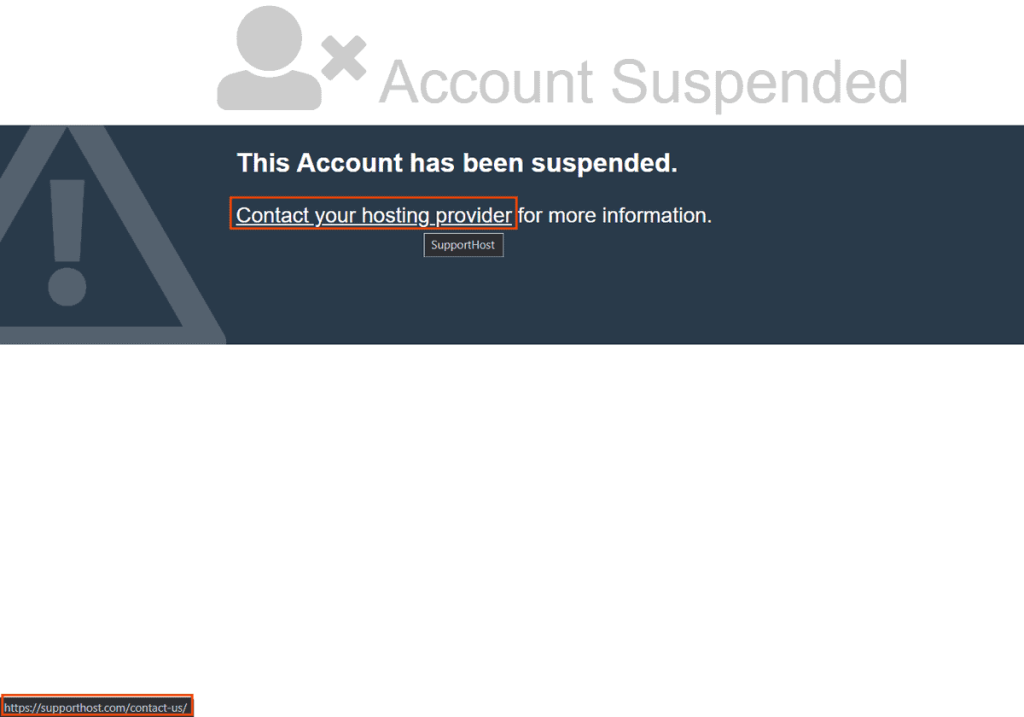
This information will be public and will appear in the default pages and in the account suspension page as you see in this example.
