In this tutorial, we will see how to change domain owner in a few simple steps: I will guide you through a new contact creation, and then I will assign it the role of the domain owner.
It is important to keep the domain owner’s data up to date. In case of an audit, the registry may suspend your domain if the data is not up to date or incorrect.
Keep in mind thst for generic domains (.com, .net, .org, etc…) after you change domain owner the domain gets locked for 60 days and cannot be transferred as per ICANN rules.
Table of Contents
How to carry out the domain owner change procedure
To correctly change domain owner, we must, first, make sure that we have the personal data of the person to whom you wish to pass ownership of the domain, as well as their consent.
Having the data of the new domain owner, we may decide to create a new contact and save it on our account through the options of contact management. By doing so, we could use it at any time without having to fill in the forms each time manually.
Alternatively, we may decide to follow the procedure to change the domain owner by filling in the data in the appropriate form without creating any contact upfront.
We remind you that it is possible to hide the contact information relating to the domain owner simply by enabling the service Whois Protection that we offer for free to all customers.
Contact management
First thing first, if we decide to create a new contact, who will then fill the role of the domain owner, we need to access the client area.
In the black menu at the top of the client area page, click on the item “Hello, name” at the top right.

Subsequently, in the drop-down menu that will open, click on the item “Contacts”.
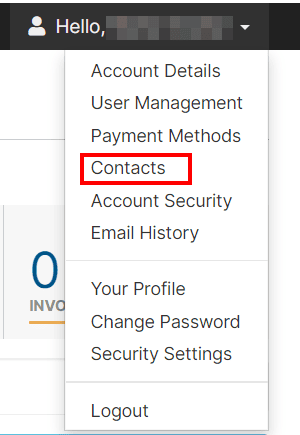
From this page, you can manage all aspects of your contacts: you can create, edit, and delete contacts.
It is also possible to manage which types of emails they will receive: general, administrative, support, notifications of domain renewal, and all emails related to products and orders.
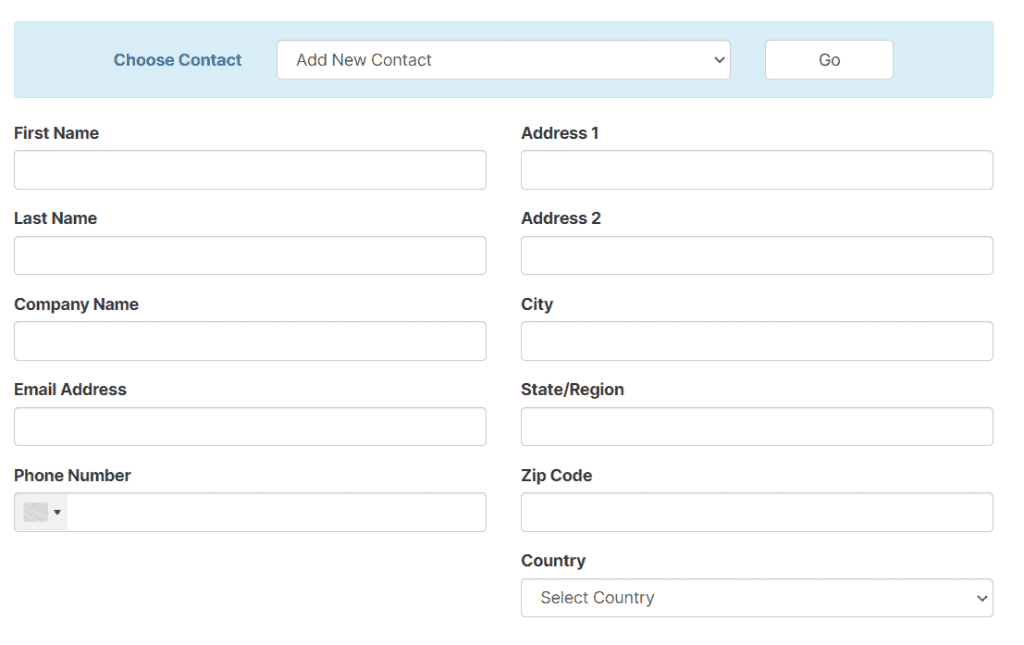
To create a new contact, click on the menu to the right of the “Choose Contact” item, make sure you have selected “Add a new contact” and click the button with the word “Go.”

In the form right in front of you, you will have to fill in all the fields with the information of the new domain owner.
If you want to use a business as the company owner, first and last name should be the ones of the Ultimate Beneficial Owner.
Once all the fields have been filled in, there are a few checkboxes at the bottom regarding the above-mentioned email preferences. You may want to tick the boxes according to your needs.

After checking all the boxes that interest you, you must save the changes by clicking the blue button “Save changes” to create the new user.

Change domain owner
To change domain owner, you need to access the client area and click on the “Domains” section at the top of the page.

The list of currently active domains will appear. If there is no domain, it means that at the moment, you do not have any active domain, so, you would need to register a domain before proceeding.
Next to each domain, on the right of the icon depicting a wrench, there is a small drop-down menu. Once clicked, it is possible to select the item “Edit contact information“.

To change domain owner, it is possible to use the contact previously created through the contact management by clicking on the item “Use existing account contact” and selecting the contact name in the “Choose contact” menu.
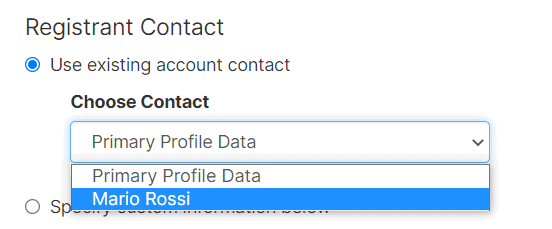
After selecting it, just scroll the page to the bottom and click on the blue “Save changes” button.

In case we have not created a contact previously, we should instead check the “Specify custom information below”.
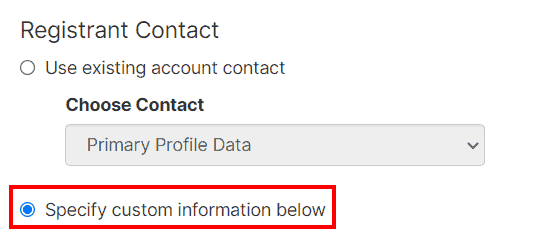
You need to to fill in manually all the fields relative to the new domain owner with the correct information.
Once you have completed everything, click the blue button at the bottom of the page “Save Changes” to make the changes just made, thus ending the domain owner replacement procedure.

In our client area, it is possible to set up only one billing contact per customer, it means that all invoices will be addressed to the same person. If you need to update billing information, by setting the data of the new domain owner, it is essential to register a new account.
Check the domain owner
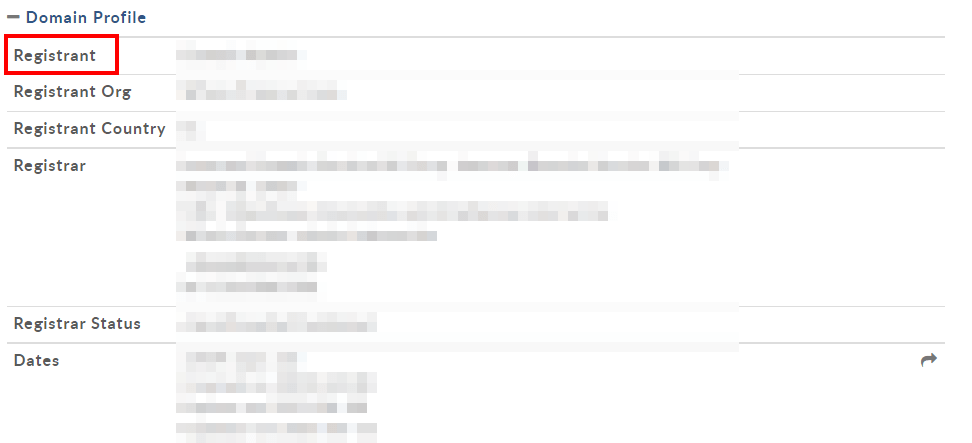
To verify that we have correctly followed the procedure for changing the domain owner, we just have to check the contents of the “Whois” directory for our domain.
As we all know, the “Whois” directory contains all the information relating to the domain owner.
To quickly check the data within it, we can use one of the many free online services such as Whois Lookup.

Simply enter the domain name and click the green “Search” button.
If the information shown corresponds to that entered by us, it means that we have performed the procedure correctly.
In case we do not want our personal information to be accessible to anyone, we remind you that it is possible to hide the data reported in the “Whois” directory by enabling our free service WHOIS Protection from the domain management settings.

