WordPress hosting
 WooCommerce hosting
 PrestaShop hosting
 Magento hosting
 Joomla hosting
 Drupal hosting
In the tutorial about hosting package management, we have seen how to create new packages. After creating a package, we can create a cPanel account on WHM for our users. In this tutorial, we will simply learn how to create a new account.
If you want to know how to modify a cPanel account or terminate any account, follow our tutorials for the complete procedure.
Table of Contents
Create a cPanel account
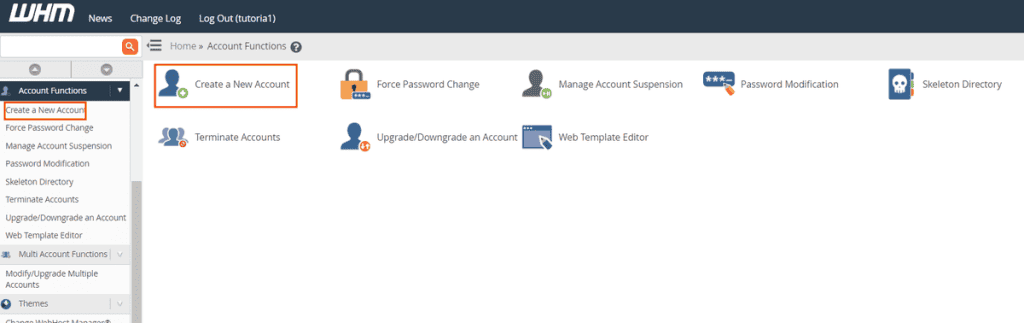
First, log in to the reseller panel, then click on Create a new account from the Account functions section of the left sidebar.
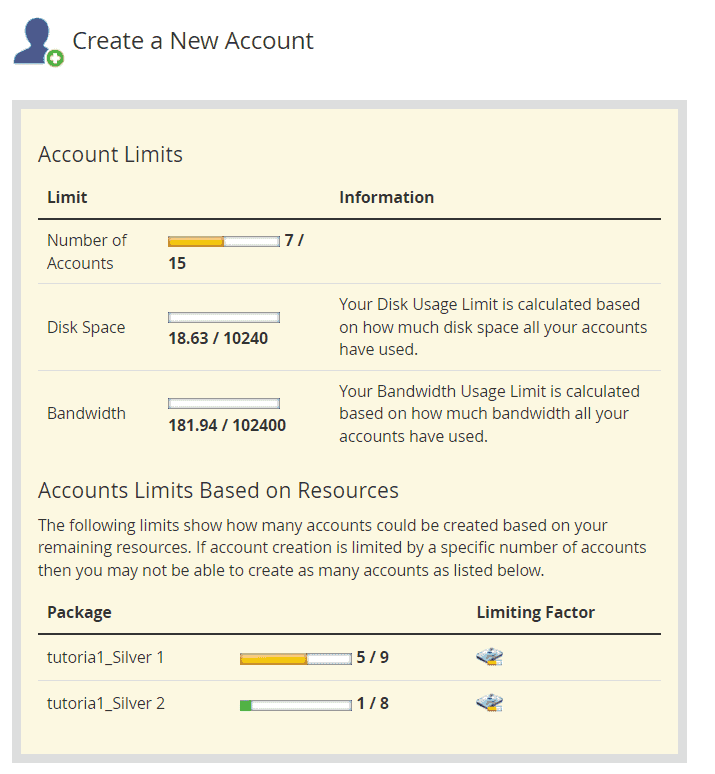
In the new window, you will see a yellow box at the top that tells you the limits of your reseller hosting account, that is, the number of accounts you can create, the total disk space, and available bandwidth.
Based on the packages you have created and the resources you have associated with each package, in the Account Limits Based on Resources section you will also see the maximum number of accounts you can create for each package.
To create a cPanel account in WHM, you will have to enter the required data and choose a package, but you can also change some additional settings.
cPanel account data
In the Domain information box, you will need to enter the data of the new cPanel account.
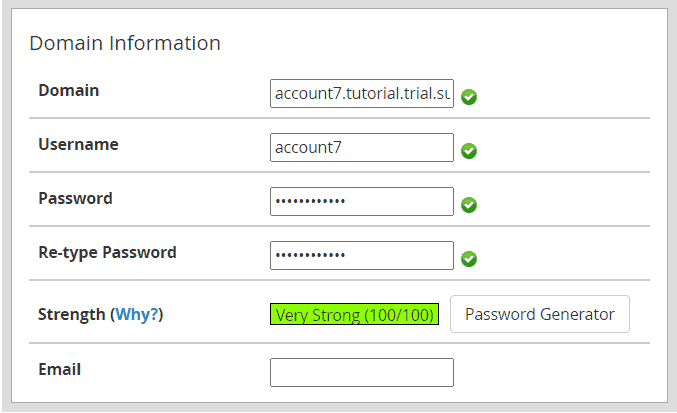
In the domain field, enter the domain for the new account, then click on the tab on the keyboard or click anywhere on the screen, and the username field will be automatically filled with the first characters of the domain.
You can change your username or leave it as is. If you change it, please note that the username can be up to 16 characters long and just consist of lowercase letters or numbers. Also, the first character cannot be a number.
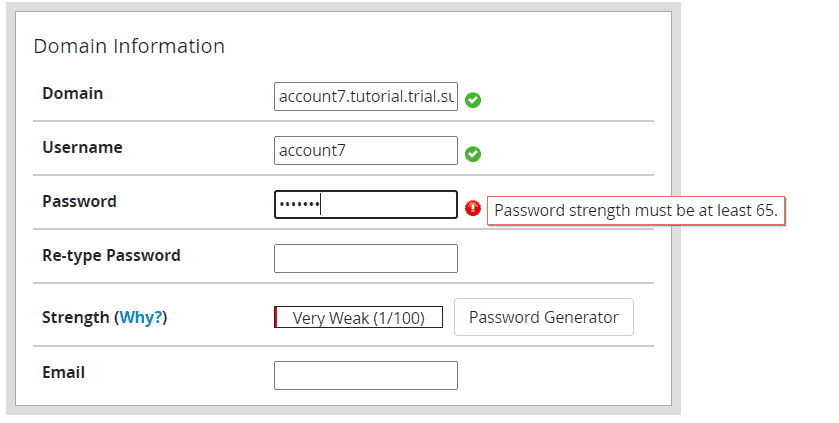
Then create a password for the cPanel account and enter it in the Password and Re-type password fields. The system will evaluate the password security level with a score from 1 to 100. To continue, the password must have a minimum security level of 65.
You can also use the Password Generator to create a strong password.
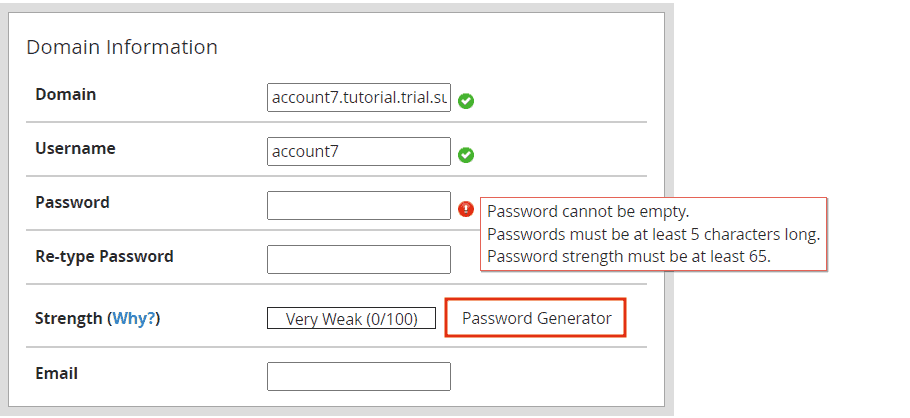
Finally, enter the user's email in the email field.
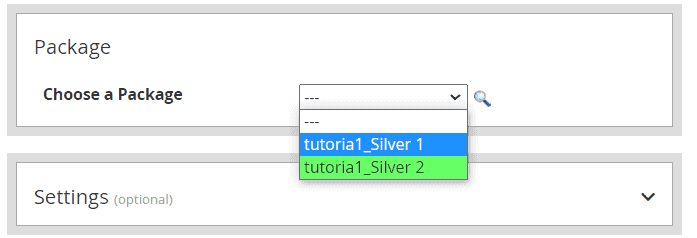
Choose an hosting package
You will then have to choose a package to associate with the account you are creating, by choosing it from the drop-down menu.
Optional settings
By selecting the package, you will automatically apply the settings, for example, those on the language. In any case, by clicking on Settings (optional), you can set a different language for a single account.

From the next sections, you can change the mail routing configurations and DNS settings.
Unless you have specific needs, we recommend you to leave the default settings.
Finish creating the cPanel account
Now, you just have to click on the Create button to create a cPanel account.

At the end, you will see a screen like this where you are confirmed that the creation of the new cPanel account was successful.
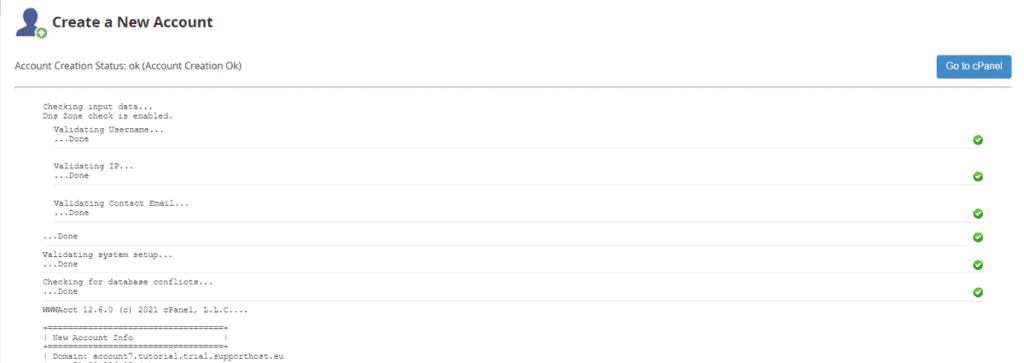
By clicking on Go to cPanel, you can access the control panel of the newly created account.

To ensure that users can log into cPanel, you will have to provide them with the username and password you set when creating the account.